

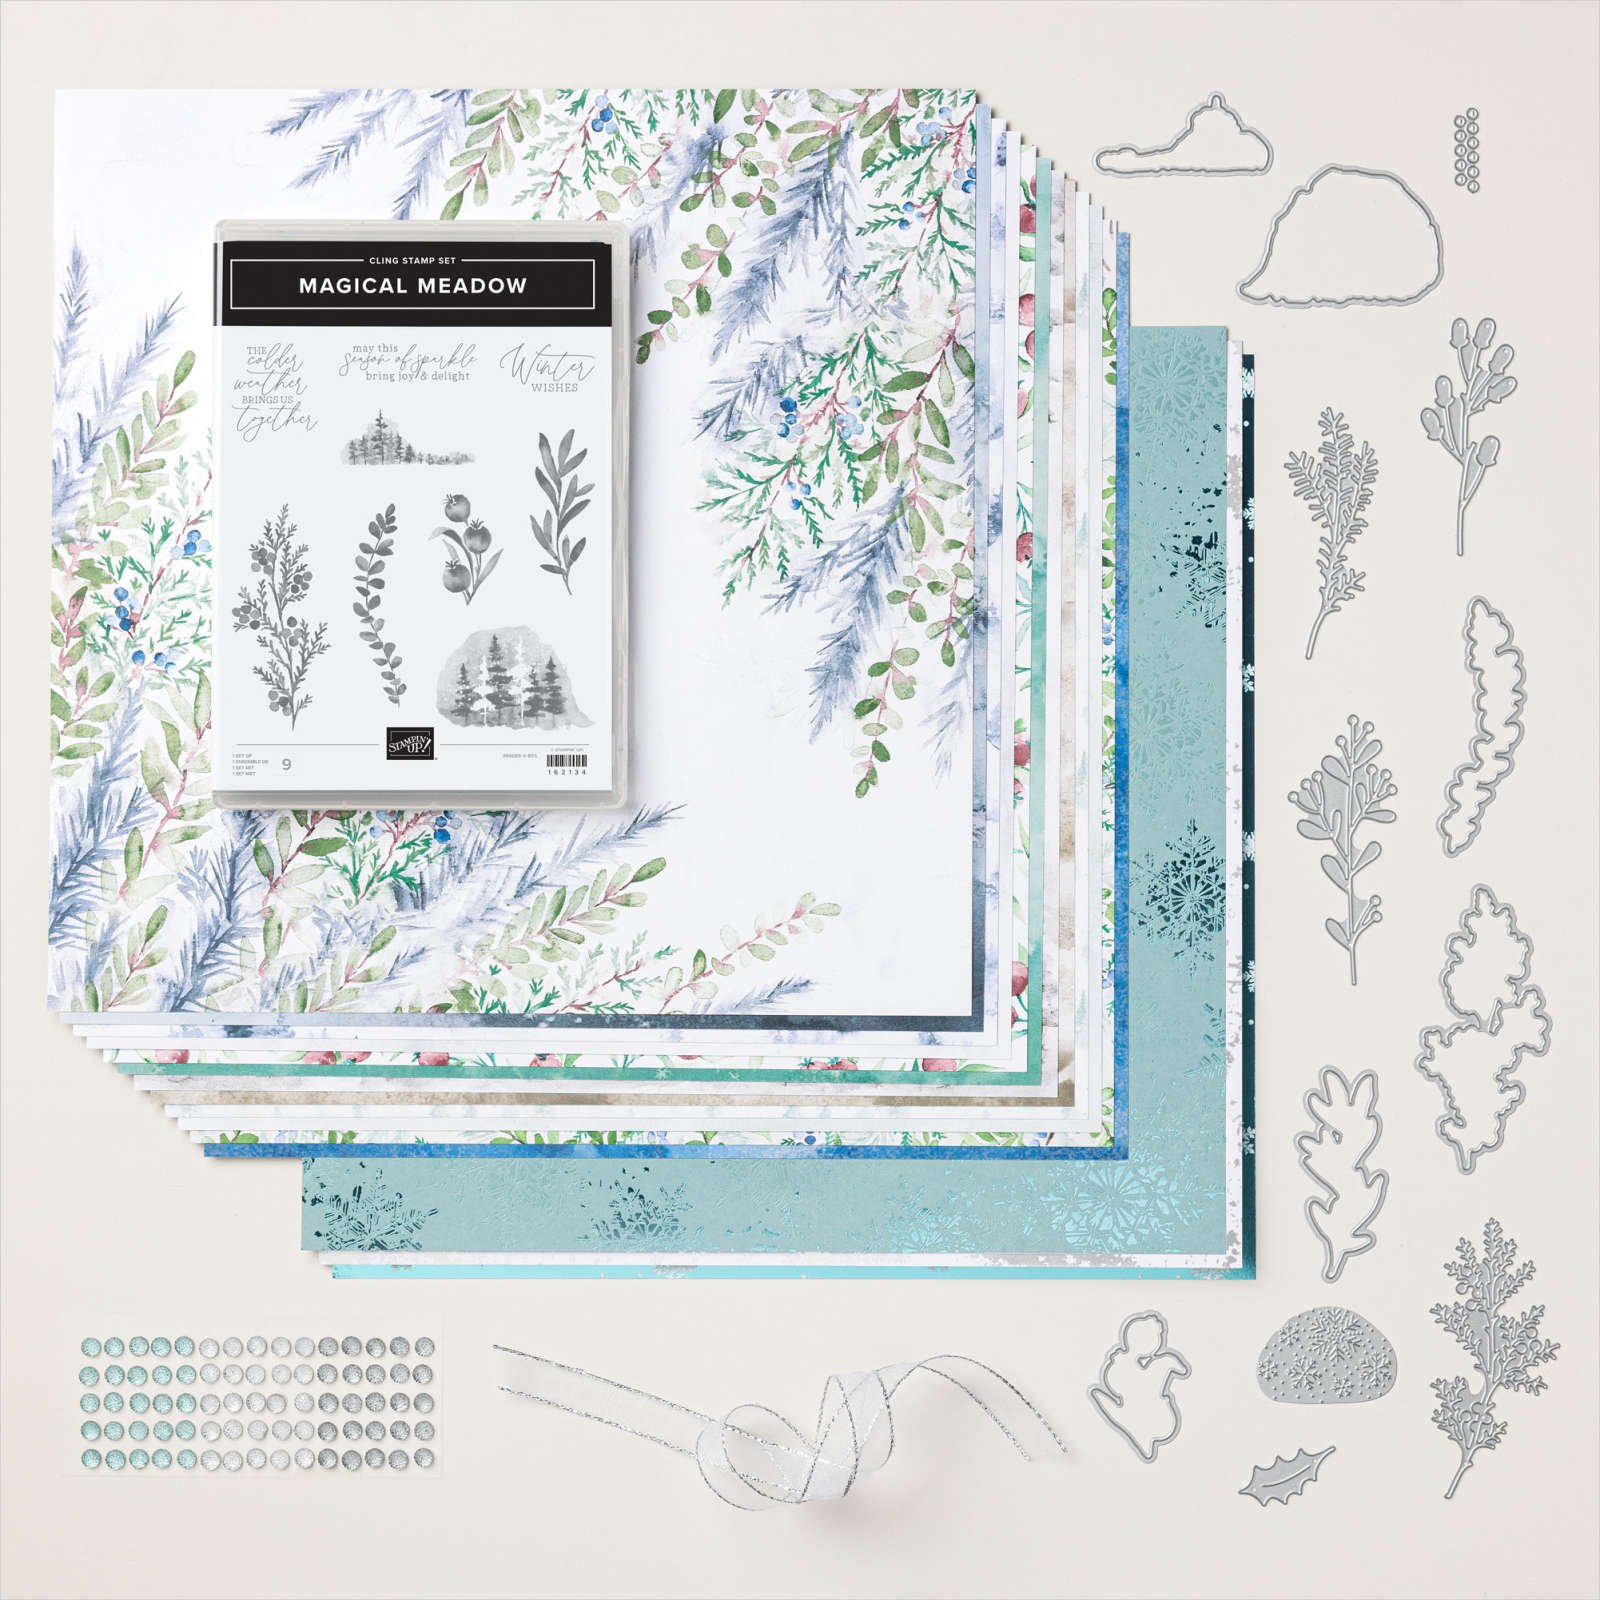
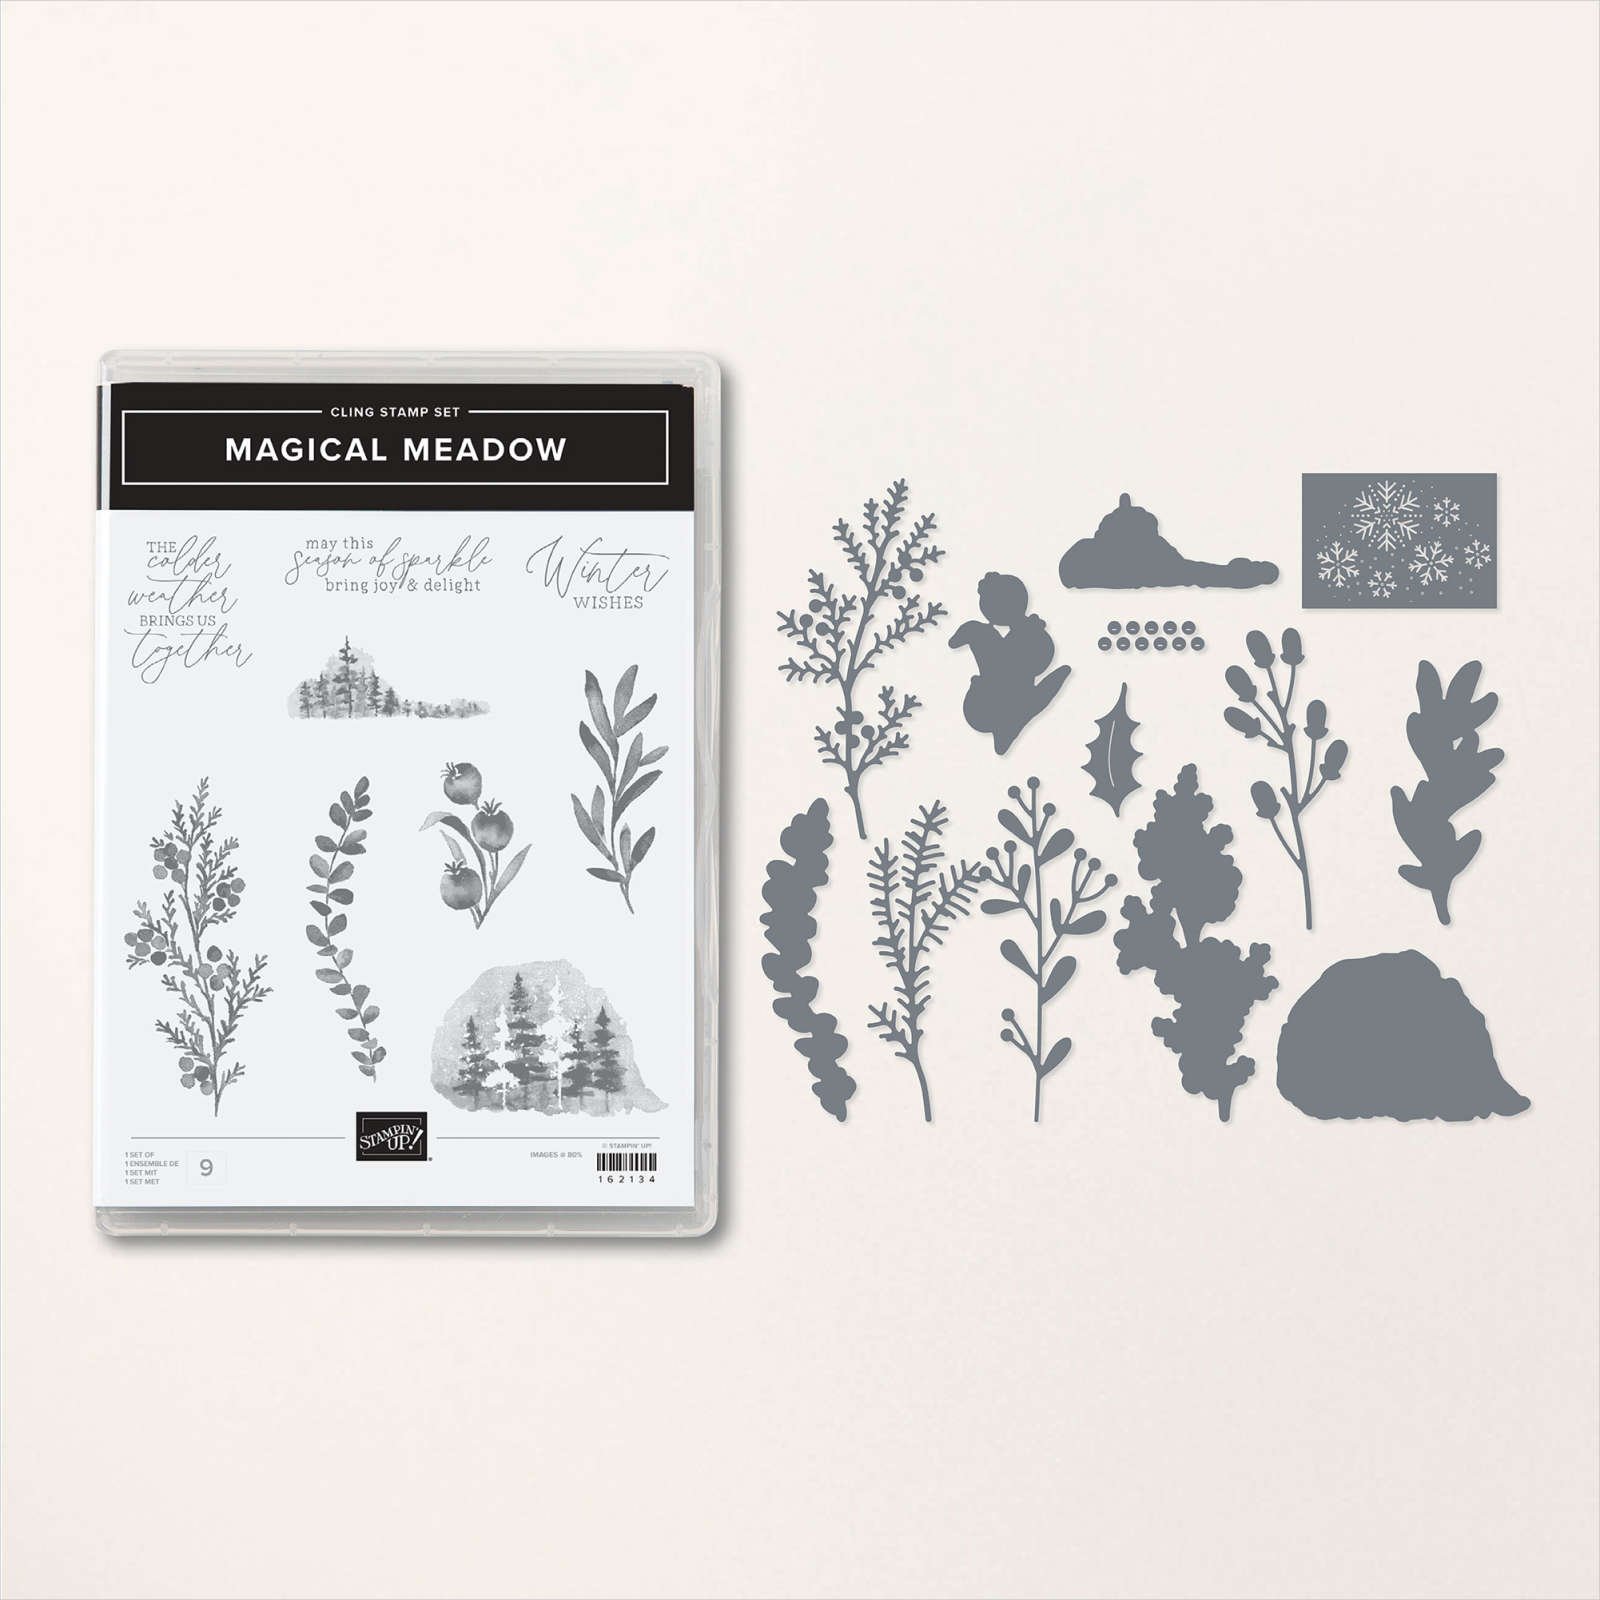
Magical Meadow Bundle

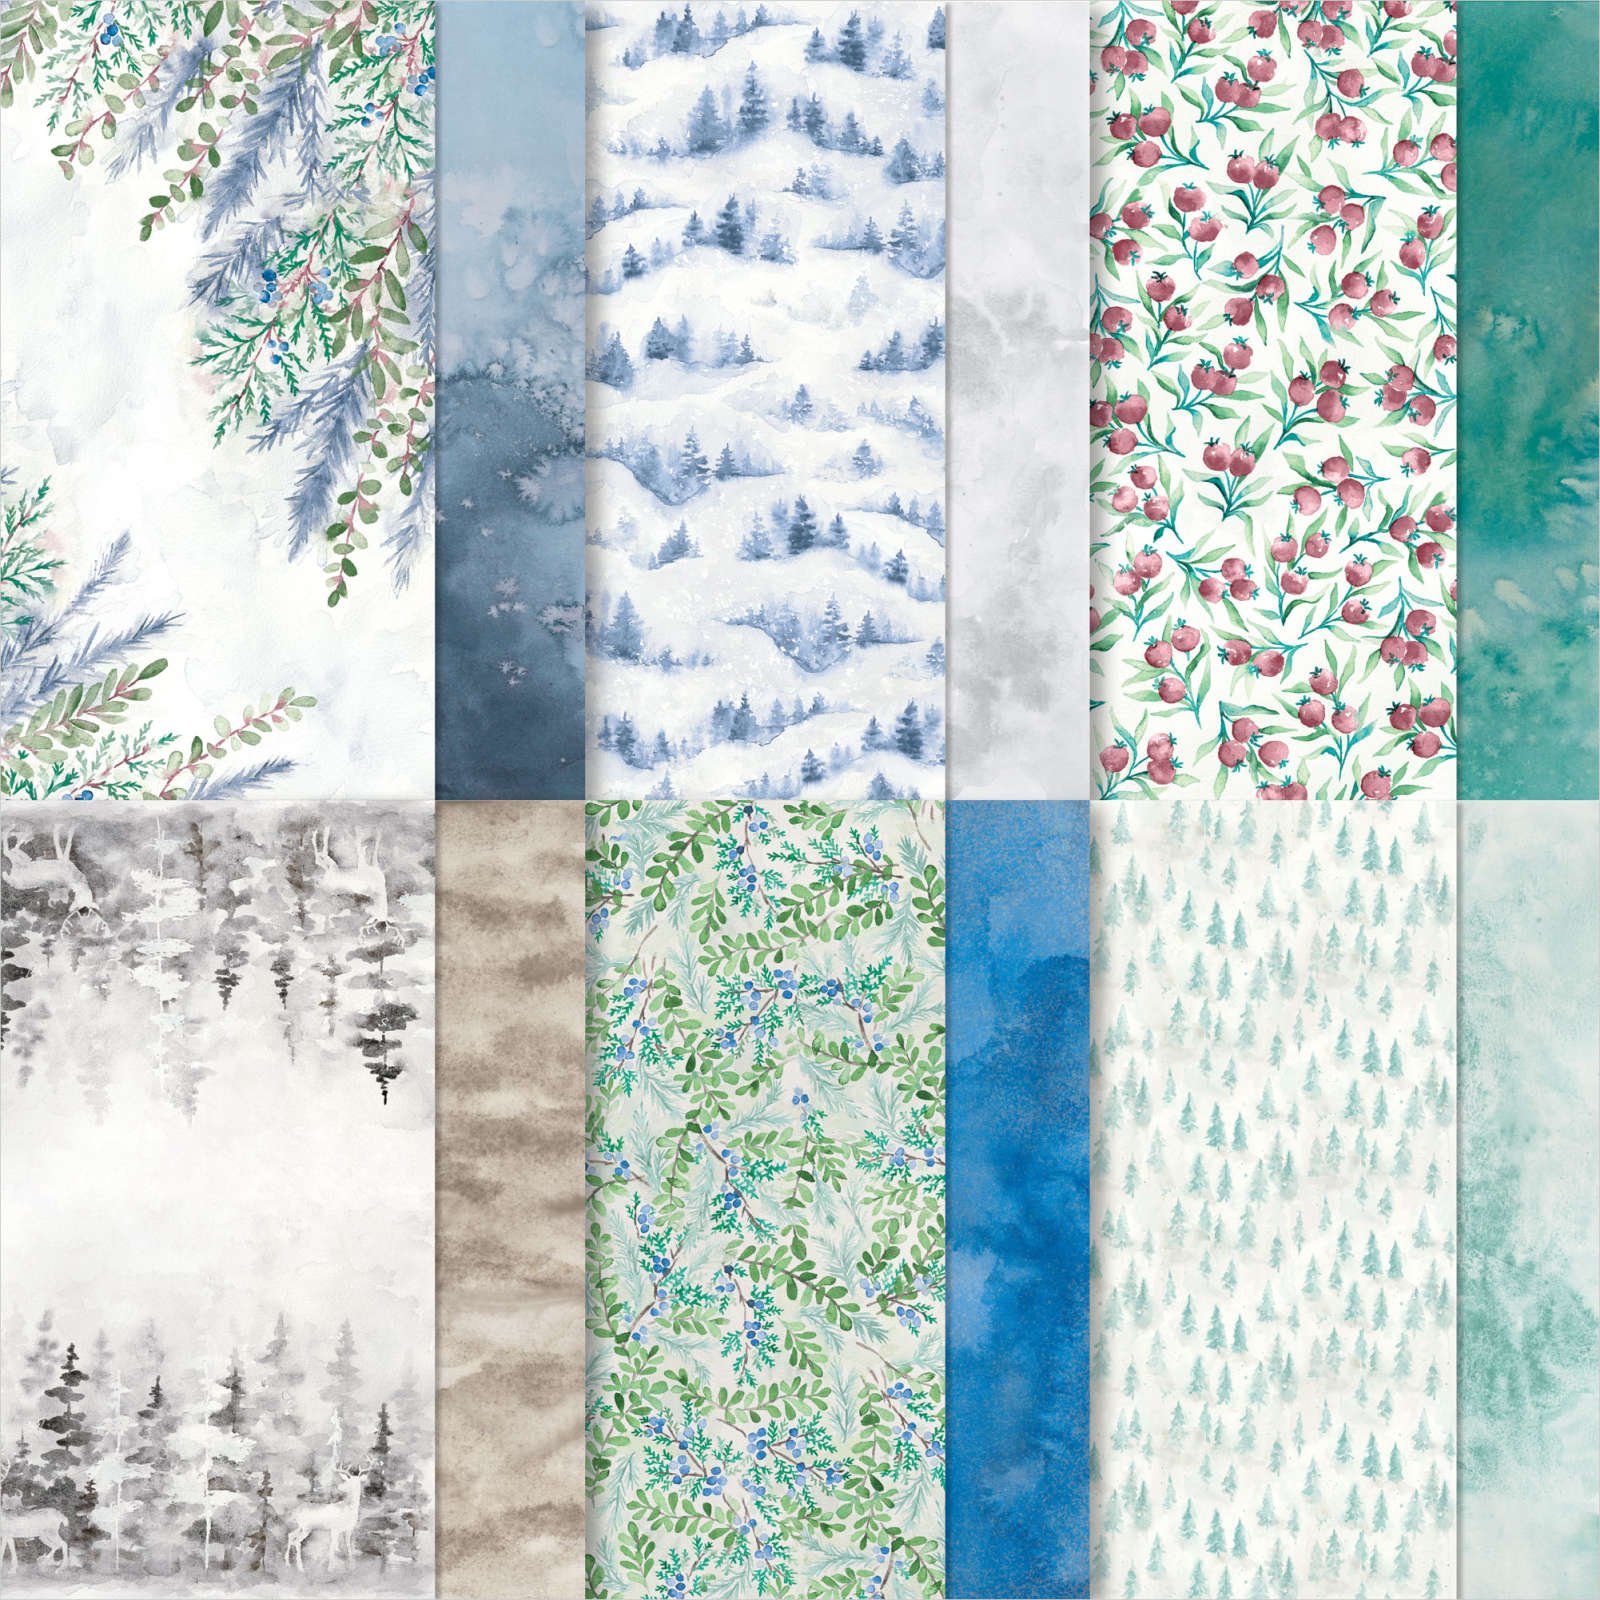
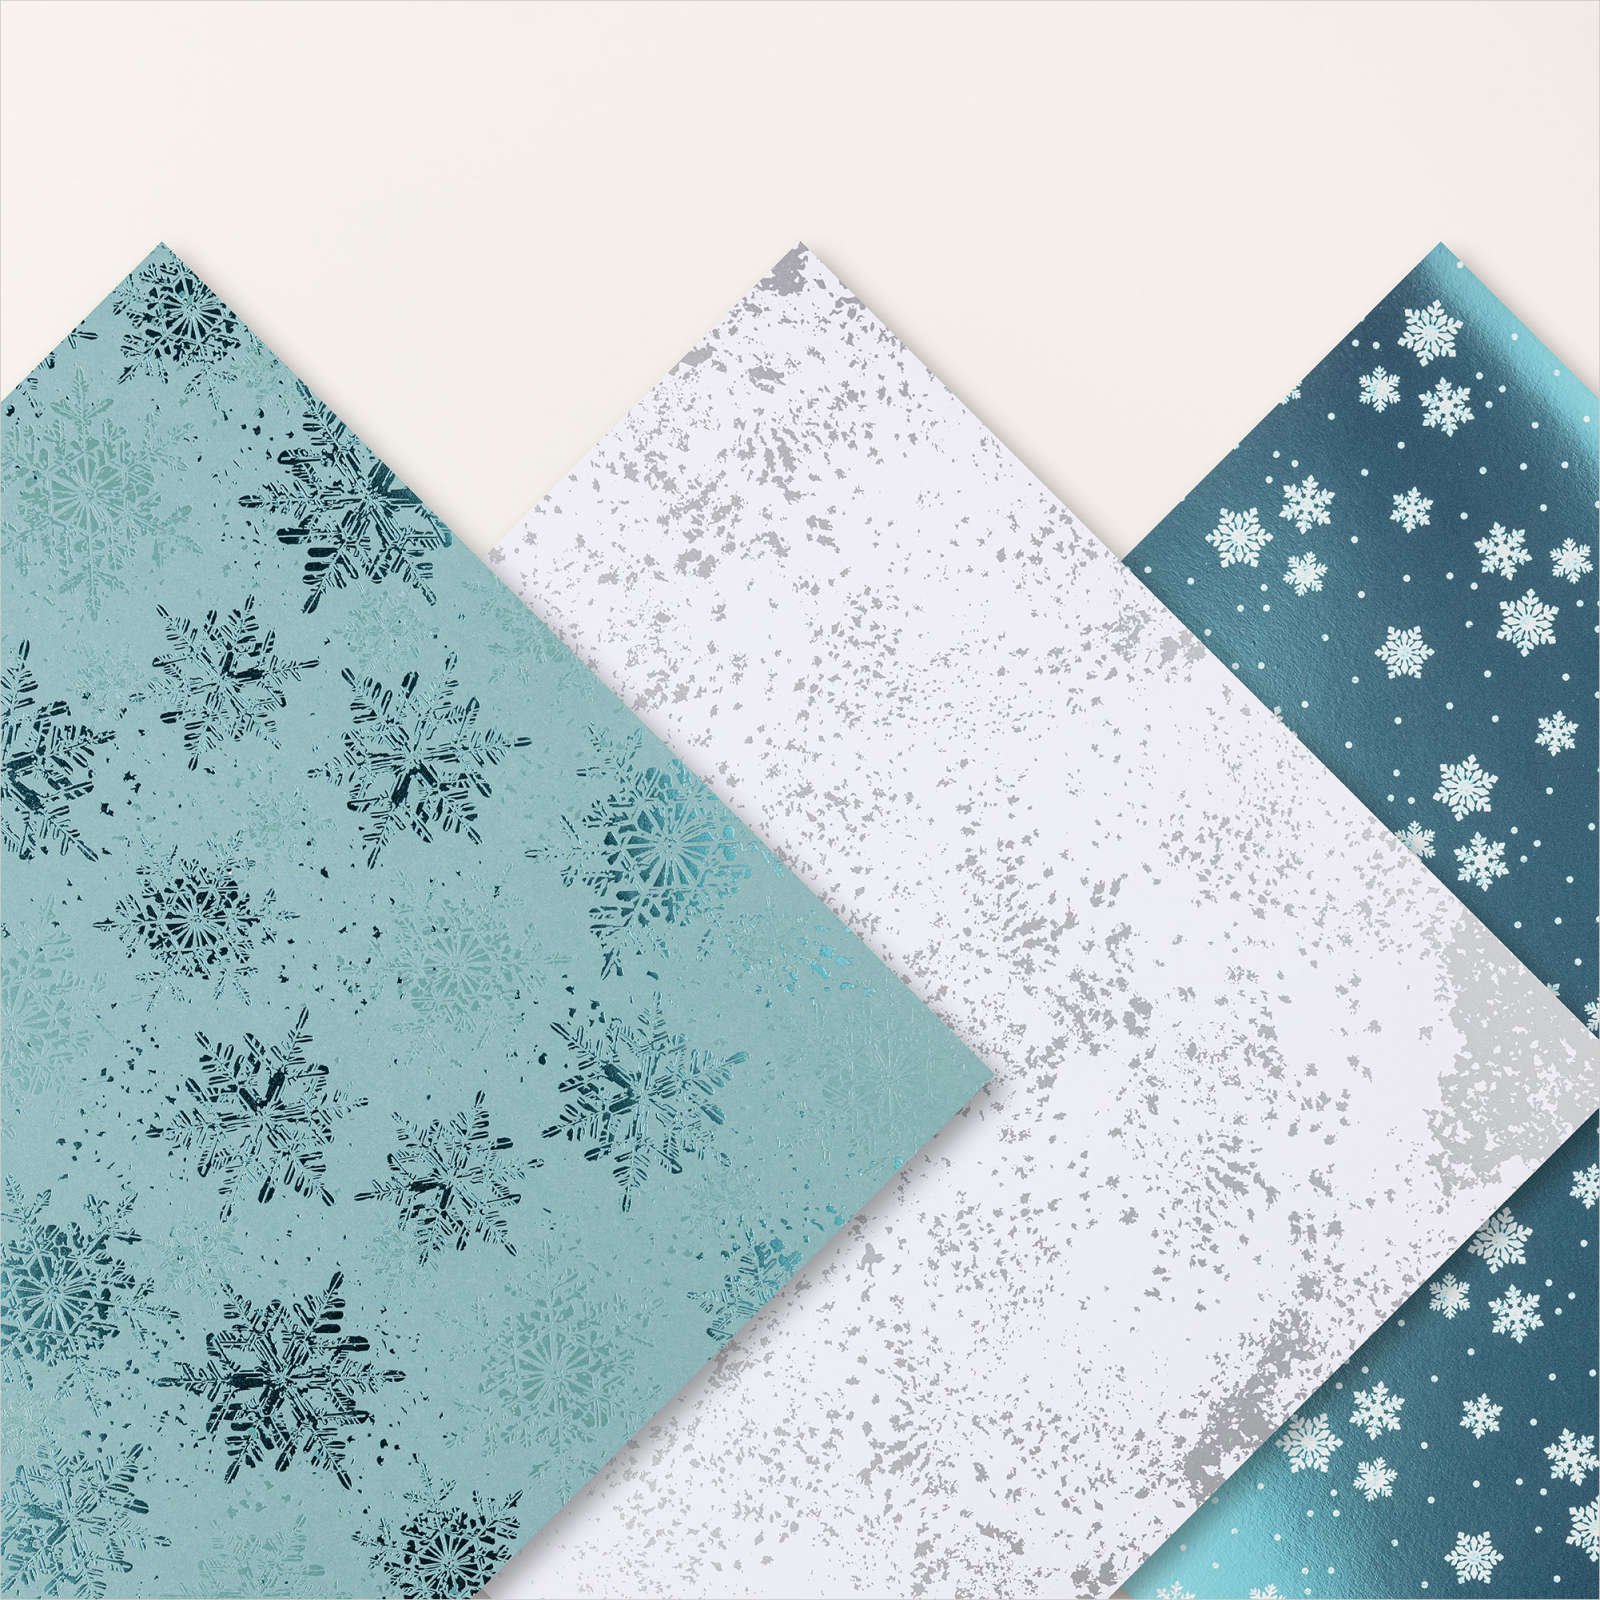
As you hear me go on & on about foliage, are you surprised the lovely Magical Meadow Bundle (& Winter Meadow Suite Collection) is my new focus with all the beautiful foliage and gorgeous papers? There is so much you can do with suite and bundle and just perfect for beginning Christmas projects and cards.


Magical Meadow October Stamp Class
My FREE WITH PURCHASE class is on 10/14/23 at 11 a.m. here in Minnesota in-person or via zoom!. If you are interested in this class, you can order $35 or more using my host code (2F3SQWFG) and get the class for free (in-person or to-go)! Be sure to order (purchase your class kit or purchase to reserve your spot) by 10/8/23! ORDER KIT HERE. Kits are limited so do not delay!

I love mistletoe! What is better than mistletoe kisses!!
When I get started on a set with lots of foliage, like the lovely Magical Meadow Bundle, I like to research images of the foliage for inspiration and found this sweet photo of mistletoe tied with fat red ribbon. While we do not have “fat” red ribbon, we have plenty of other choices to recreate this sweet pic for a card.

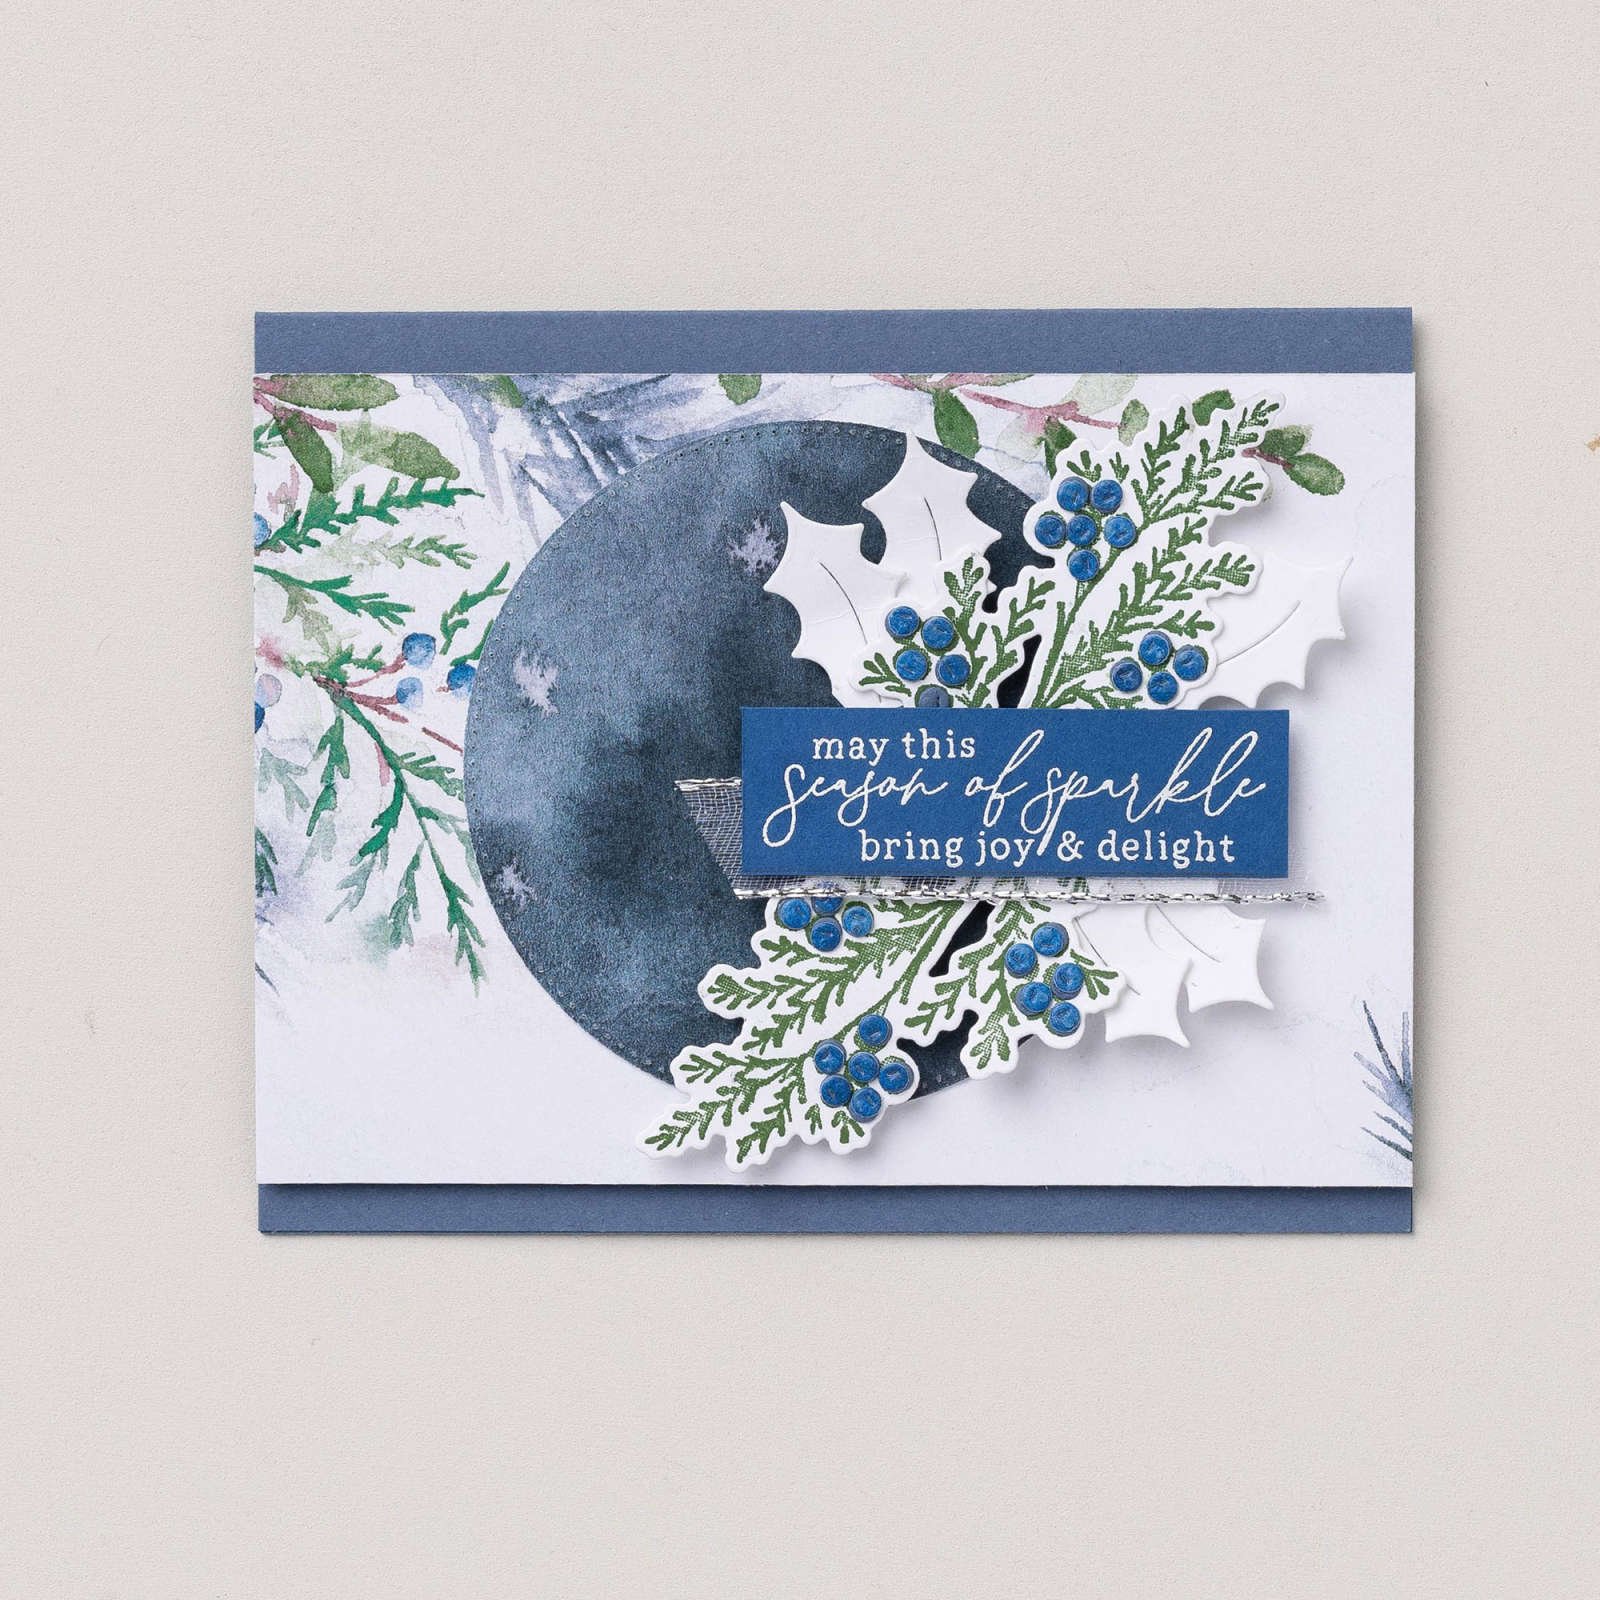
Winter Whishes & Christmas Kisses
To recreate the above image, I started with a 4”x5-1/4” layer of Basic Black CS and embossed it with the Timber 3D folder. I then glued this layer to a 4-1/8”x5-3/8” layer of Real Red CS, glued to a Basic White Thick CS A2 card base (8-1/2”x5-1/2” scored & folded at 4-1/4”). Using Mossy Meadow CS, I die cut out 3 mistletoe branches and adhered them to the card front using Glue Dots. I used the lovely Snowflake Magic Specialty Designer Series Paper (in white) for the berries and the sentiment label.

I used Stazon Jet Black ink to stamp “Winter Wishes” on the Snowflake Magic SDSP (because of the foil), wanting all the sentiment to show across the paper, then die cut using the Stylish Shapes dies. I love how Winter Wishes and Christmas kisses rhyme together, so to get the “Christmas Kisses” sentiment, I used MSWord program with “Currier New” 14 point font printed on our Basic White CS, trimming it to 3/8”x2-1/2”. I think it matches nearly perfectly!! I then popped them both up using Stampin’ Dimensionals.
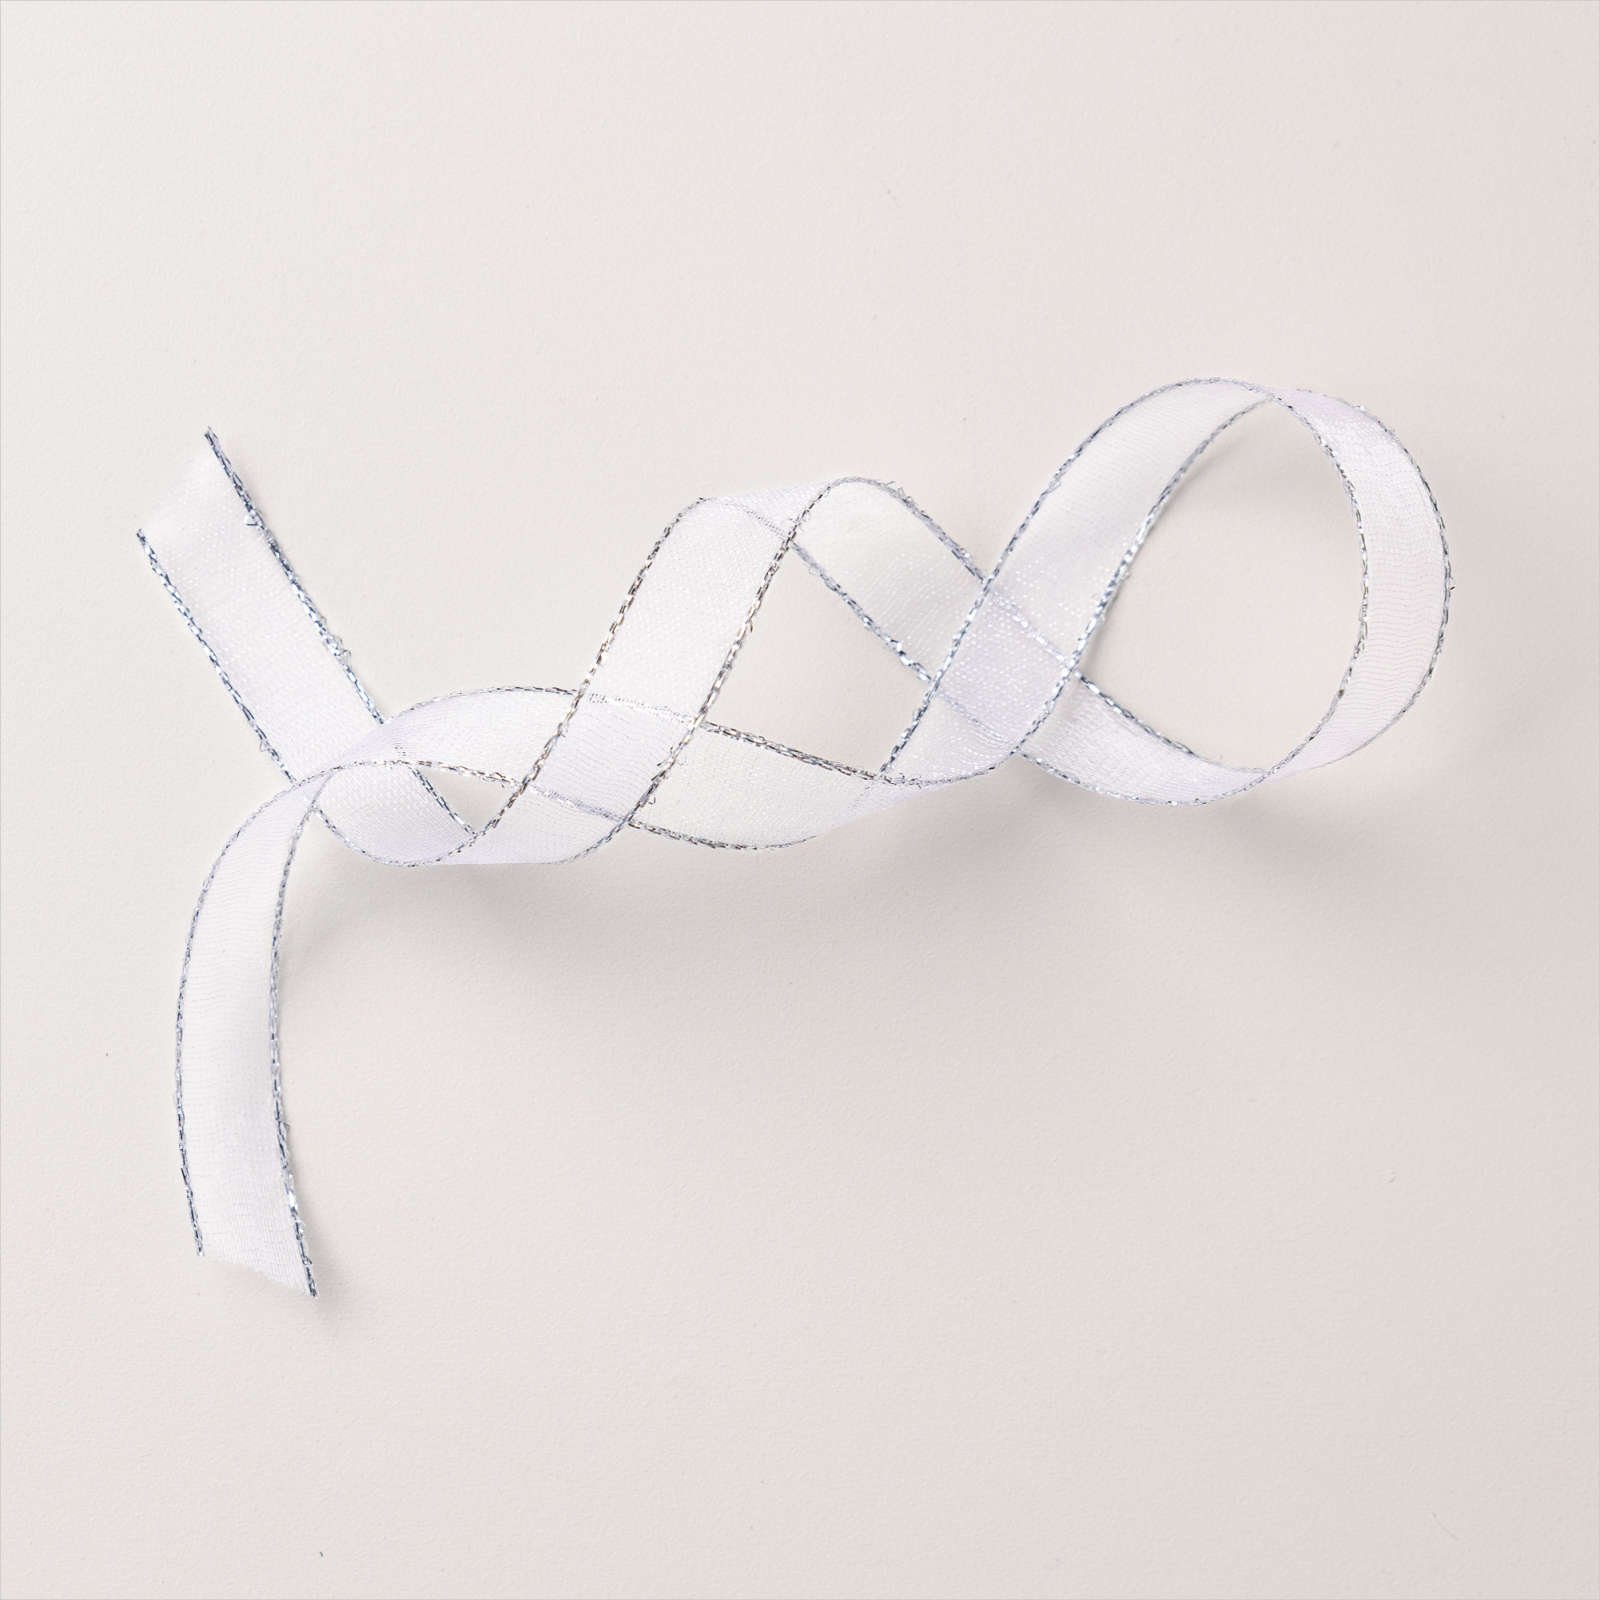
After die cutting out the berries on the Snowflake Magic SDSP, I glued the white berries on mistletoe. I took the red ribbon from the Real Red & Burlap Ribbon Combo Pack and tied a bow, then adhered it to the stems of the mistletoe using Glue Dots.

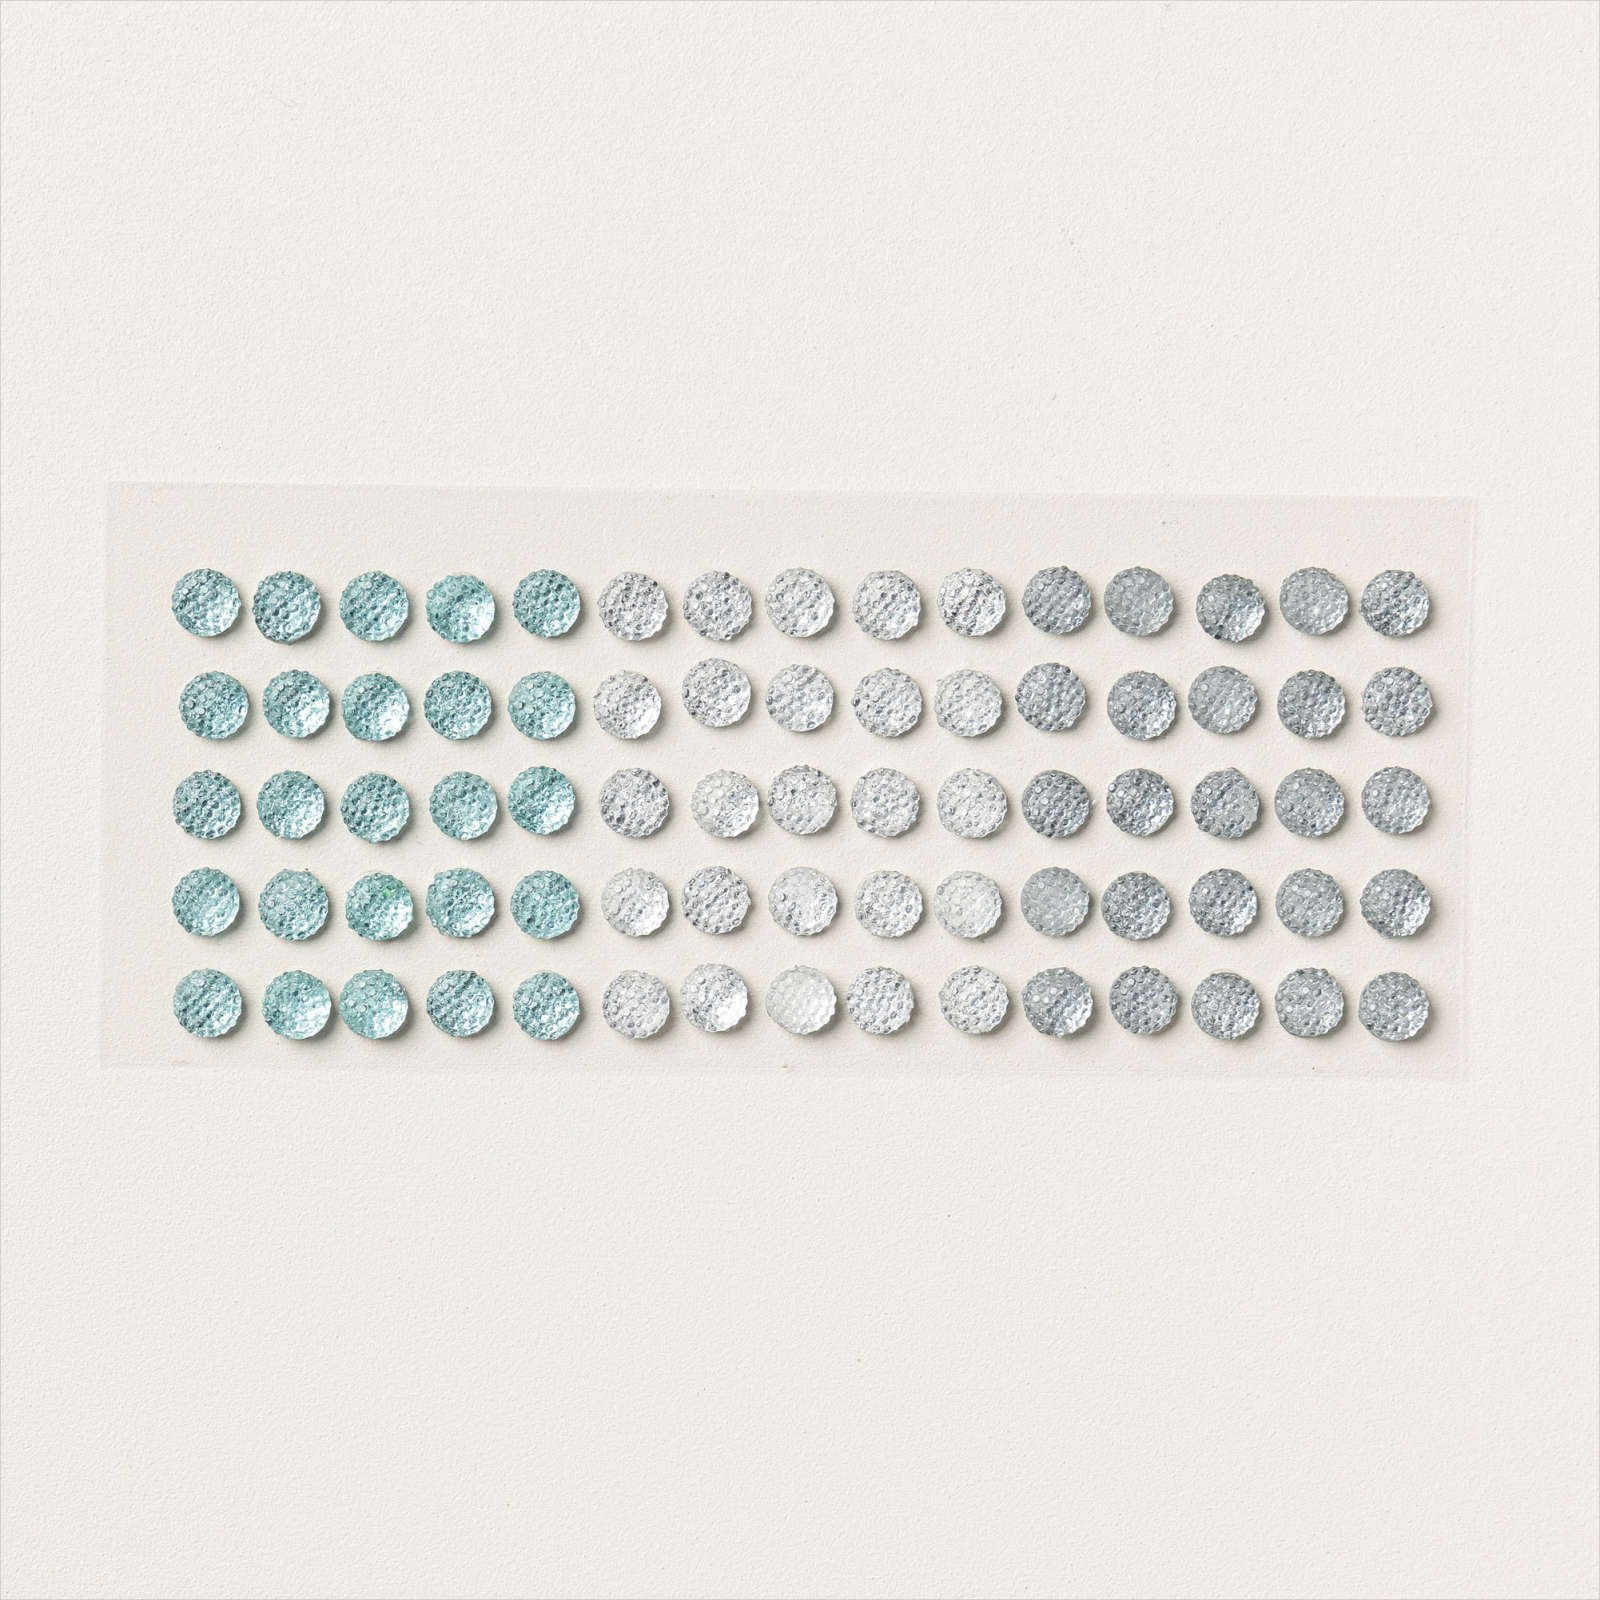
My final touch was to add Rhinestone Basic Jewels and then added the Snowflake Magic SDSP to the envelope flap.
I hope this card inspires you to want to play with this lovely set! Who knows what you will come up with!
If you need more inspiration, be sure to check out my upcoming class!