What’s Included In My Monthly Card Buffett?
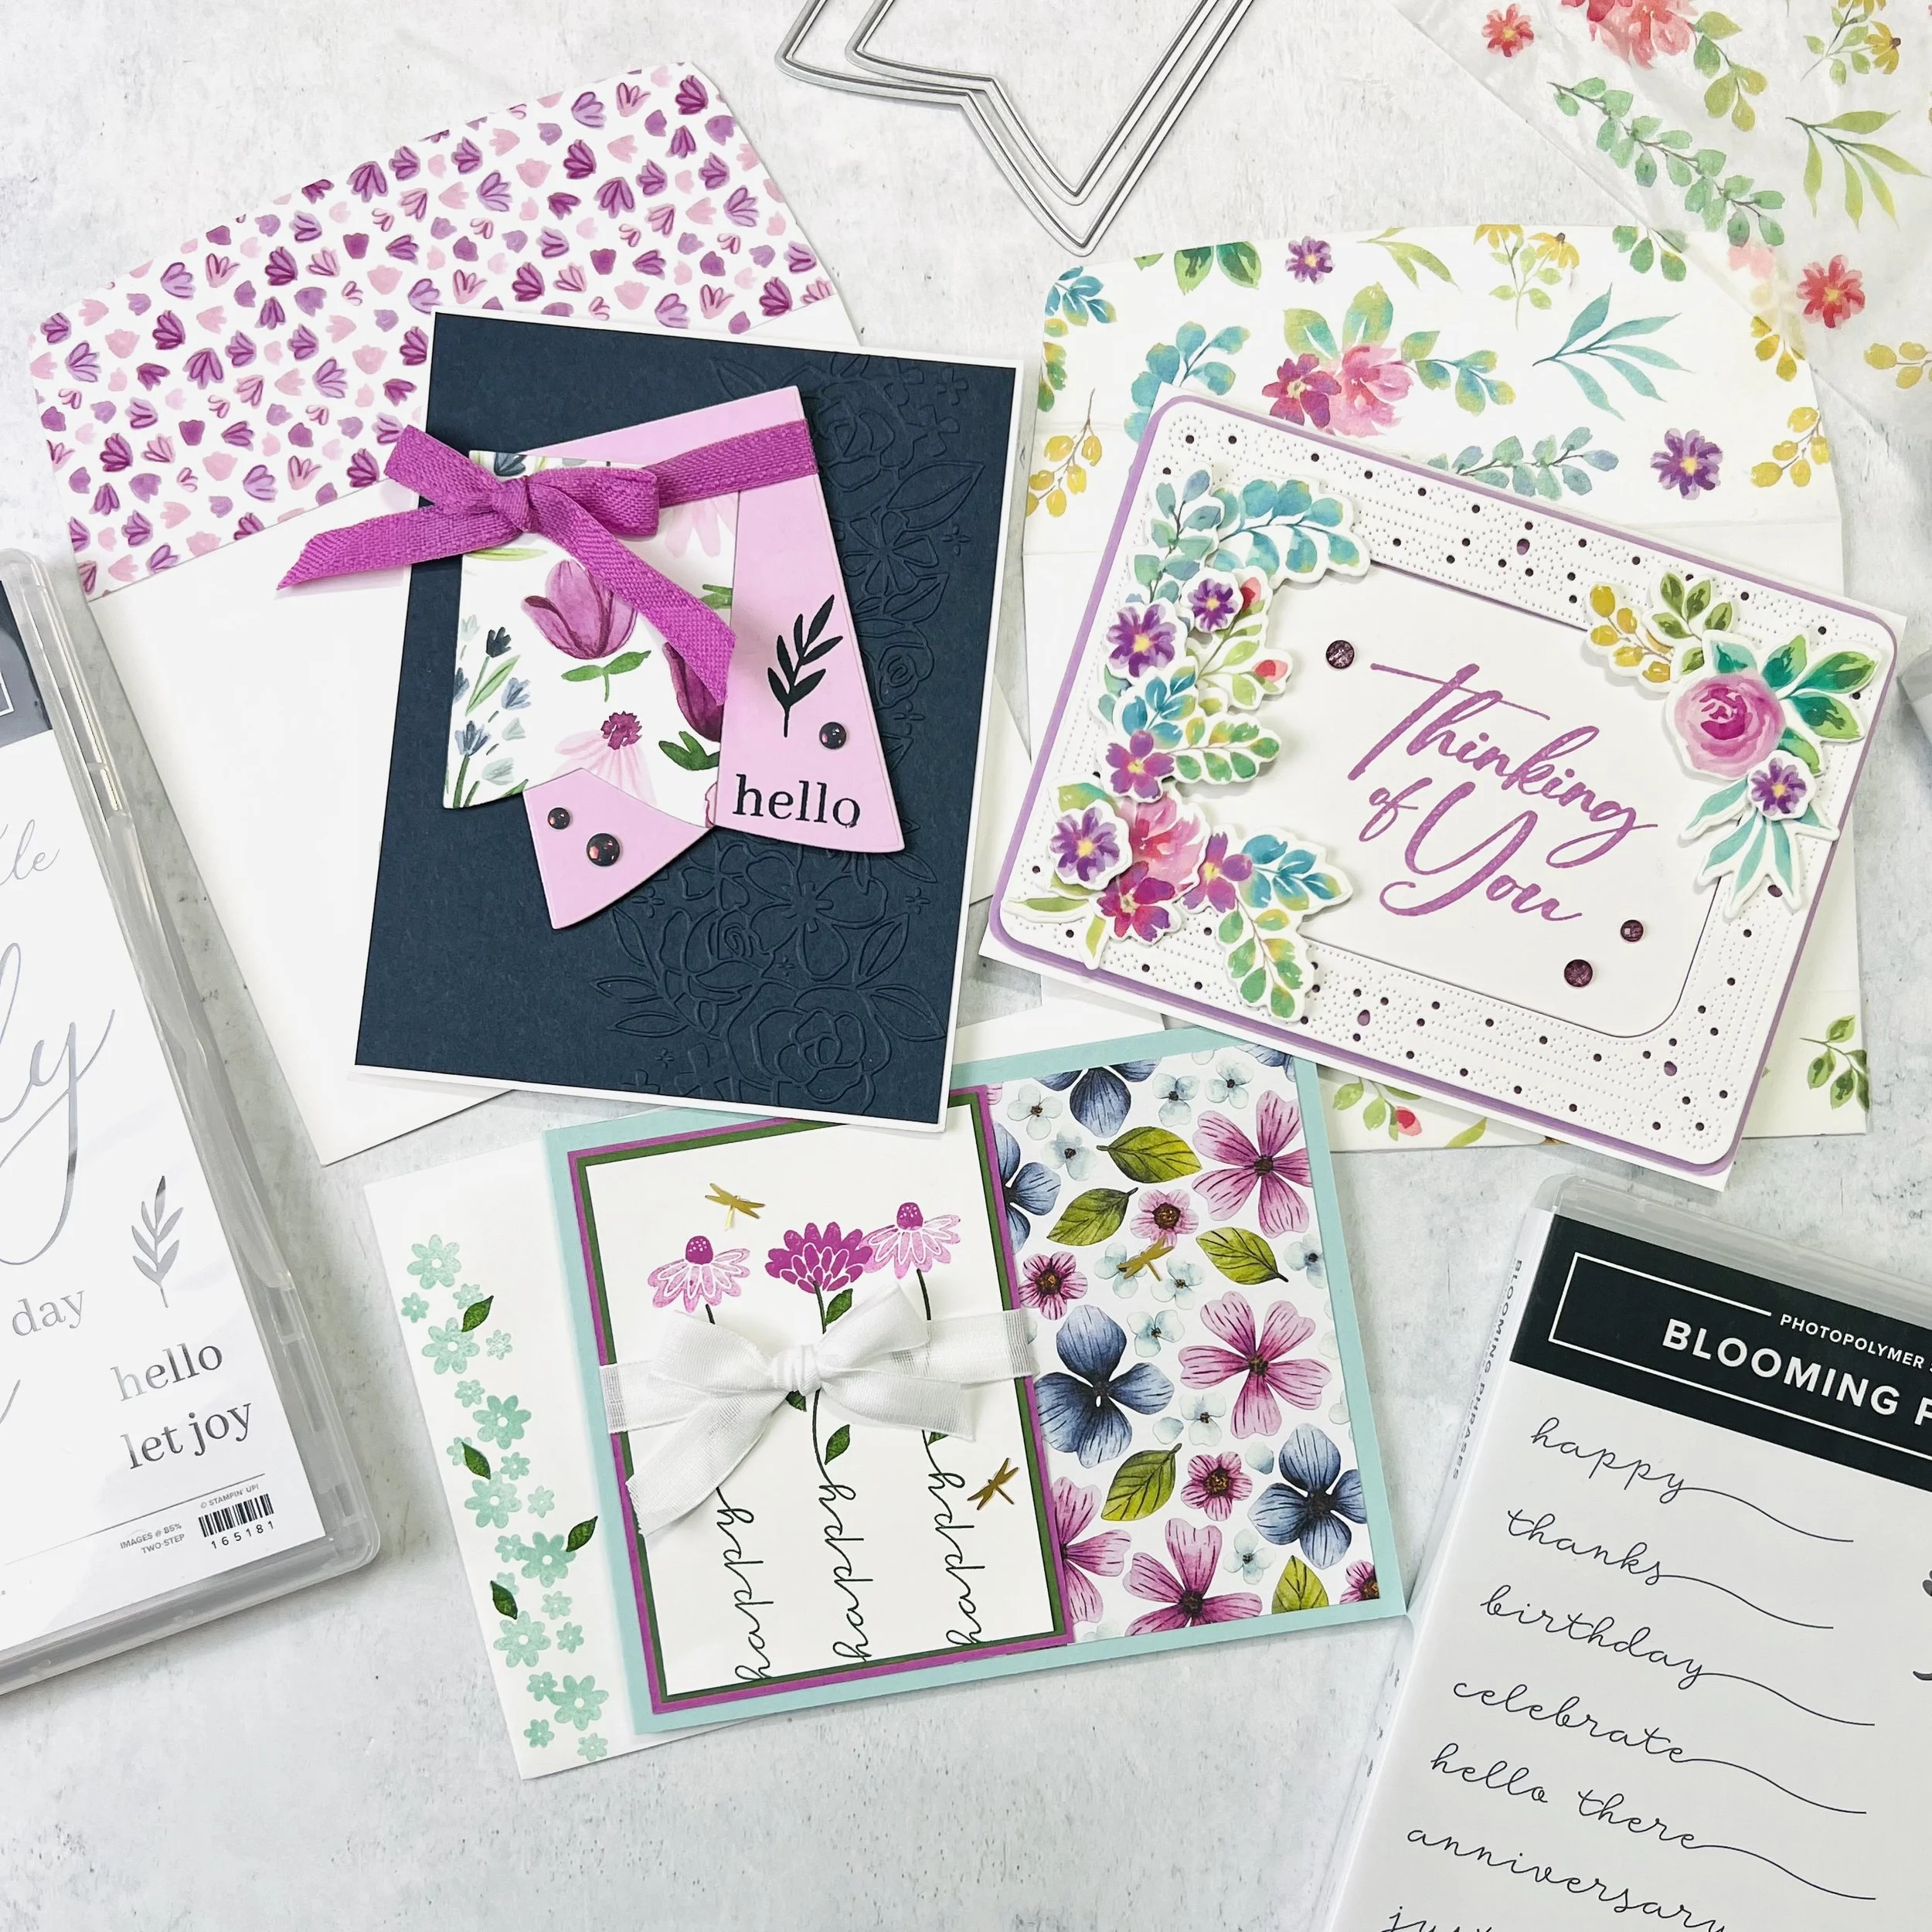
Card Sampler
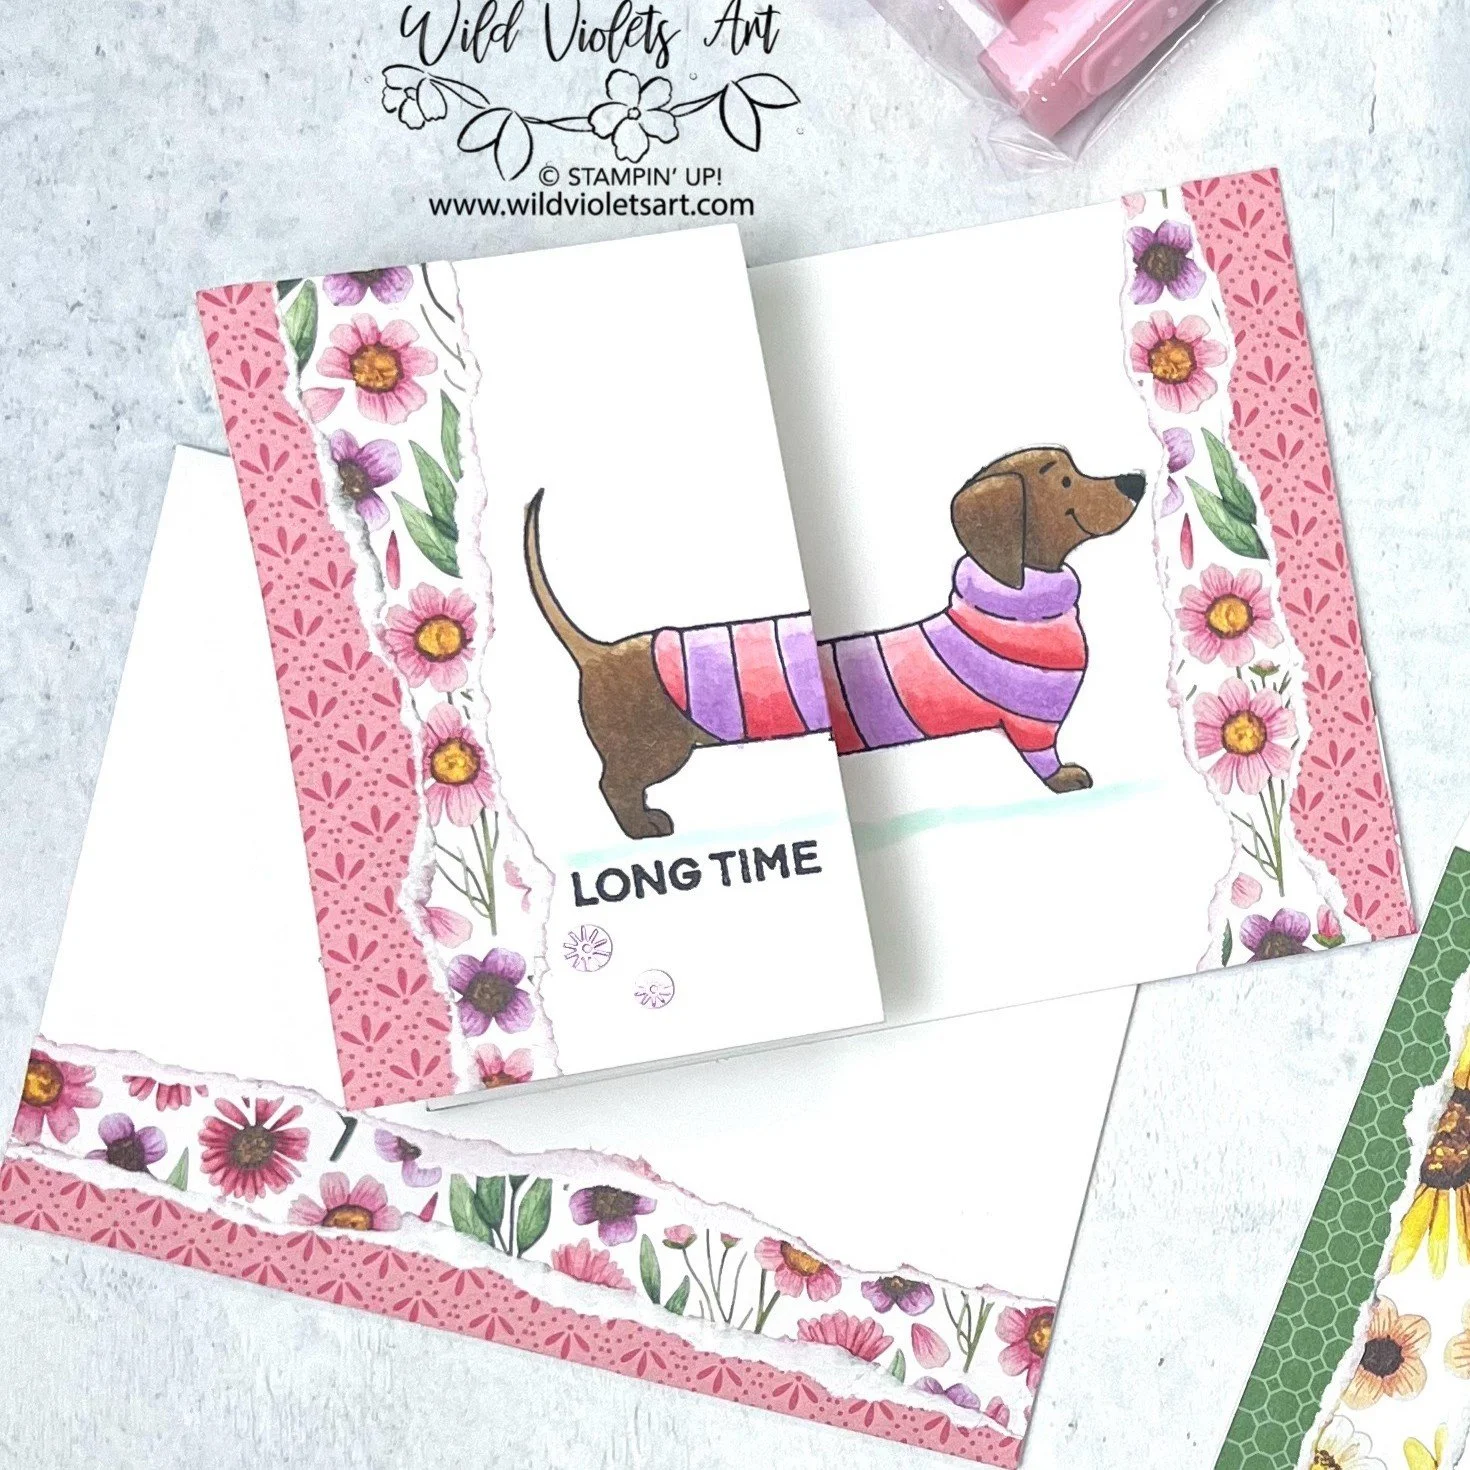
For this week’s Marvelous Monday FB Live, I gave you a peek at what I typically offer for my monthly Card Buffet here in my home!
While I typically offer up 10 to 12 options at my Card Buffet, tonight I’ll be featuring three gorgeous favorites: featuring the Sweet Blooms stamp set, the Sentimental Framing Bundle, and the Blooming Phrases stamp set.
Below, I share the beautiful card designs, creative tips, and inspiration straight from my craft table to yours! Whether you’re looking for fresh floral ideas or just love a fun creative moment, you won’t want to miss the below.
I enjoy the ability to show my friends the beautiful product that Stampin’ Up! provides in the latest catalog and online offerings. Having a Card Buffet in my home allows my friends to test out a stamp set, punch, bundle or suite. If you are local to Eagan Minnesota, I would love to meet you and have you join my upcoming Card Buffet. I will have lots of new fun and beautiful samples from the upcoming September-December 2025 Mini Catalog and the September Online Exclusive Offering.
Where: Send me a message for my address
Date: August 23, 2025
Time: 11:00 AM – 3:00 PM
RSVP: angela@wildvioletsart.com
Or: https://stampinup.net/crm/events/254171?site_demoid=2235725
If you live too far away to be part of my Card Buffet, read the offer at the bottom of this post to find a way for you to get a card kit sent to you for FREE.


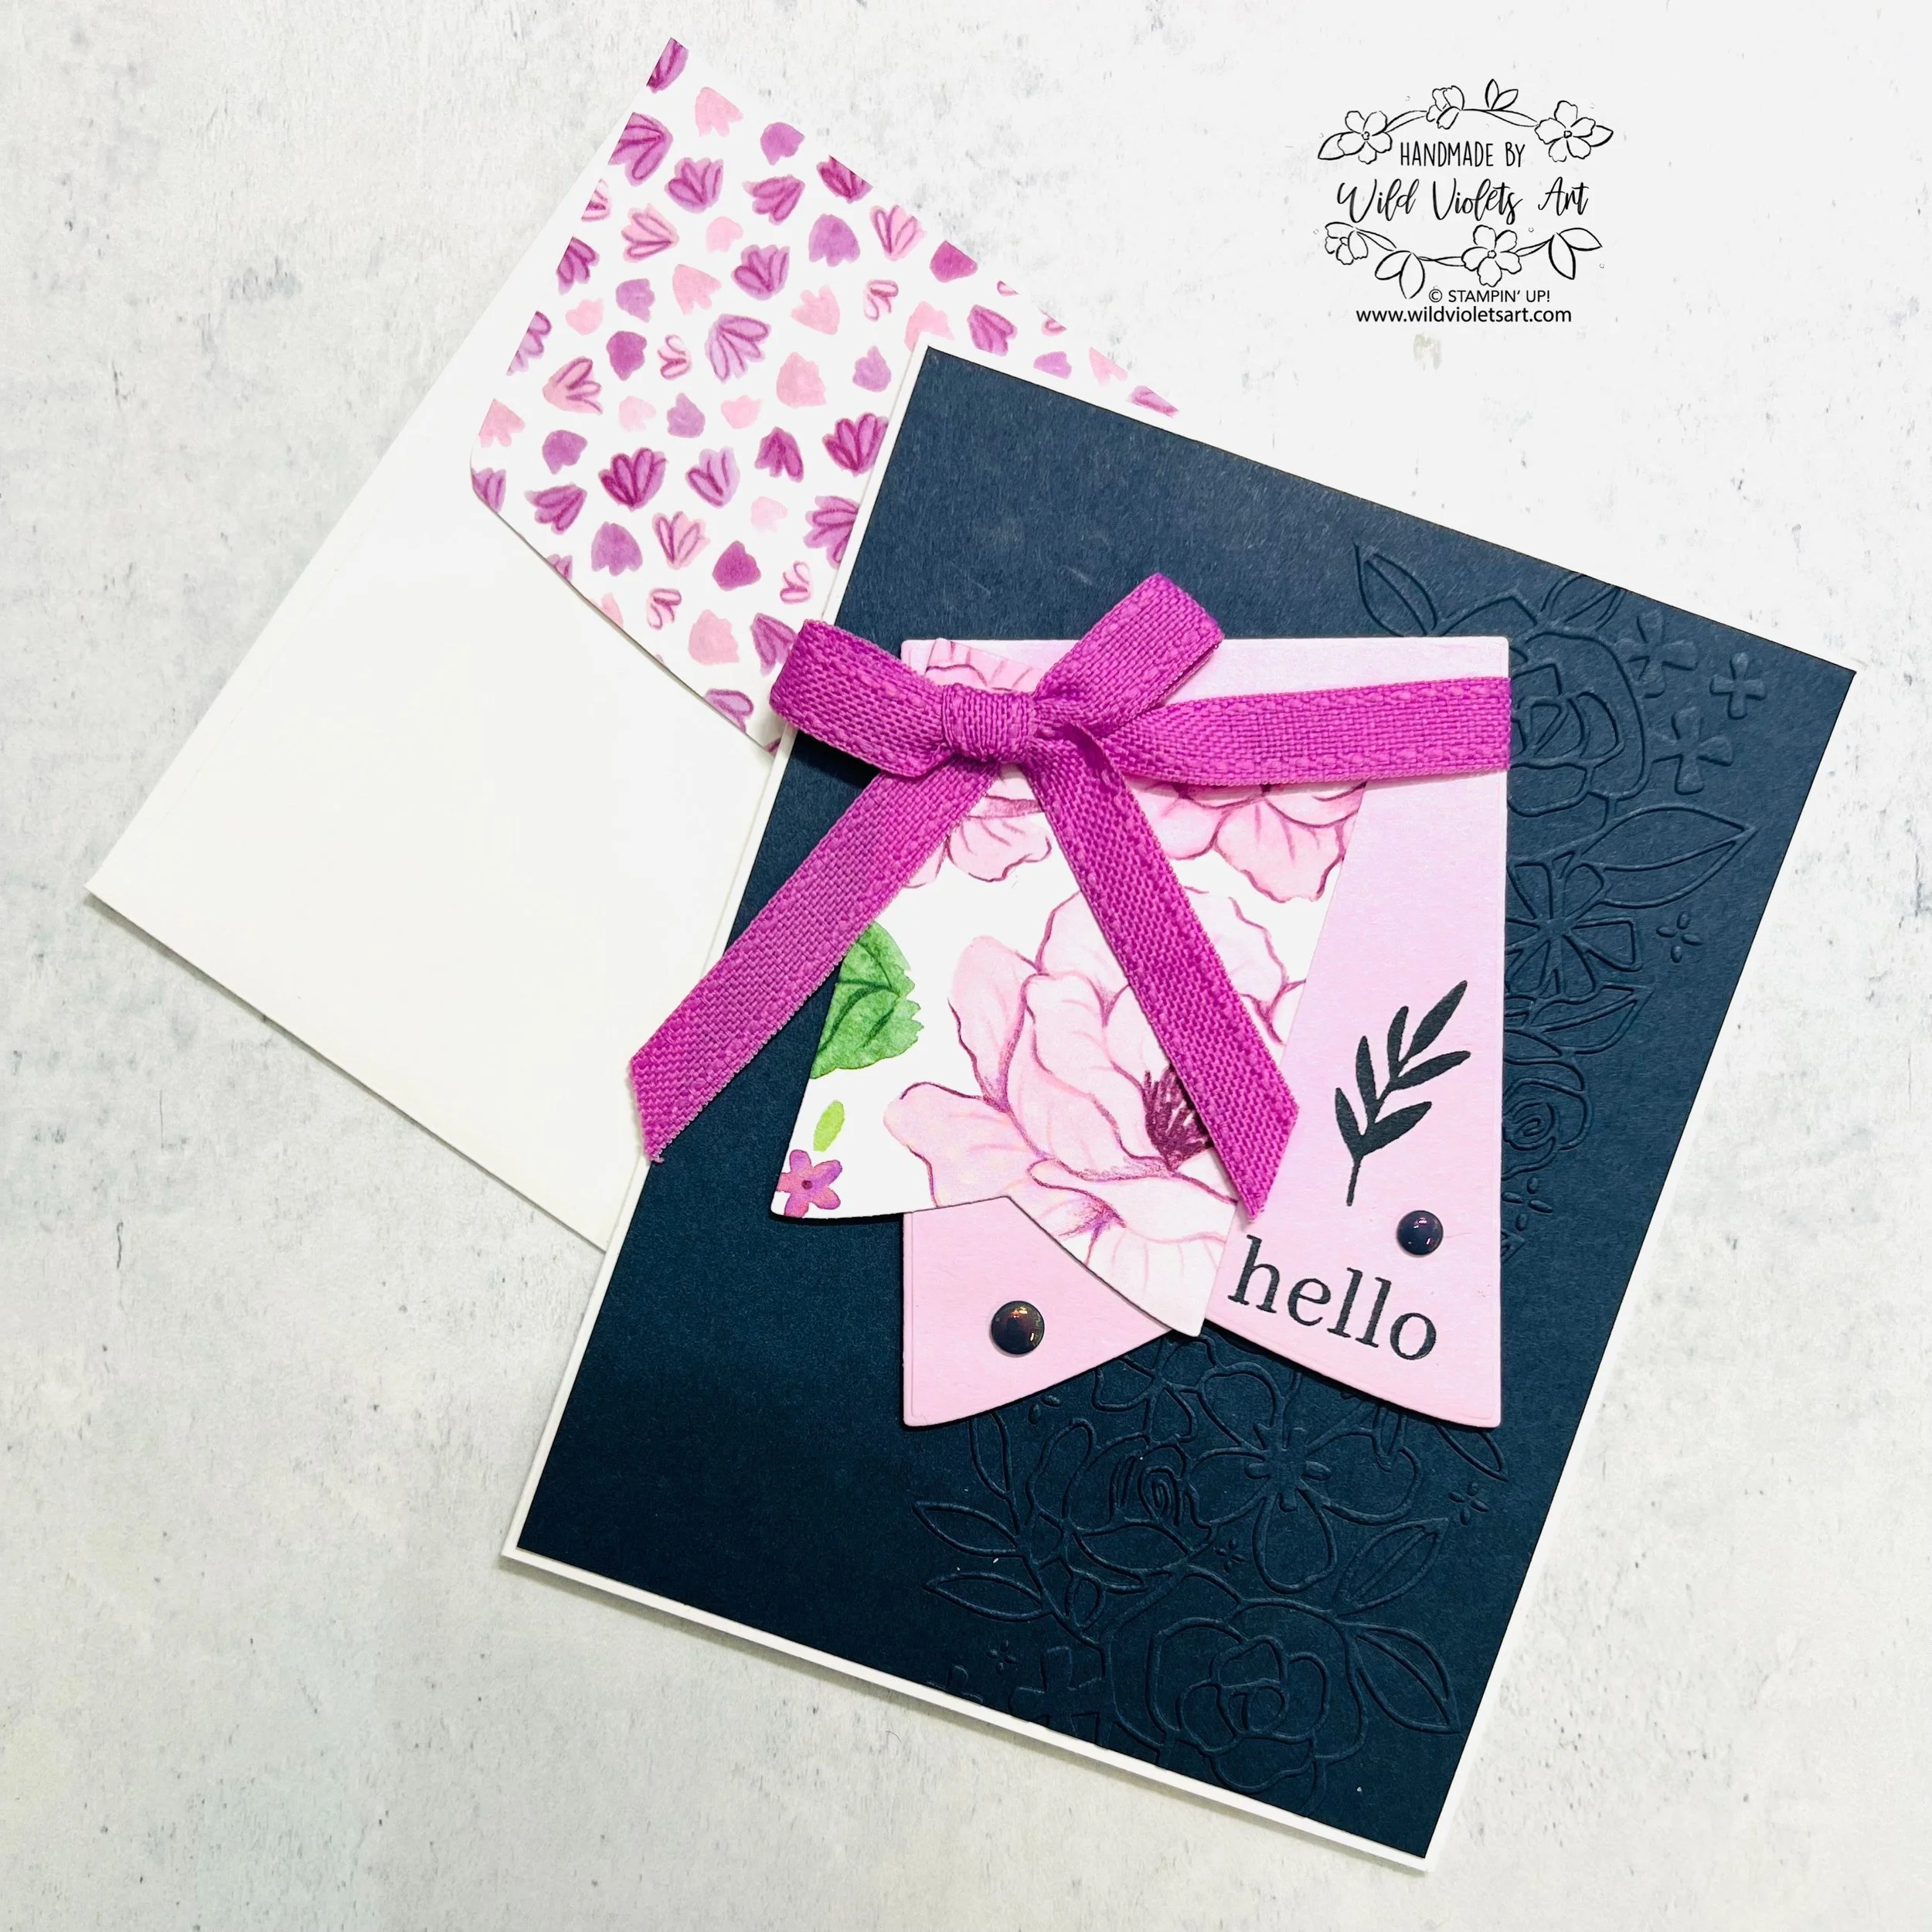
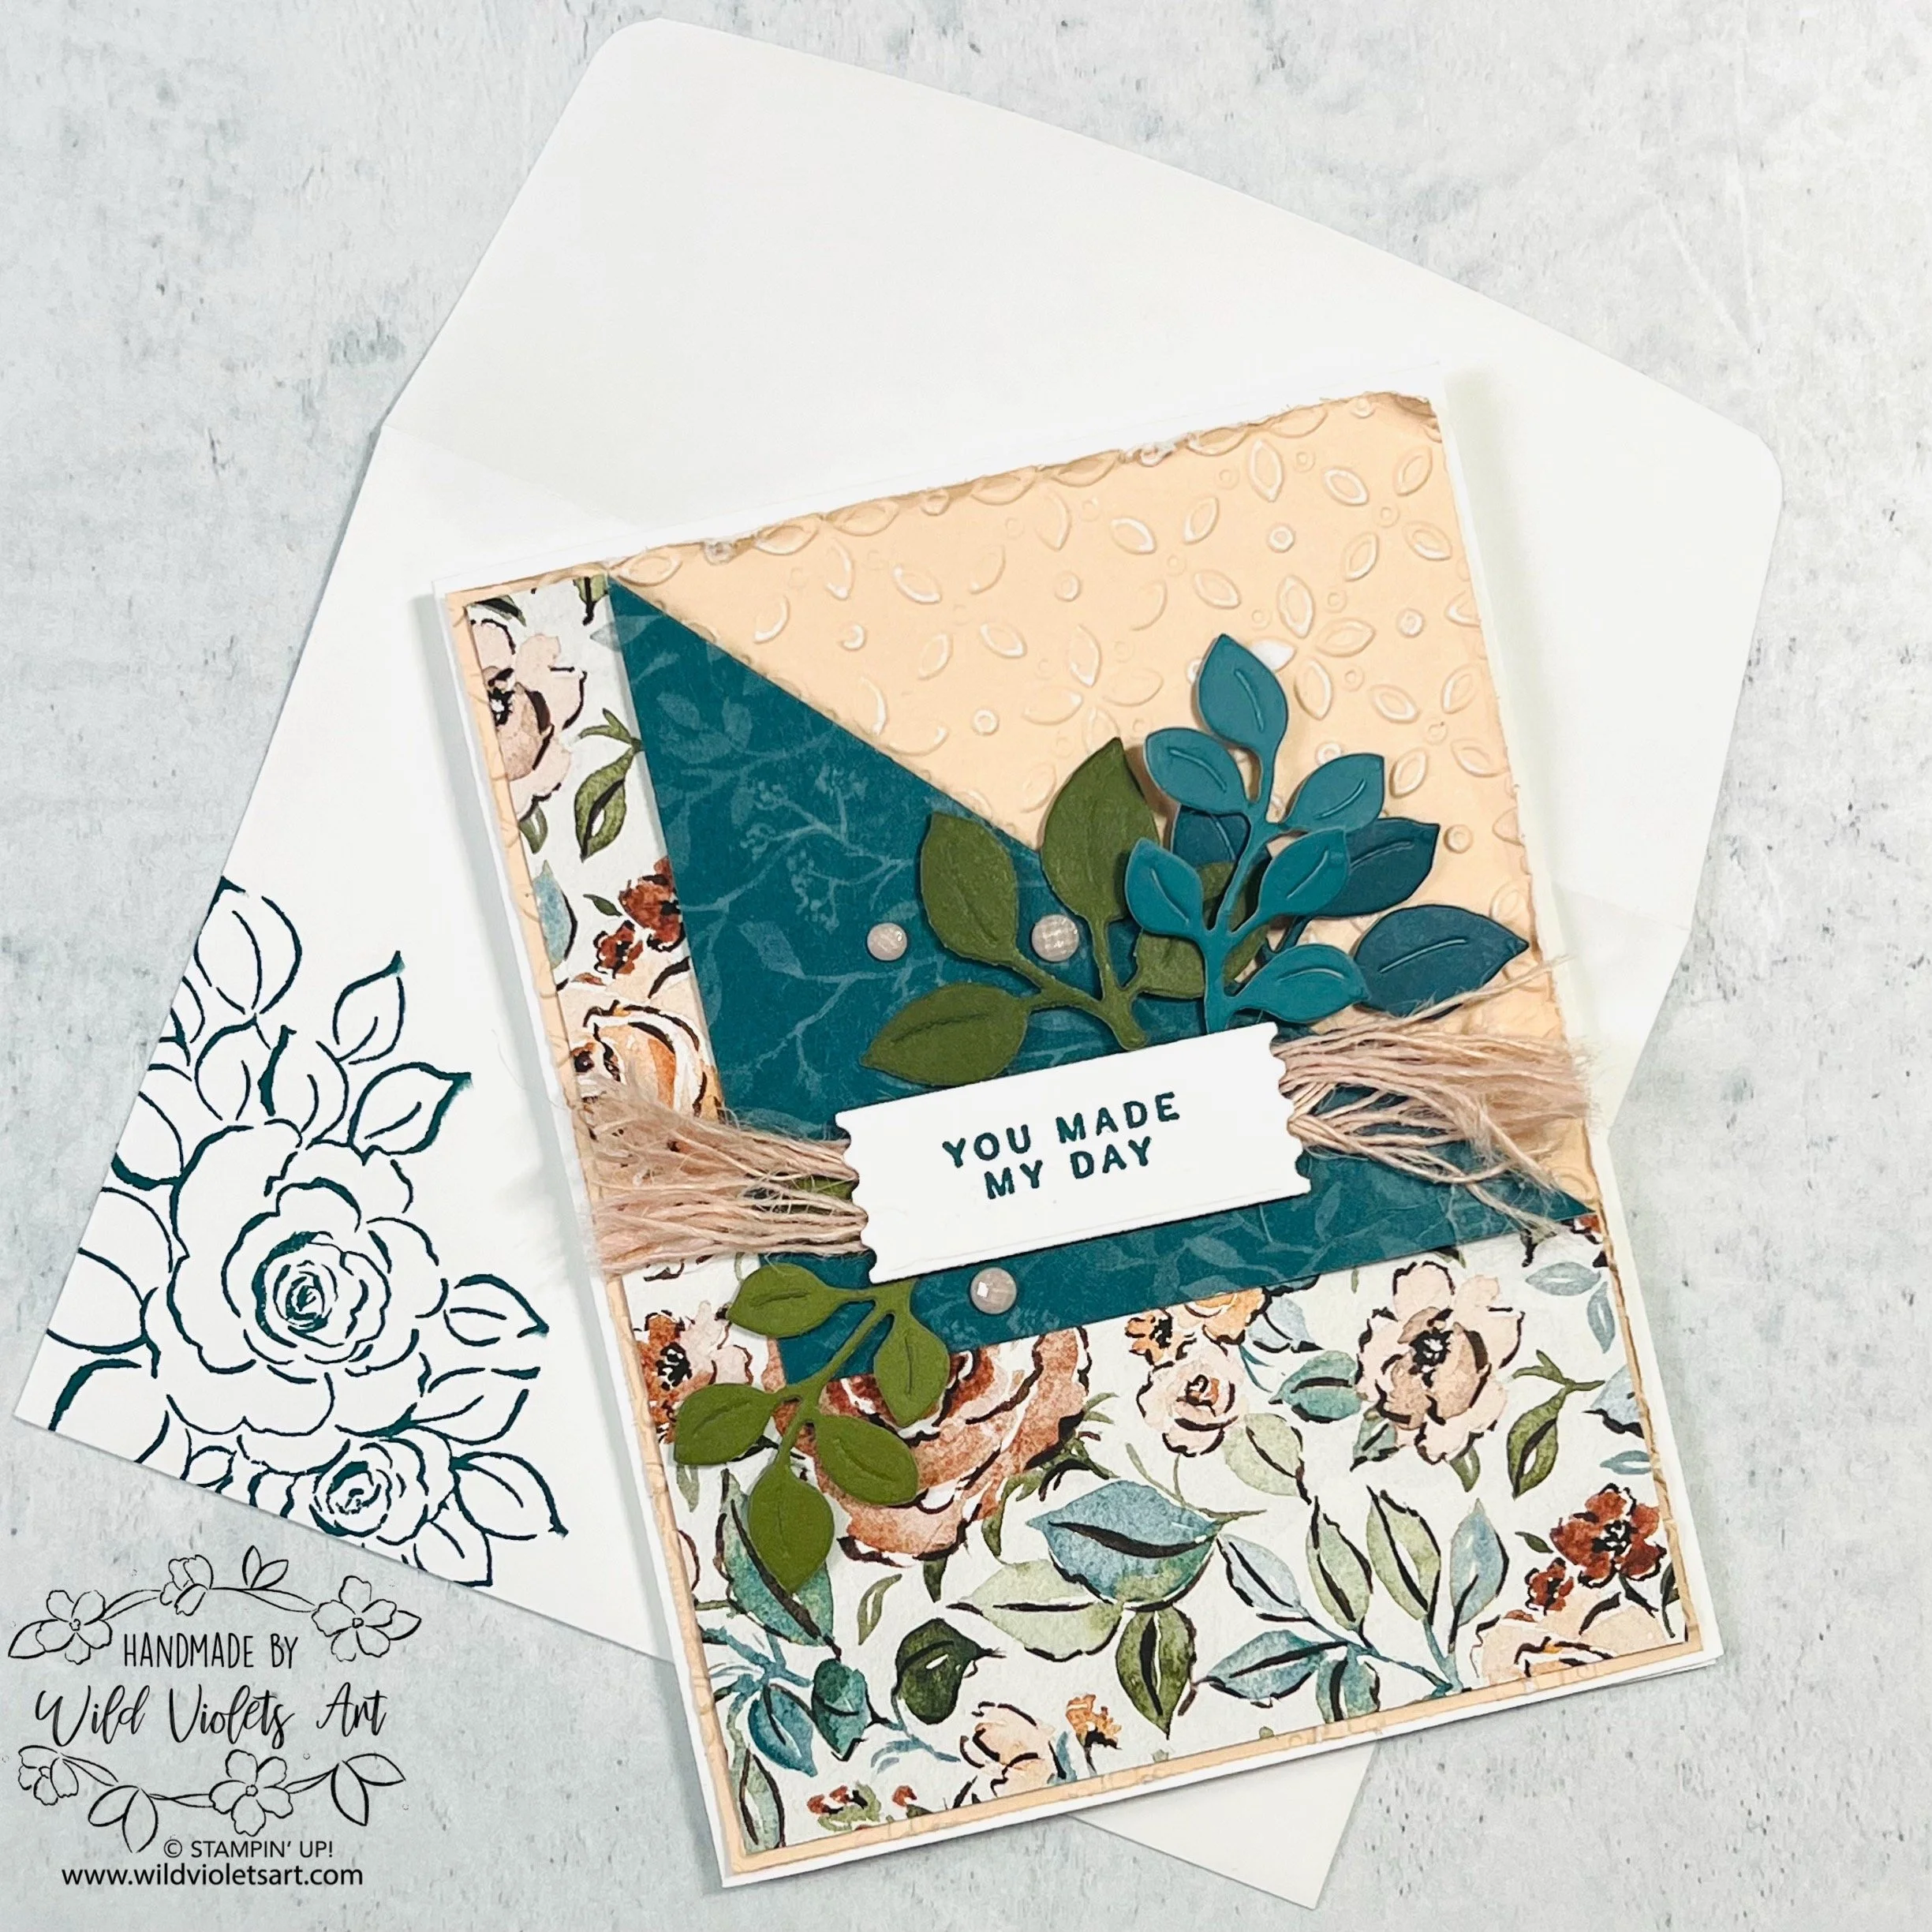
Hello
I love this sweet little card. For the stamps, I used the Sweet Blooms Stamp Set. I used an A2 card base in Basic White Thick cardstock. I then added a 4-1/8”x5-3/8” Secret Sea cardstock layer and embossed it with the Glass & Gardens Embossing Folder to the right side of the piece. I used the 2-1/2”x3-1/4” and 2”x2-1/2” Banner Party Dies to cut out a piece of Bubble Bath cardstock and Florals In Bloom DSP.
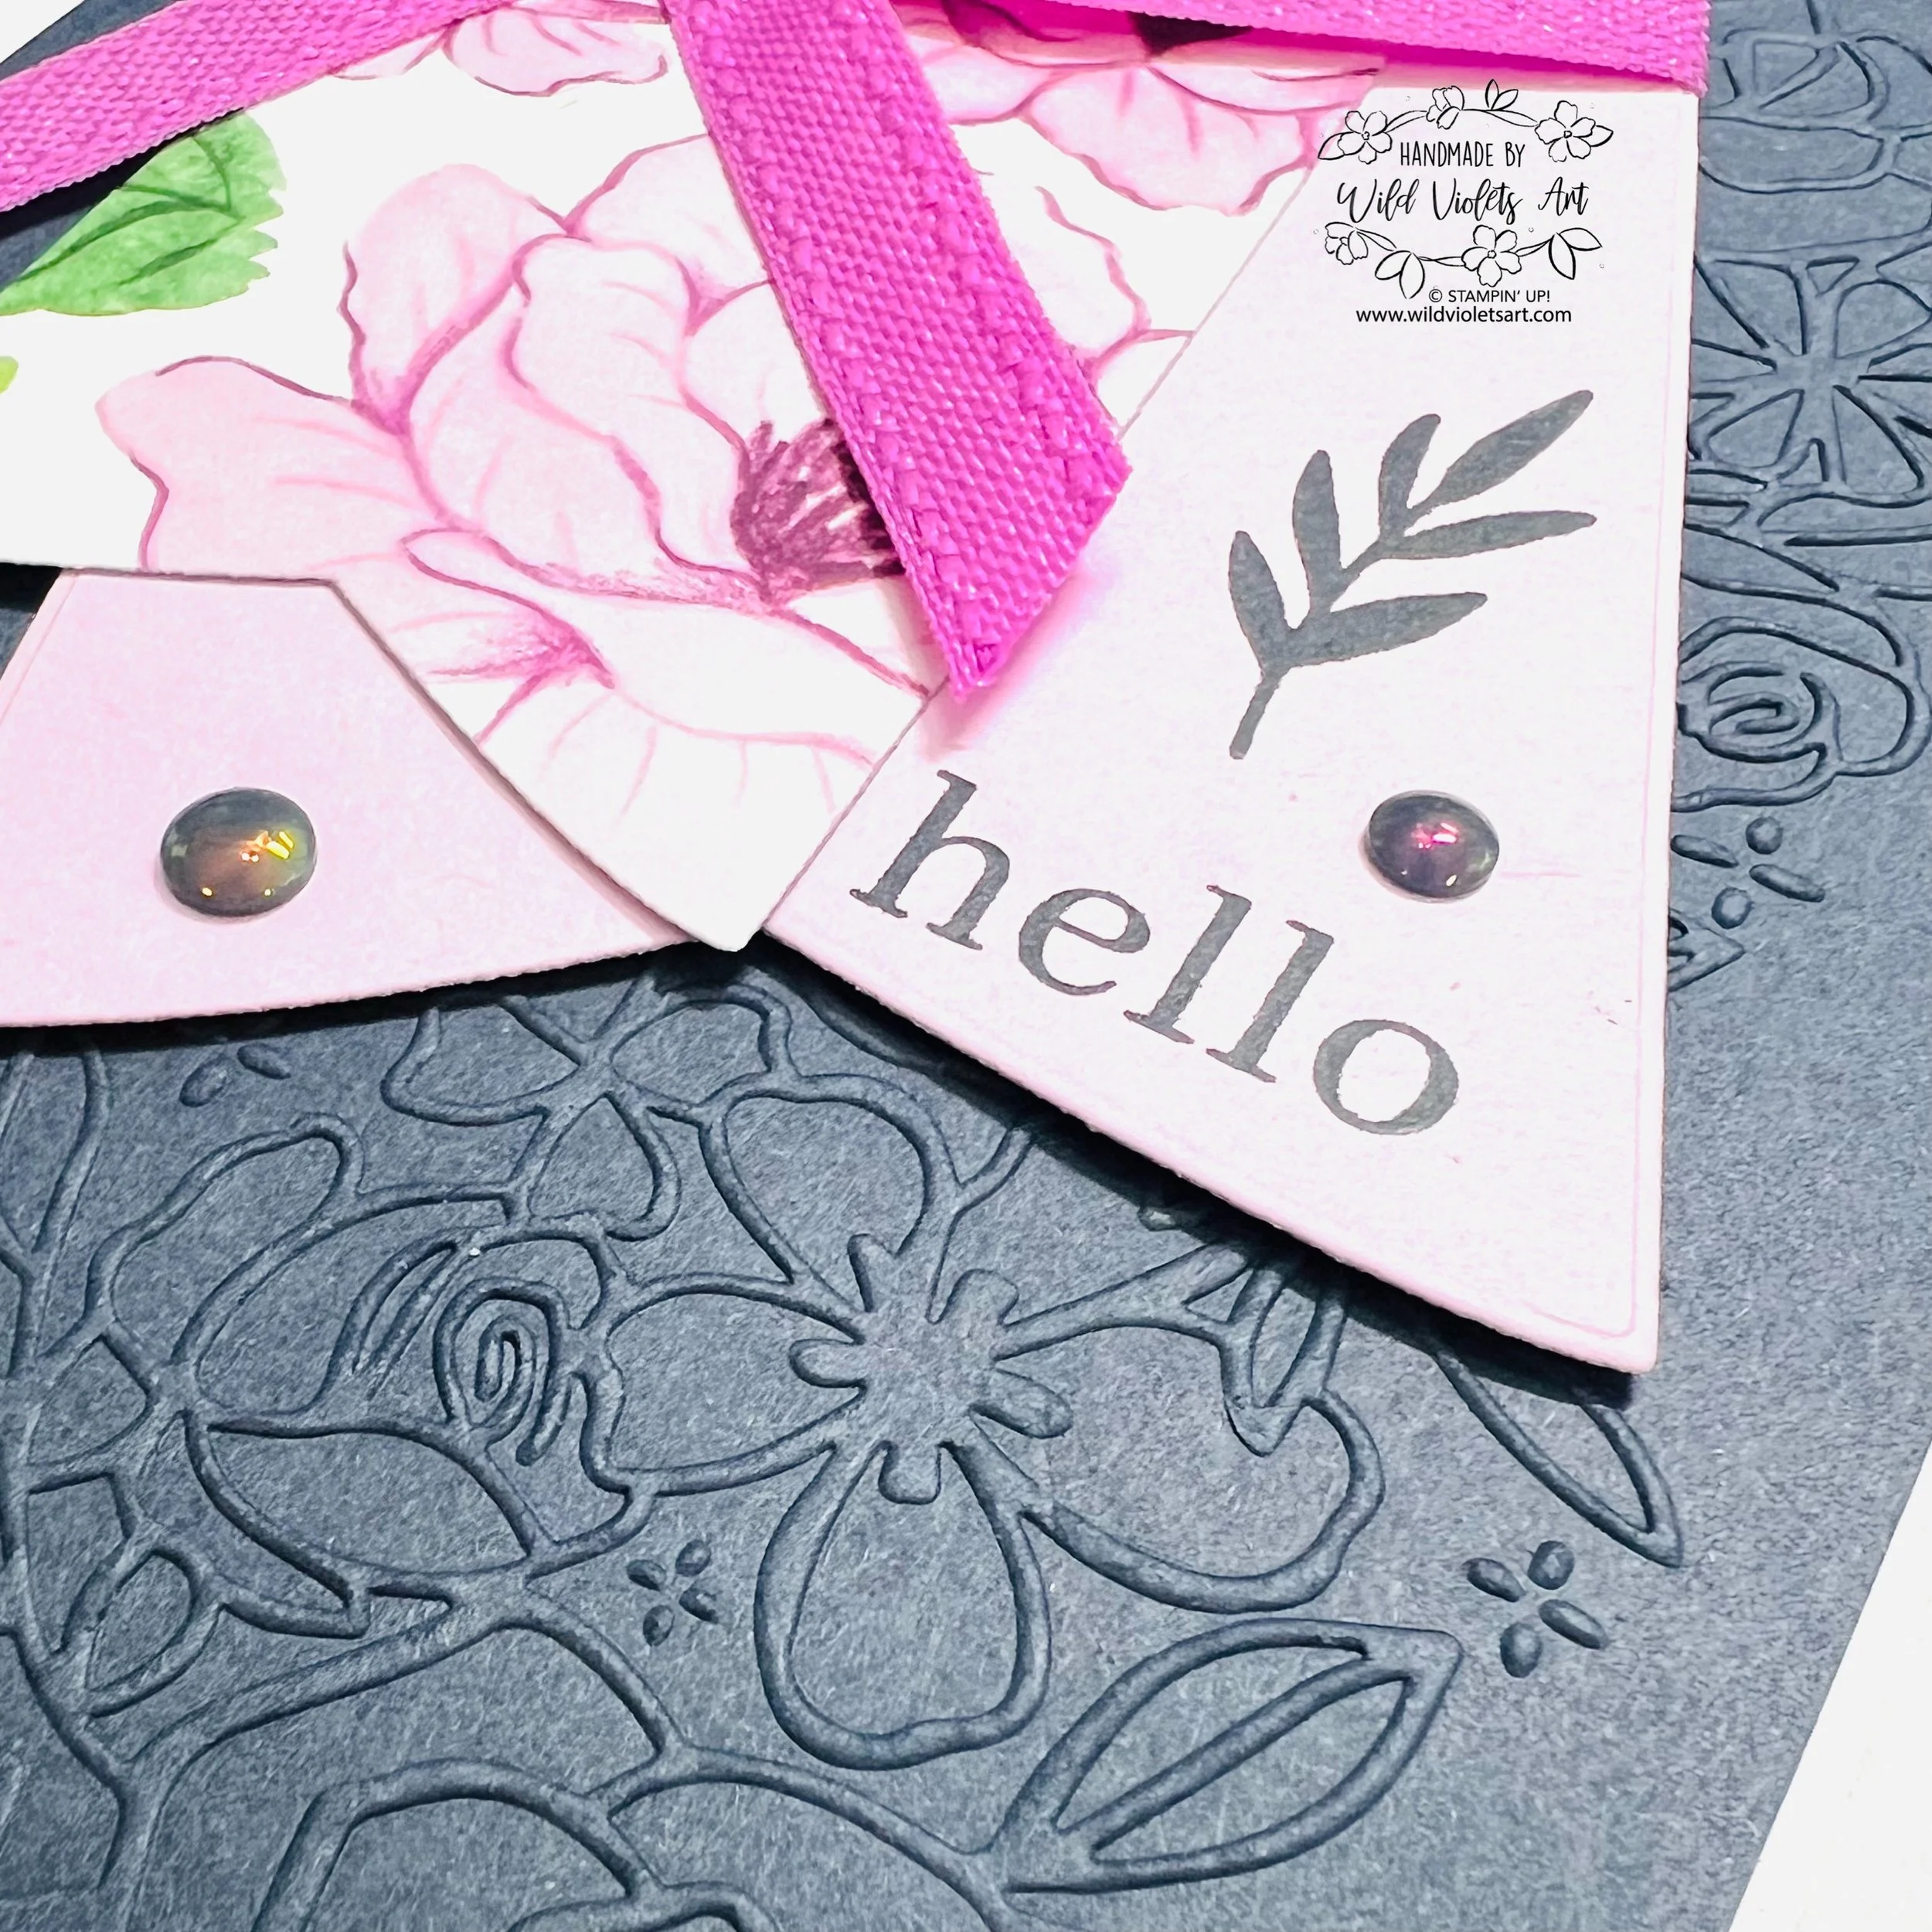
I stamped the sentiment on the Bubble Bath cardstock and leaf sprig using Secret Sea ink, then glued the DSP banner over it and to the left. I then wrapped both with the Petunia Pop Bordered Ribbon (on last chance list), tied a bow and popped them up on my card front.
My final touch for my card was the 2025-26 In Color Flat Pearls in Secret Sea. For my envelope, I used another piece of the Florals In Bloom DSP for the envelope flap. Simple but striking!

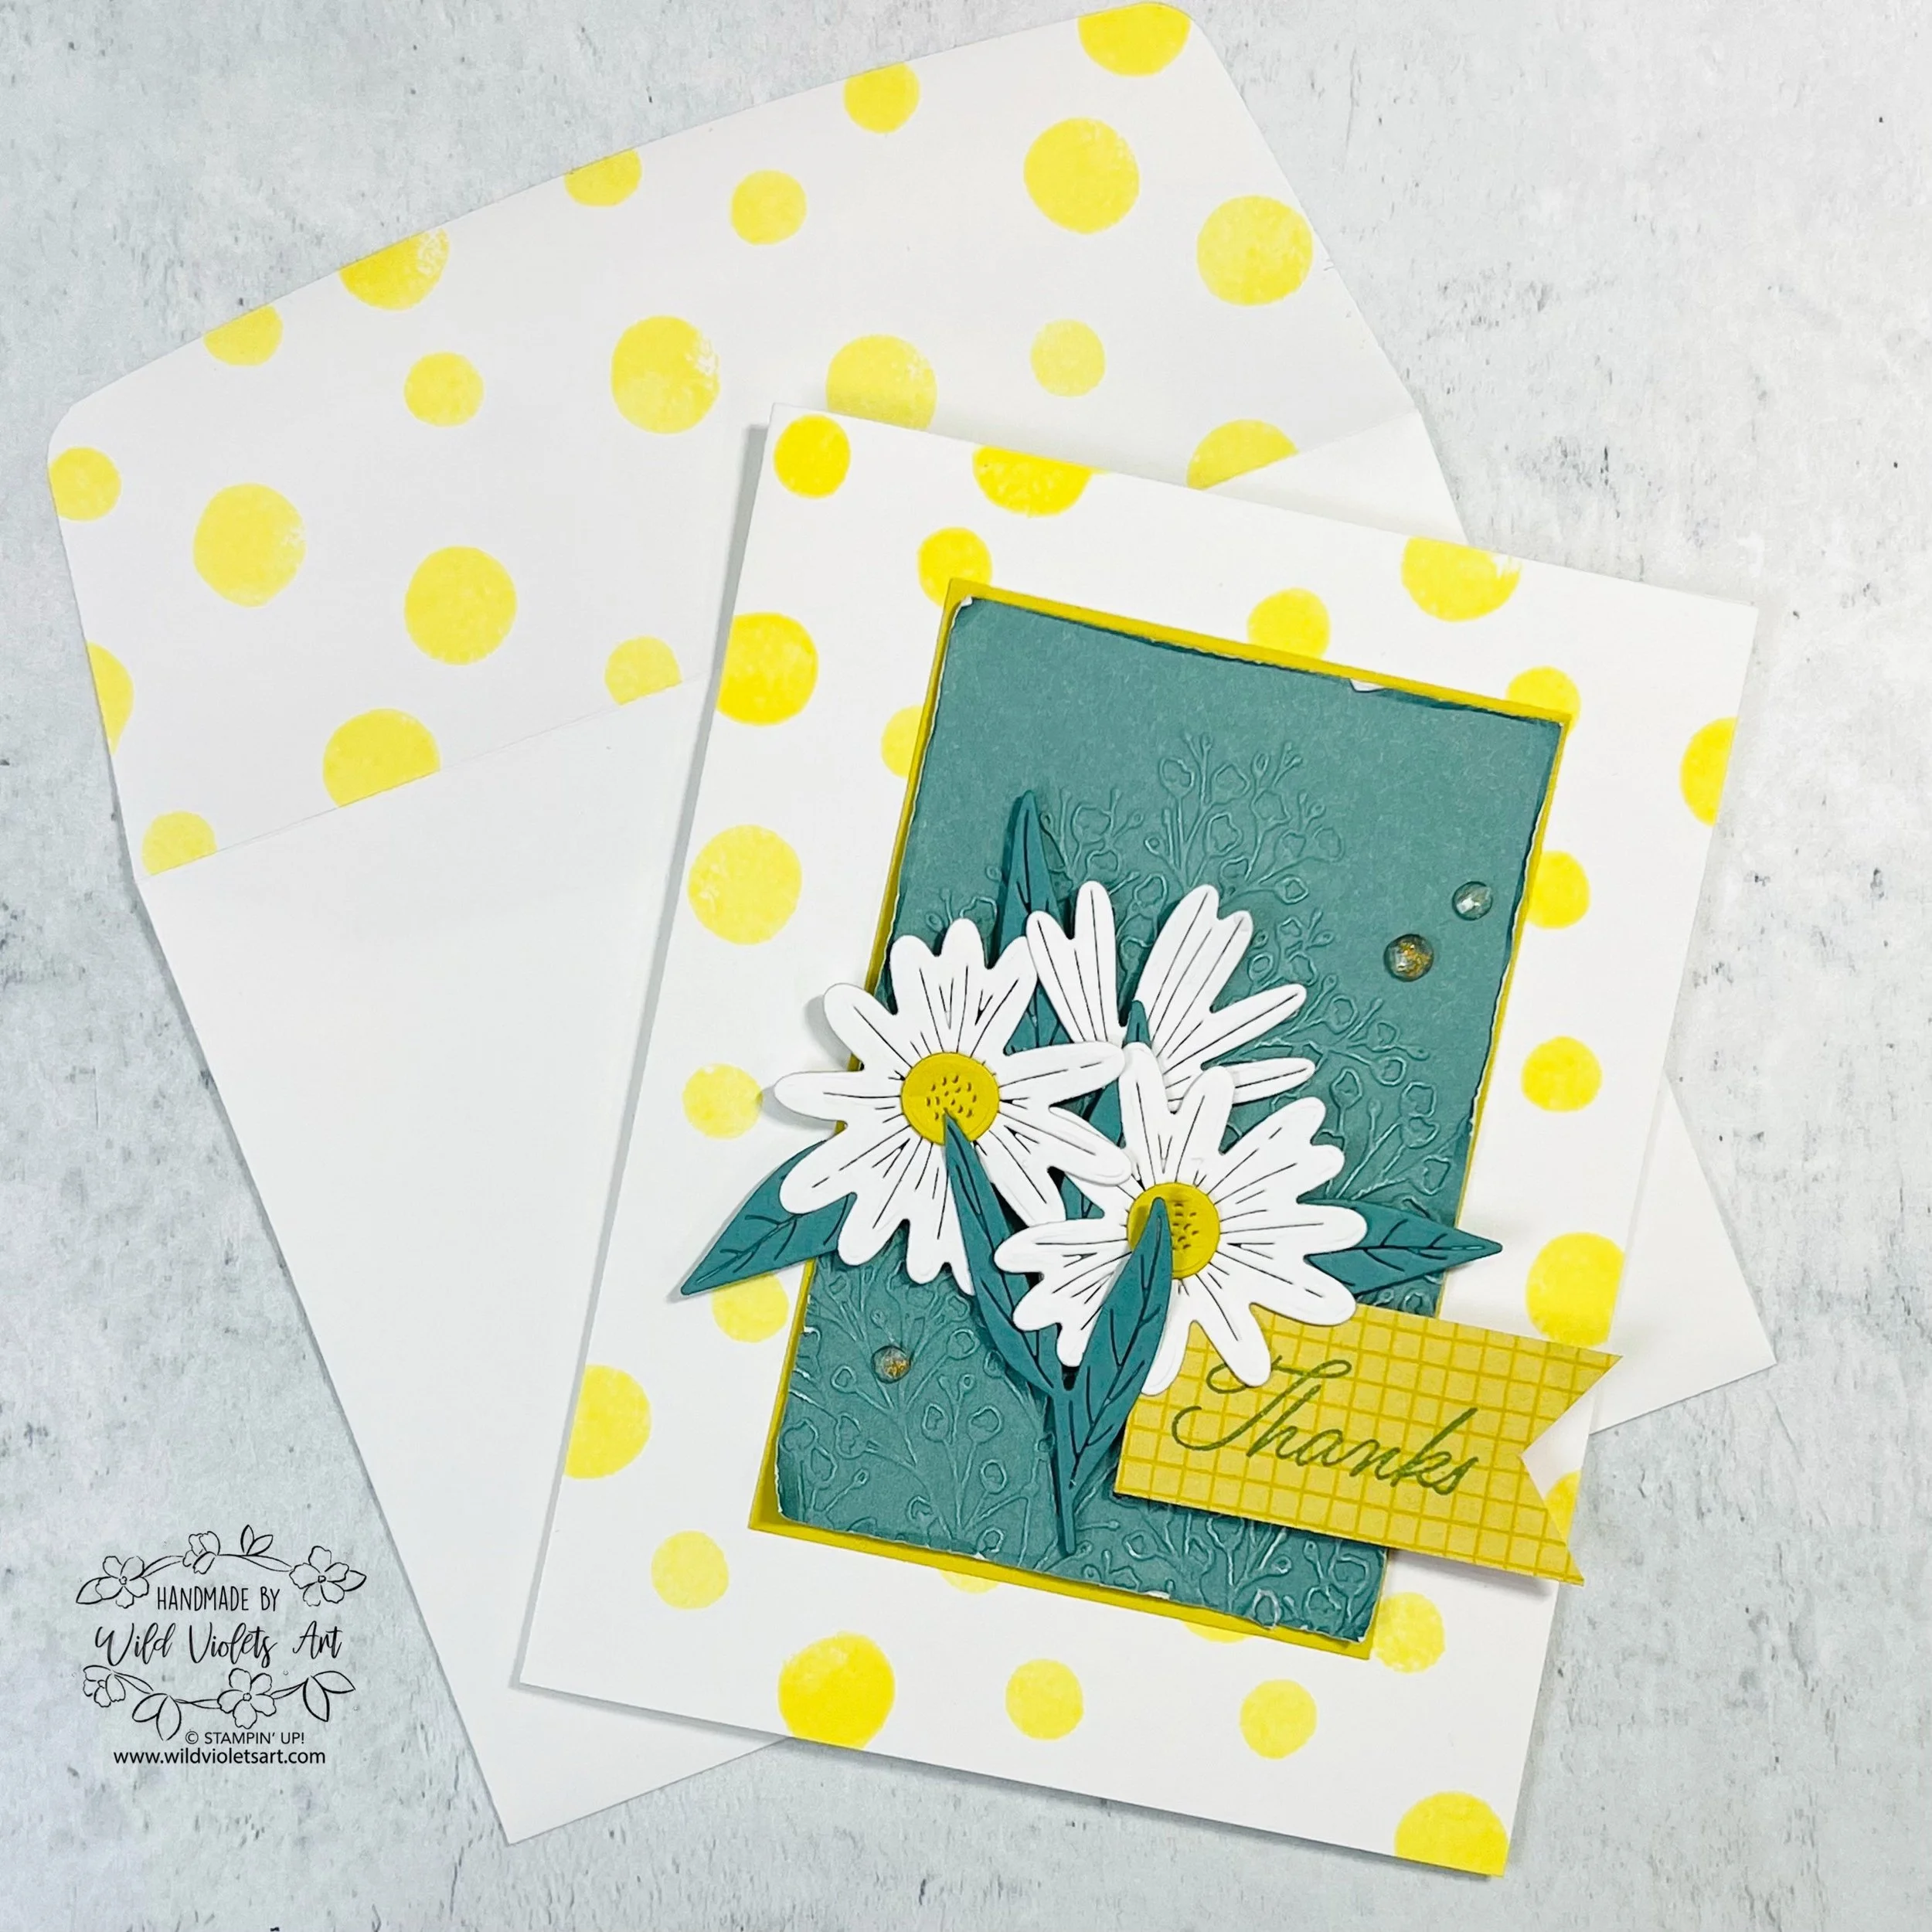
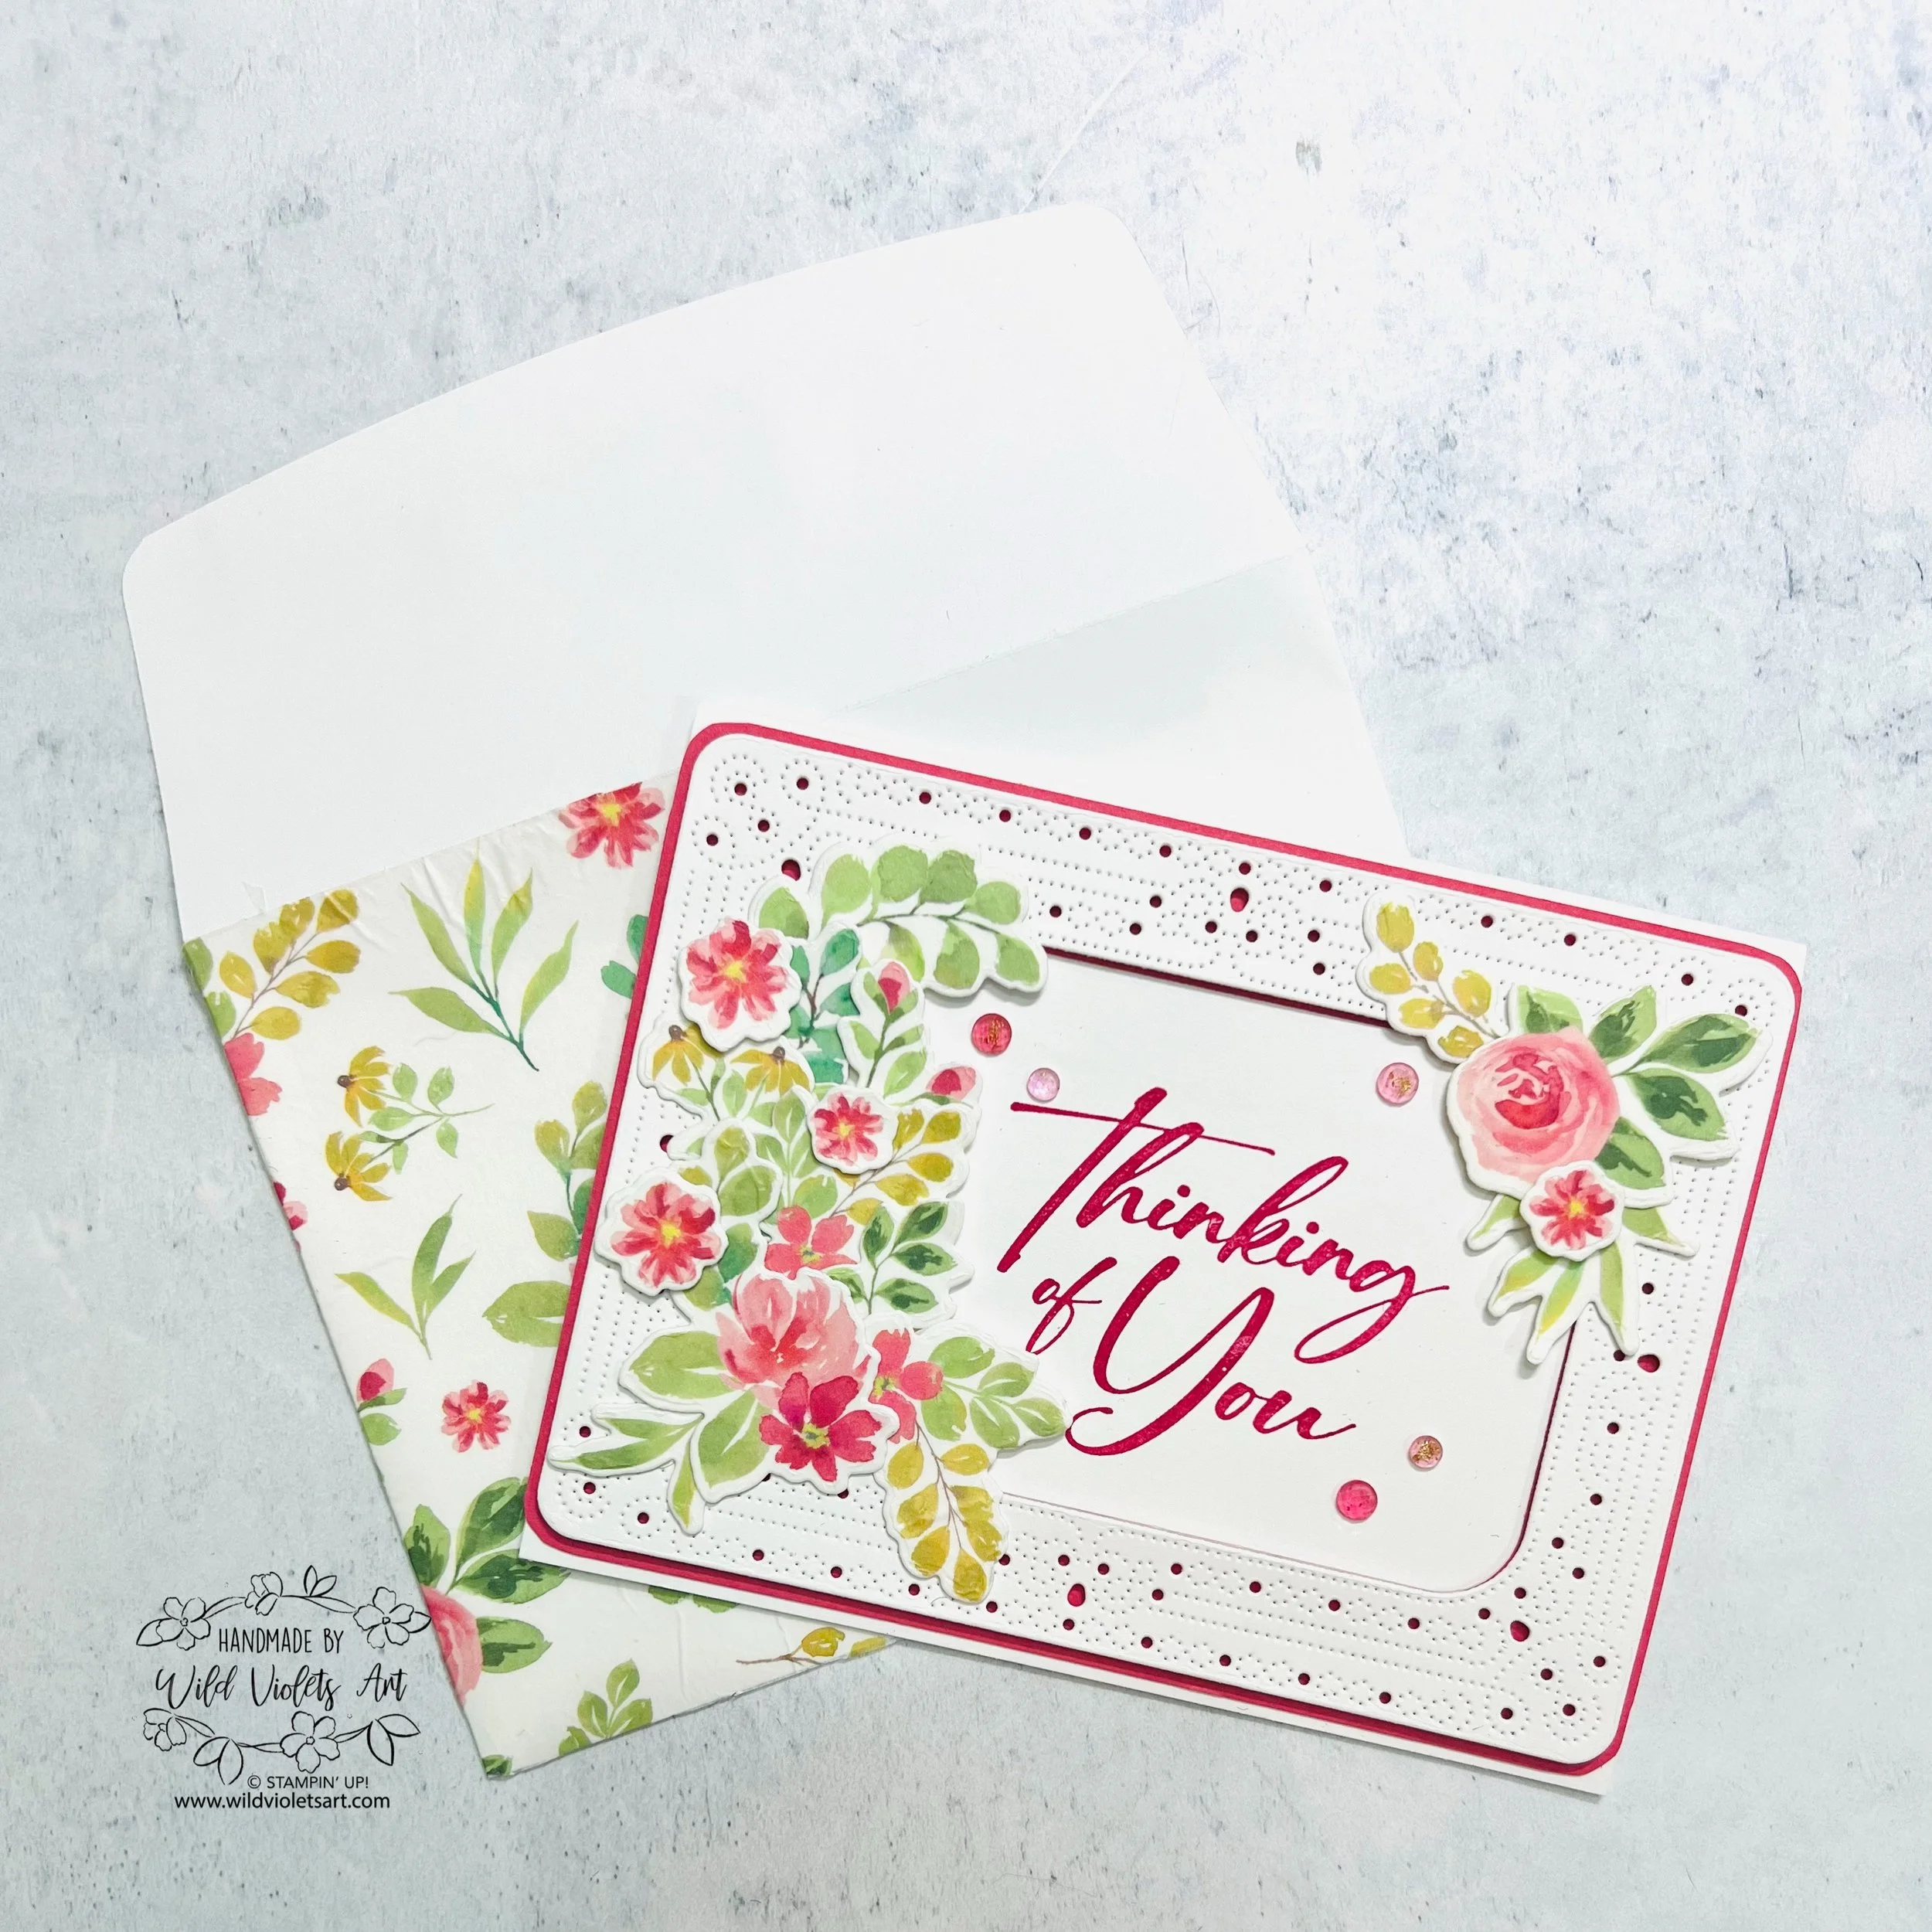
Thinking of You
I just love this card with the combination of the Sentimental Framing Bundle, the Extraordinary Flora Dies, and the stunning Extraordinary Flora Washi Tape. For this card, I again used an A2 card base in Basic White Thick, then adding a 4-1/8”x5-1/2” layer of Strawberry Slush cardstock (or Fresh Freesia if you have the other color of Washi Tape). I did not glue this layer down until I die cut out the frame in Basic White using a 4-1/4”x5-1/2” piece of cardstock. Once I popped up the frame on the colored cardstock, I used my Snips to carefully repeat the curved corners, then glued it to my card front.
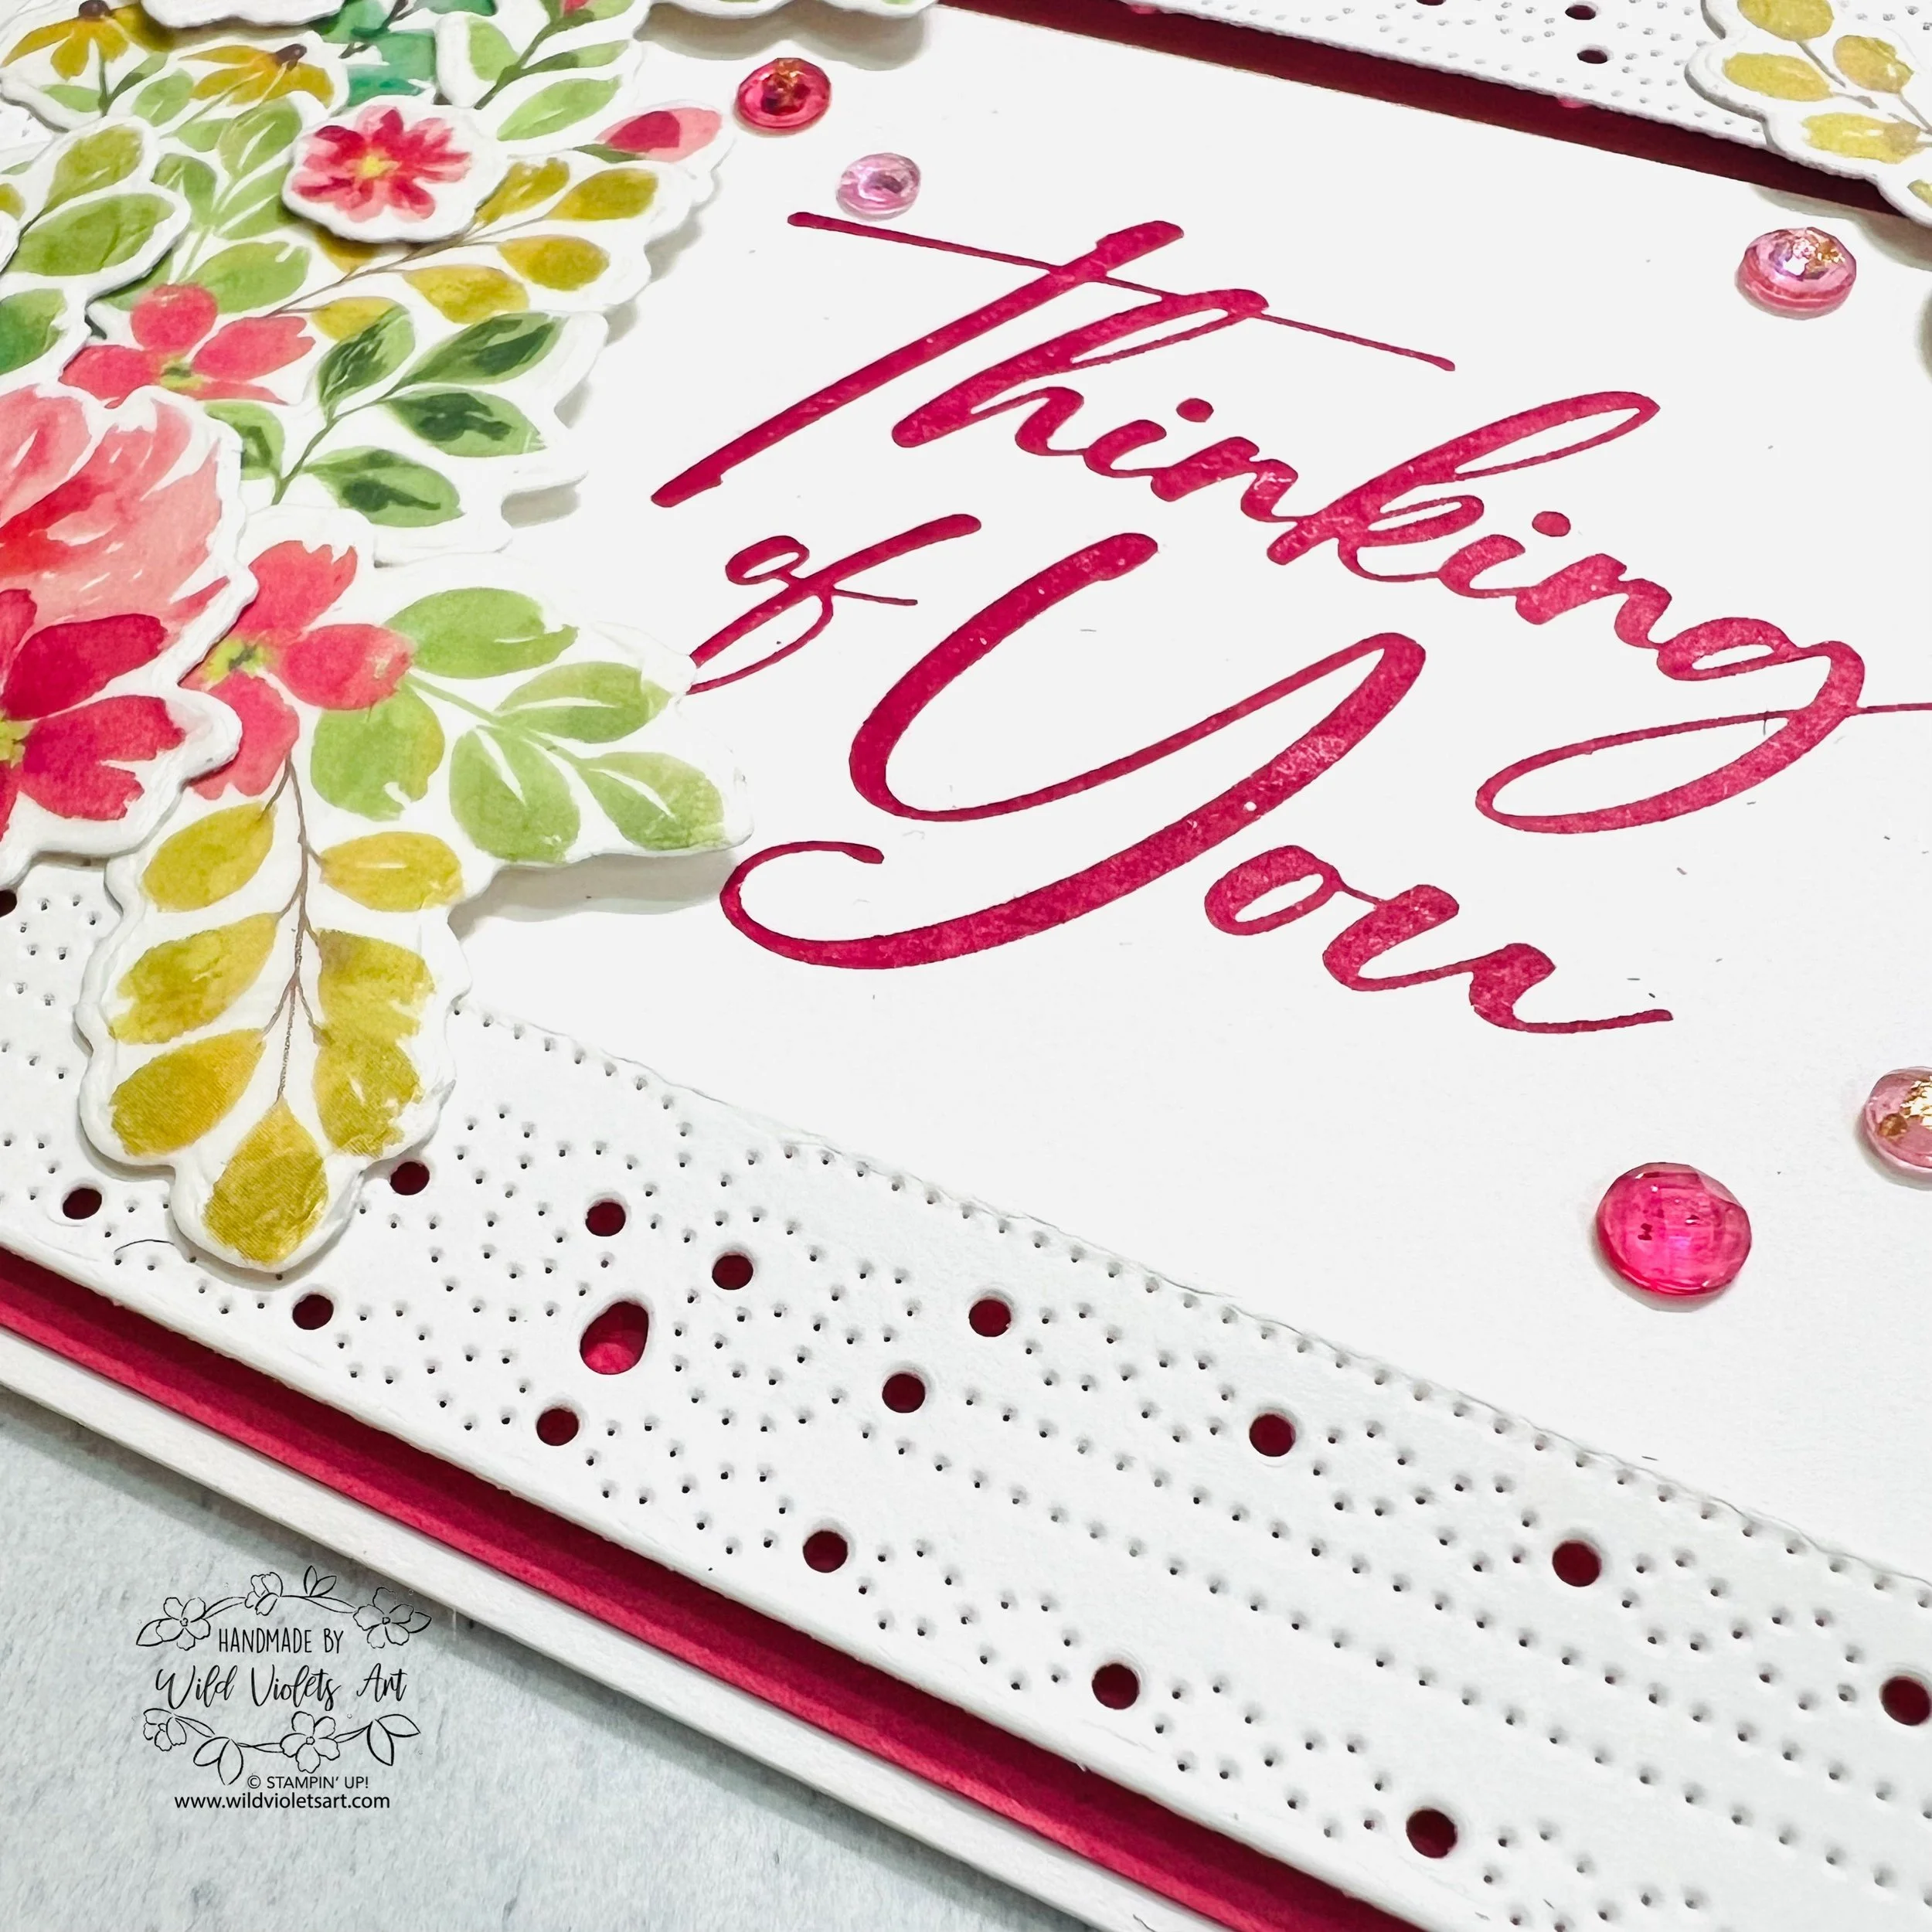
I stamped my sentiment in Mango Melody ink (or Strawberry Slush) on the middle portion from the die cut, and glued it directly to my colored cardstock layer. I put my length of Extraordinary Flora Washi Tape down on a piece of Basic White cardstock, then die cut them out using the Extraordinary Flora Dies. Using a mix of Stampin’ Dimensionals and Glue Dots, I layered my washi florals in opposite corners, creating two bouquets that please the eye.
My final touch on my card was adding Strawberry Slush & Pretty In Pink Gems (or Purple Fine Shimmer Gems). Then for my envelope, I added the Washi Tape to the envelope. Watch my video for another card and envelope option. So Pretty!

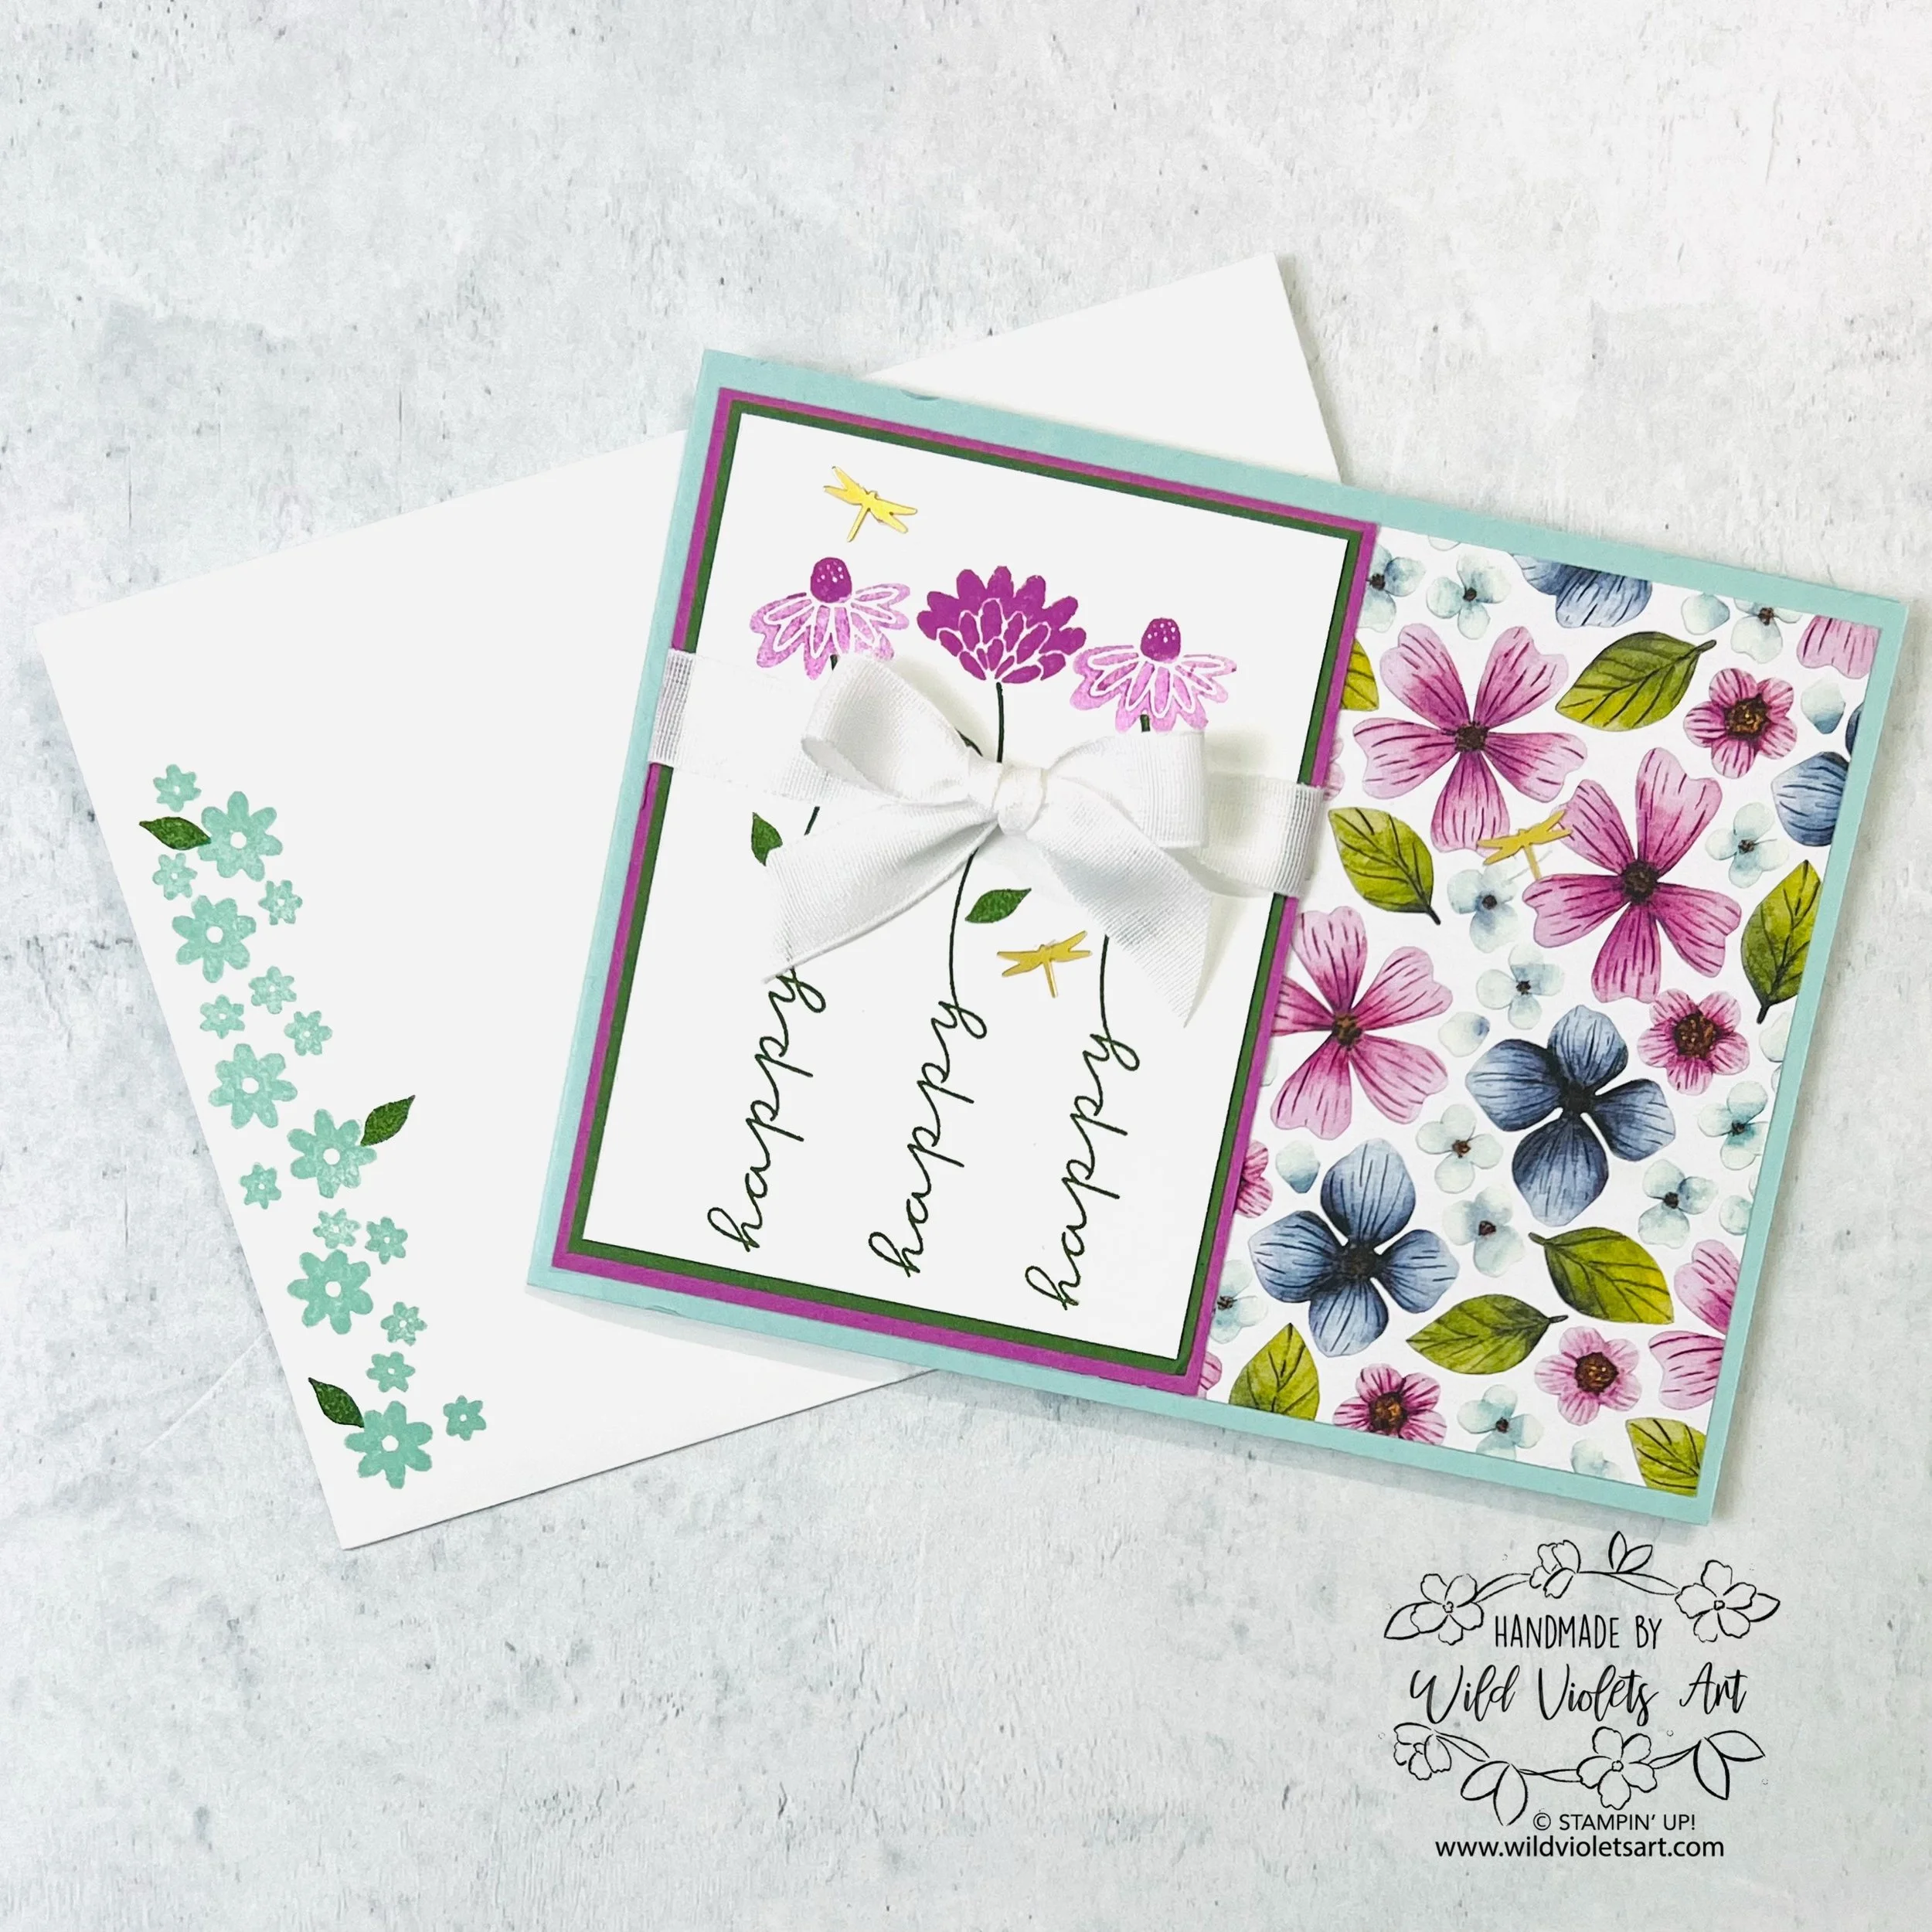
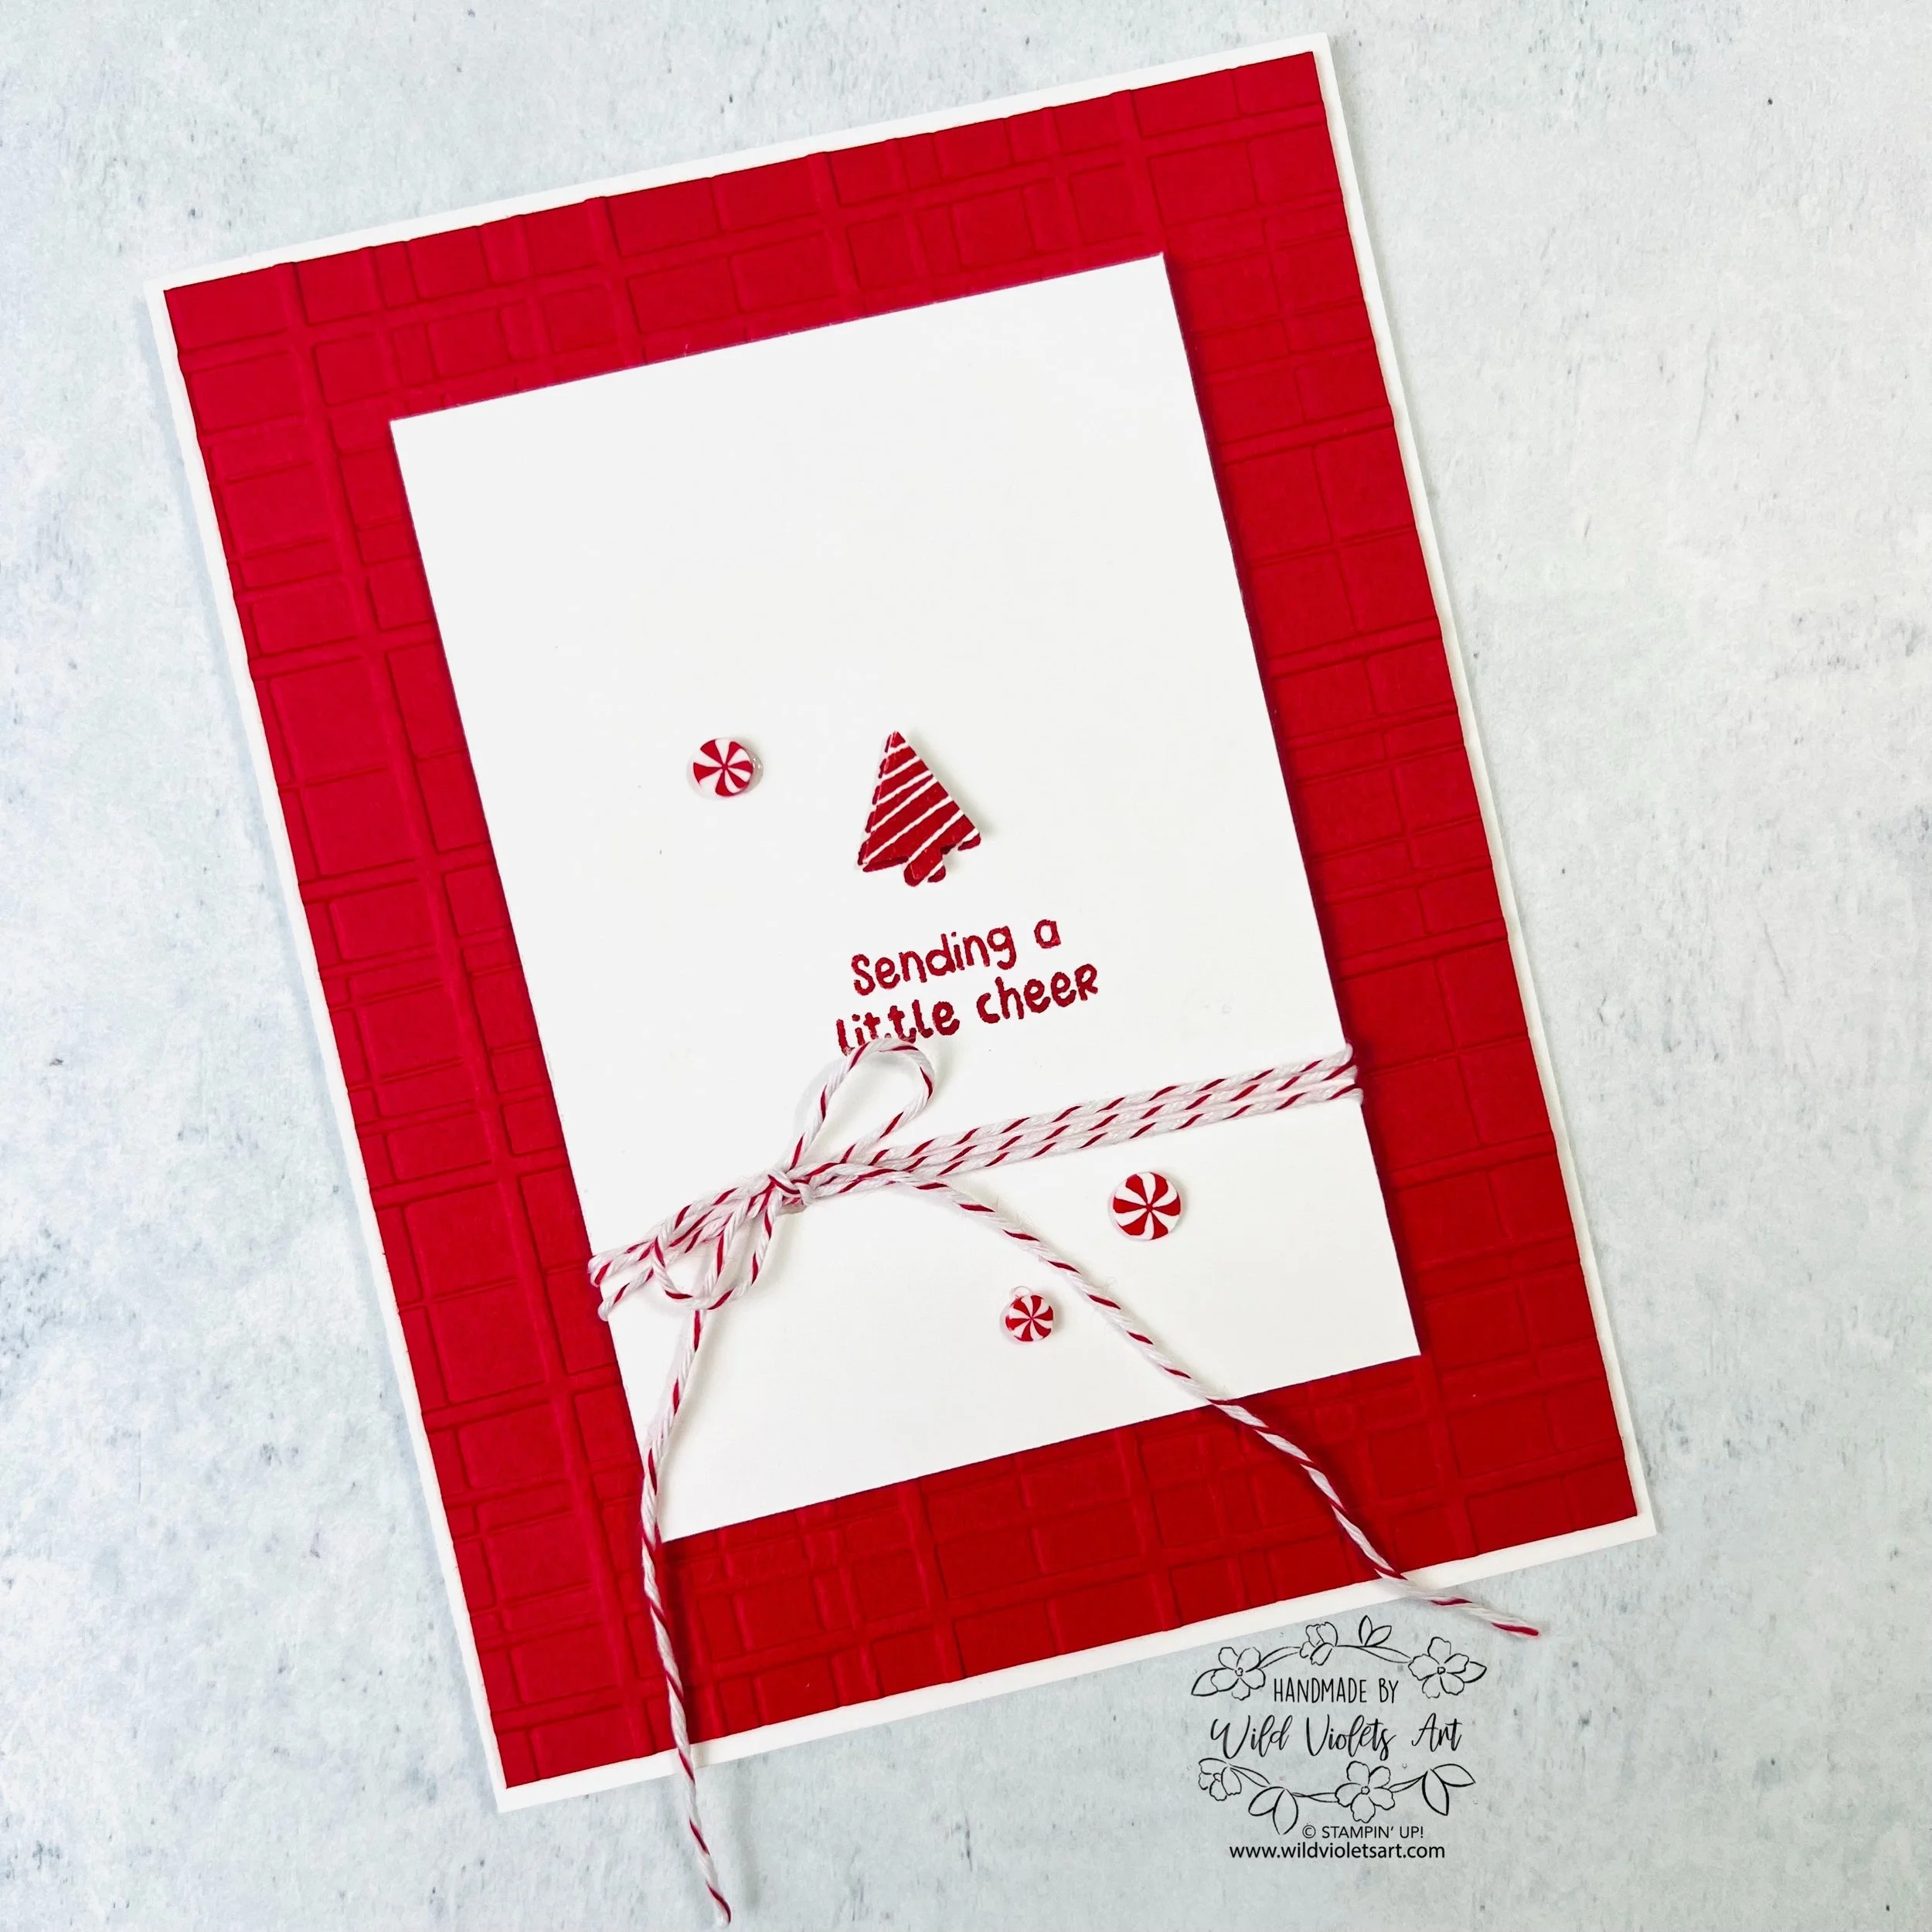
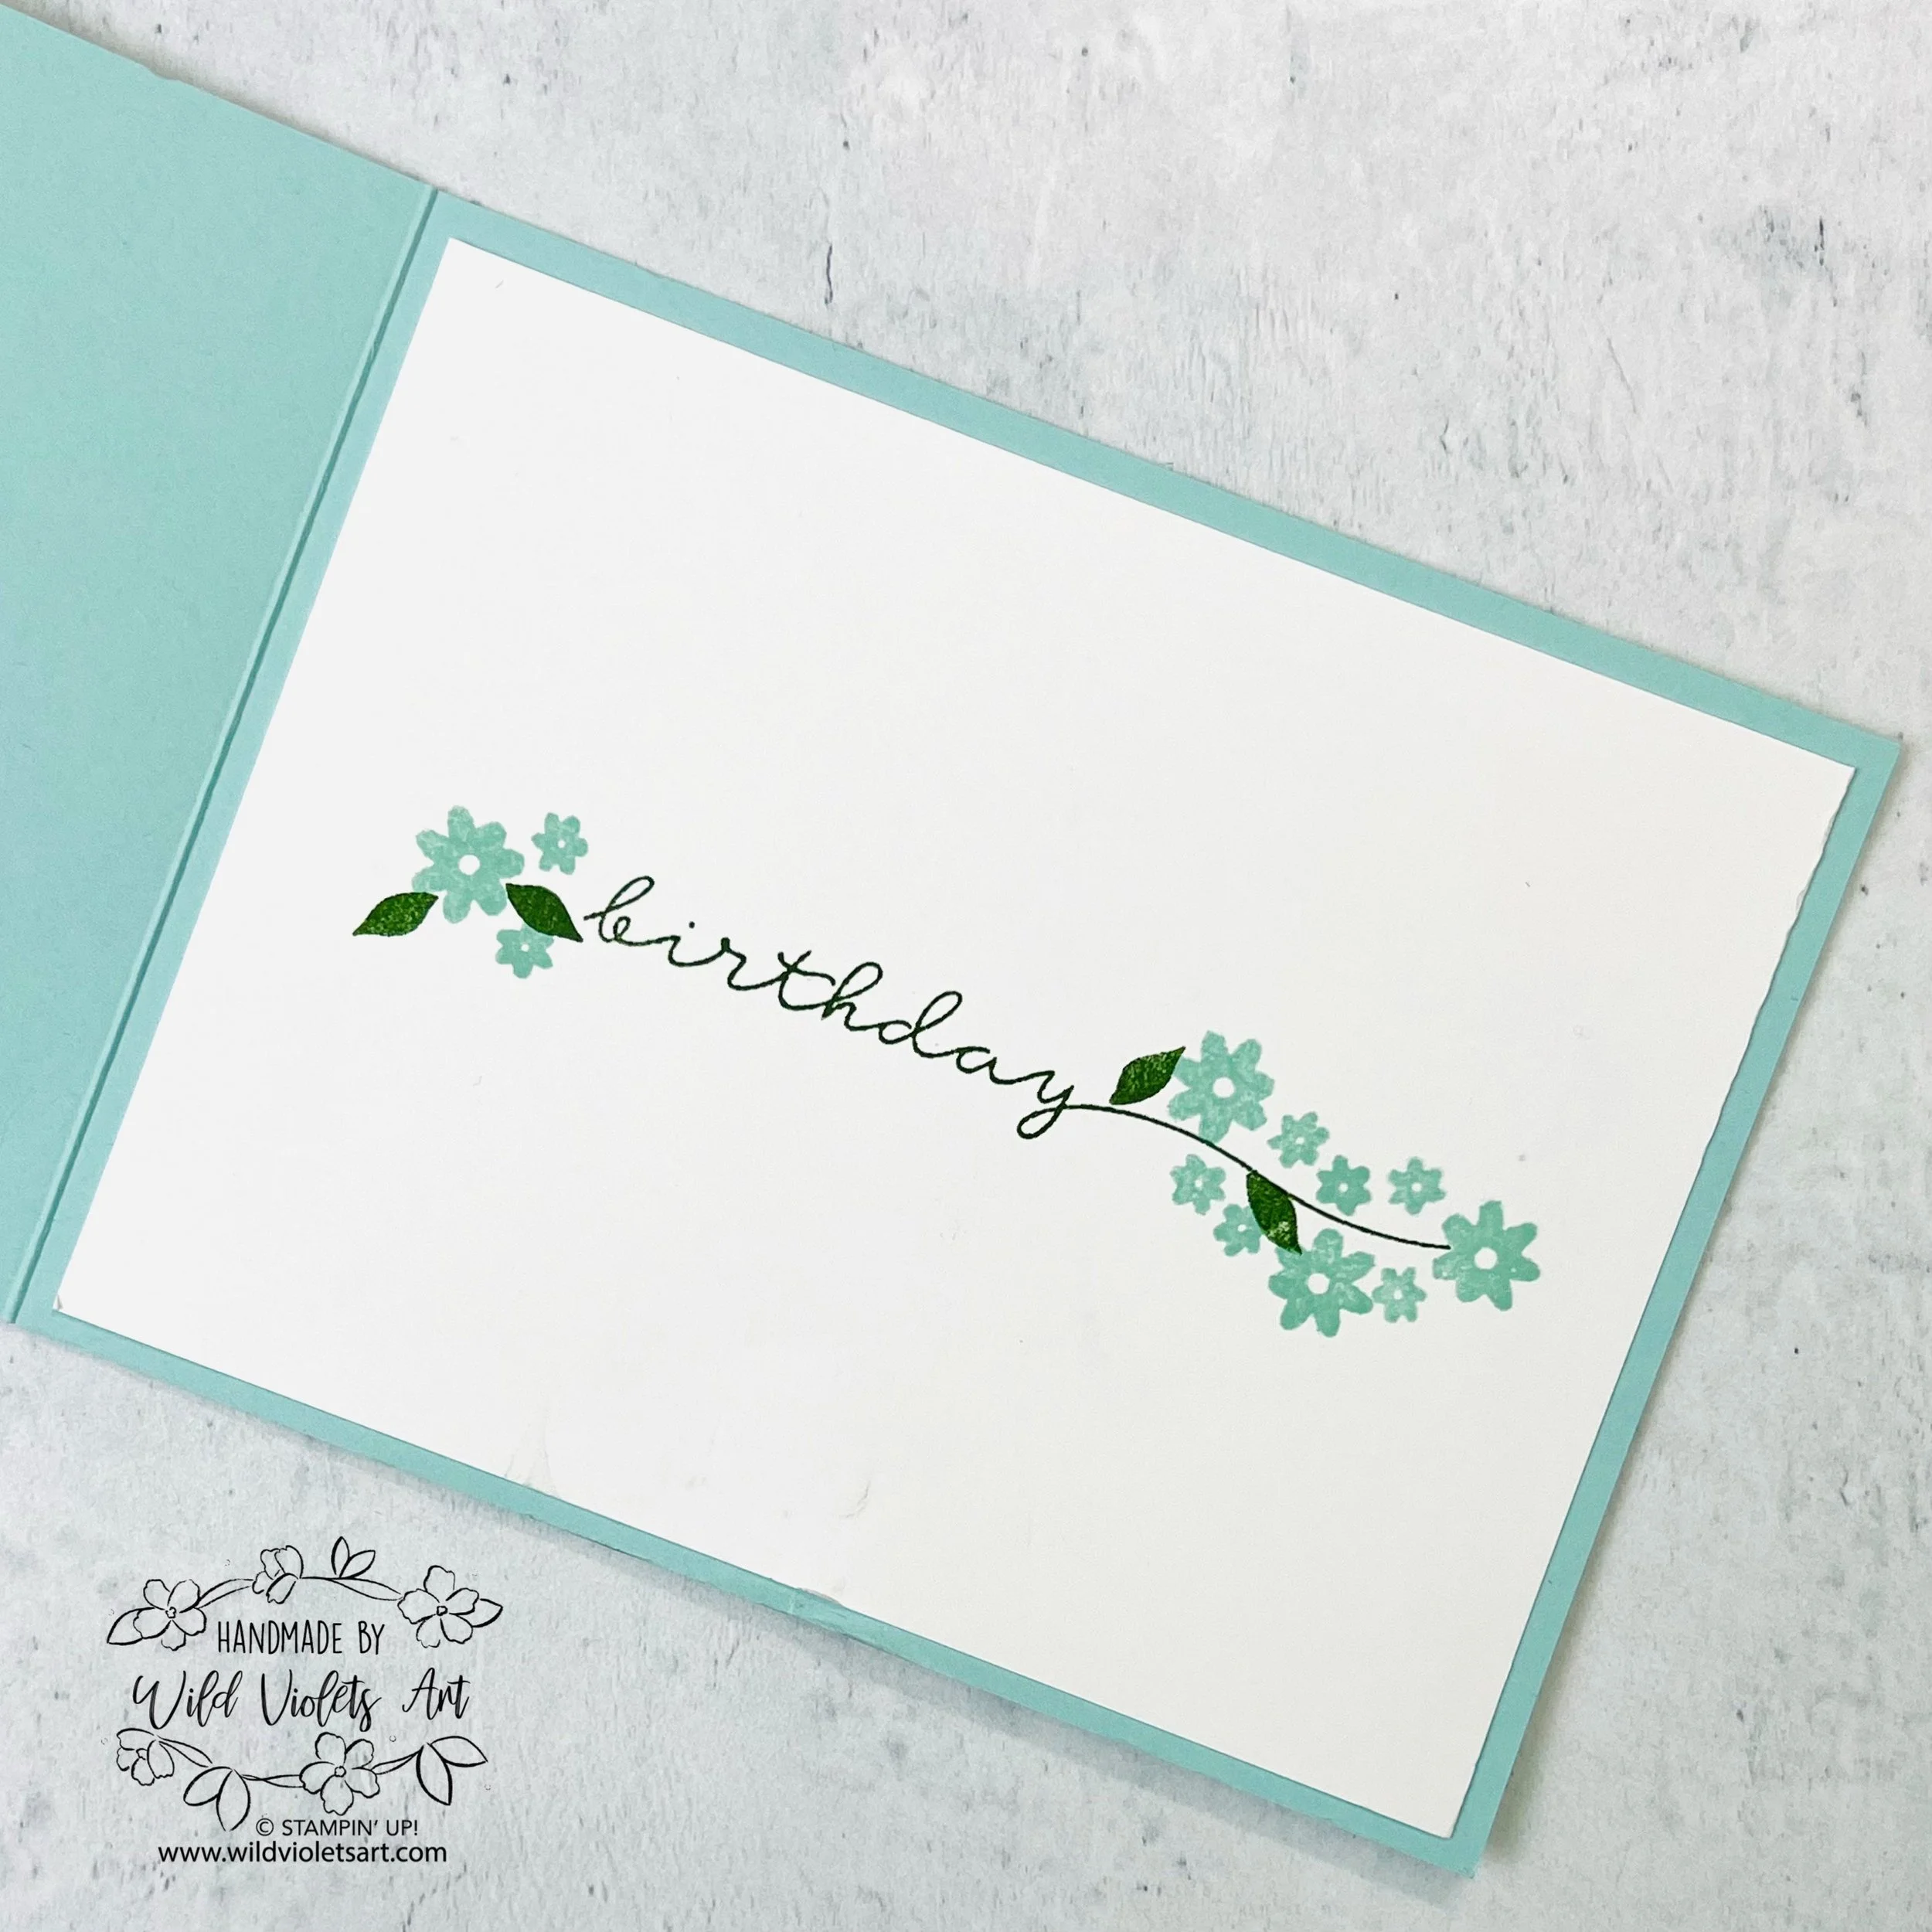
Happy Happy Happy
This sweet card is so fun using the Blooming Phrases Stamp Set. For this card, I used a 4-1/4”x11” piece of Pool Party Cardstock to create an A2 card base. I then added a 3”x4” piece of Floral Impressions DSP on the right side of the card base. On a 2-3/4”x3-3/4” layer of Basic White cardstock, I used Garden Green ink to stamp the “happy” three times and the leaves along the stem. Then using my Petunia Pop ink, I stamped the flower in the middle. Watch my video so you can see how I got my two other flowers two-toned.
I then adhered my white stamped layer to a 2-7/8”x3-7/8” piece of Garden Green cardstock, then to a 3”x4” layer of Petunia Pop Cardstock. Before gluing it down, I wrapped the White Woven Ribbon (on last chance list), and tied a bow. My last touch to my card front was adding the Adhesive-backed Dragonfly & Birds.
For the inside of my card, I added a 4”x5-1/2” layer of Basic White cardstock, then stamped “birthday” and leaves in Garden Green ink. I then used Pool Party ink to add the flowers. I used the same flowers and leaves on my envelope for coordination! Such a sweet and simple card!
I have so many other beautiful card kits left over, so if you live too far away to join my Card Buffet, just purchase $15 from my online SU! store and I will send you the card kit of your choice for FREE (see gallery of options at the bottom of the post). This offer is good until 8/21/25 and each card is as supplies last, (in USA only). The kit will not include the stamped images and sentiments.