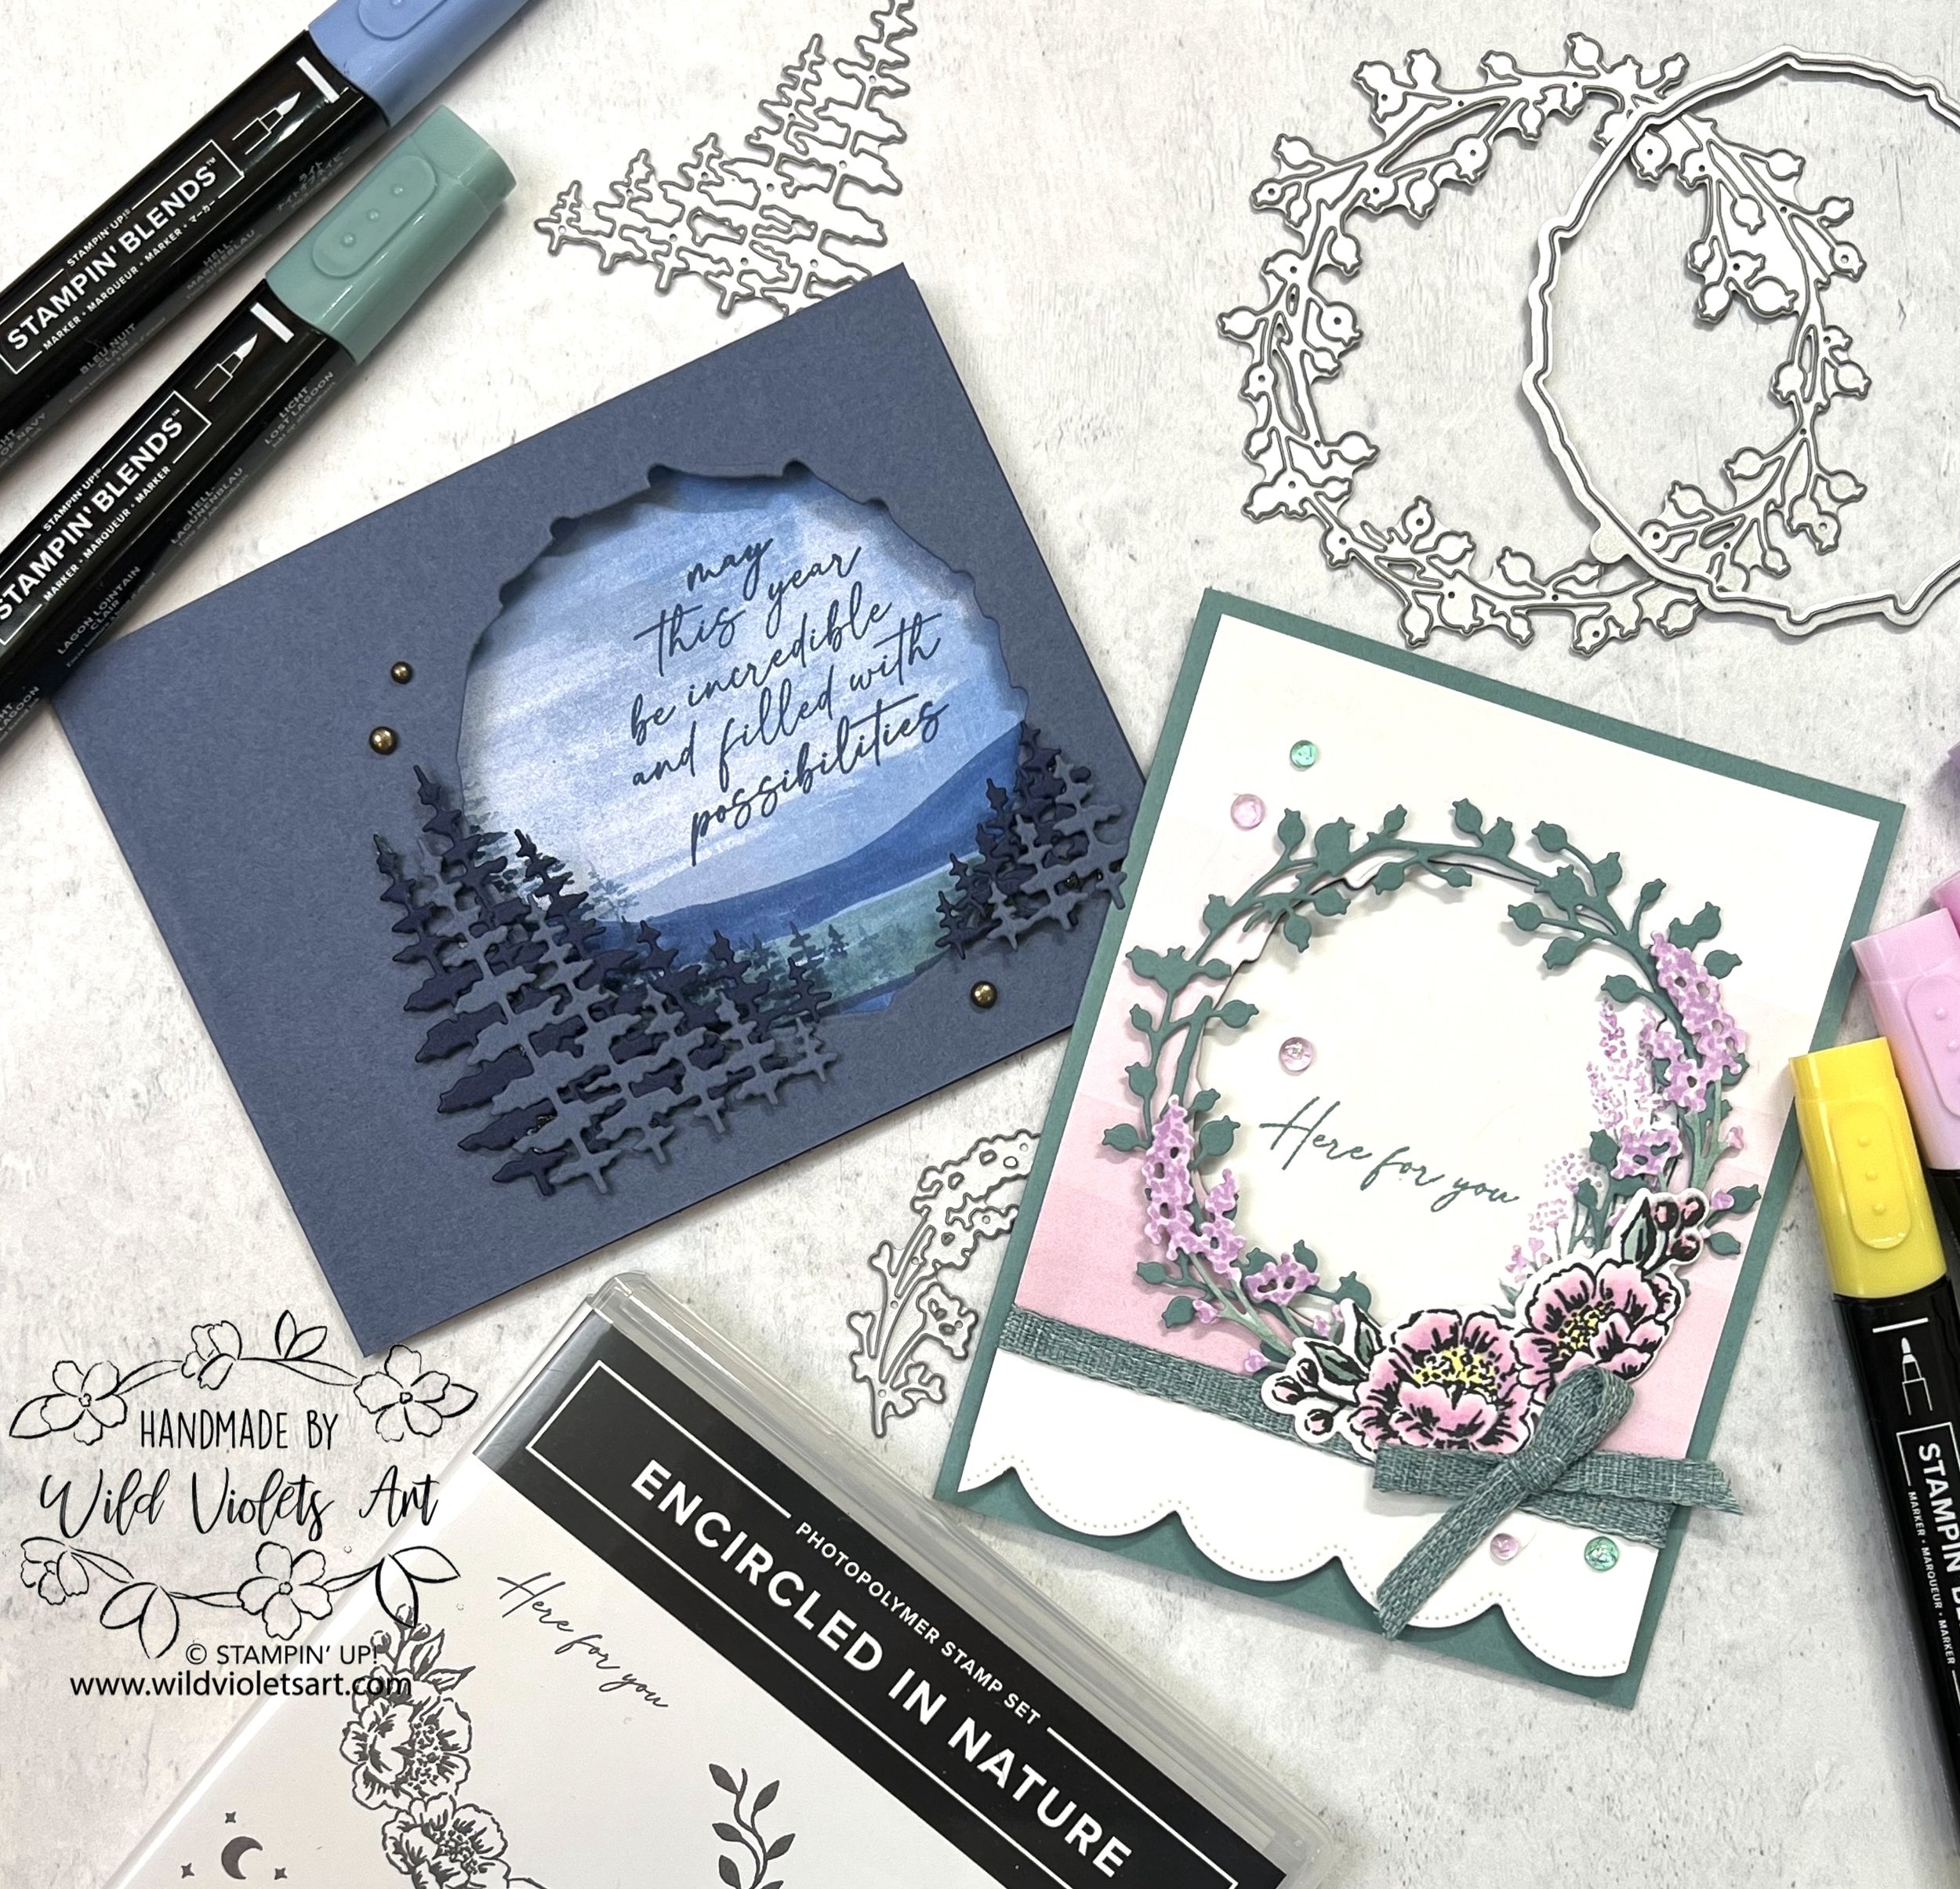
Encircled In Nature Bundle - Peek-a-book Cards

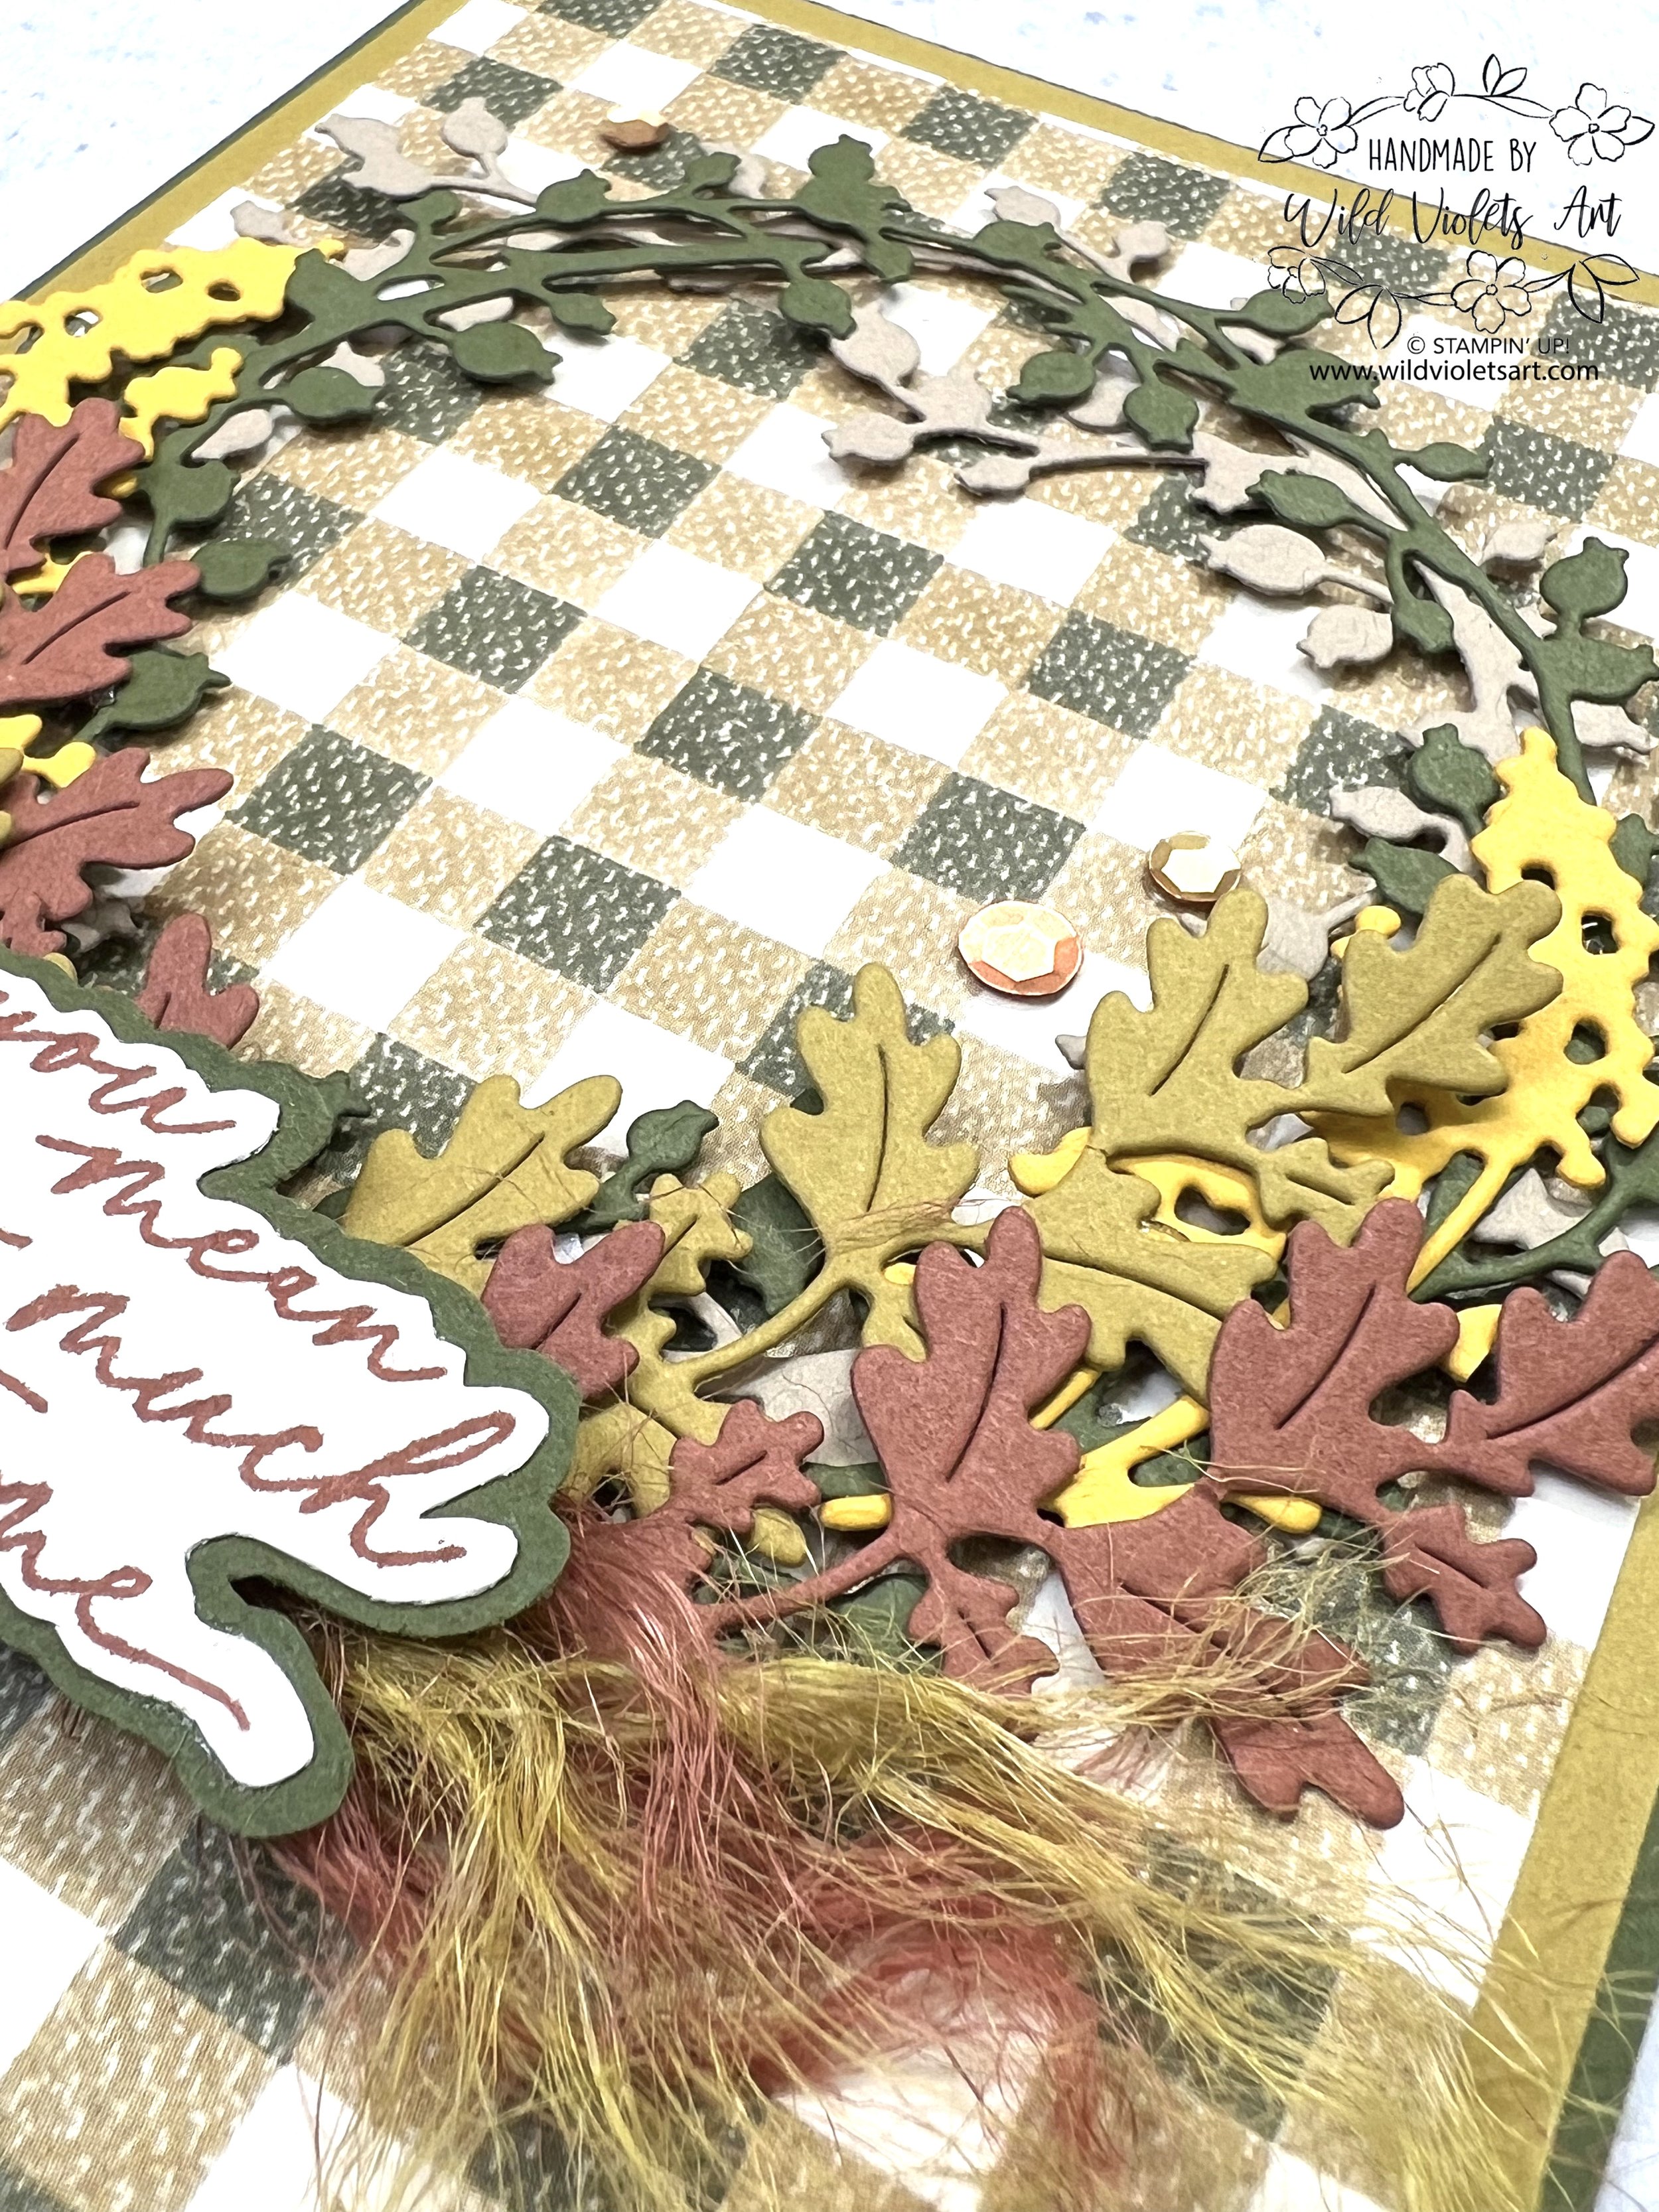
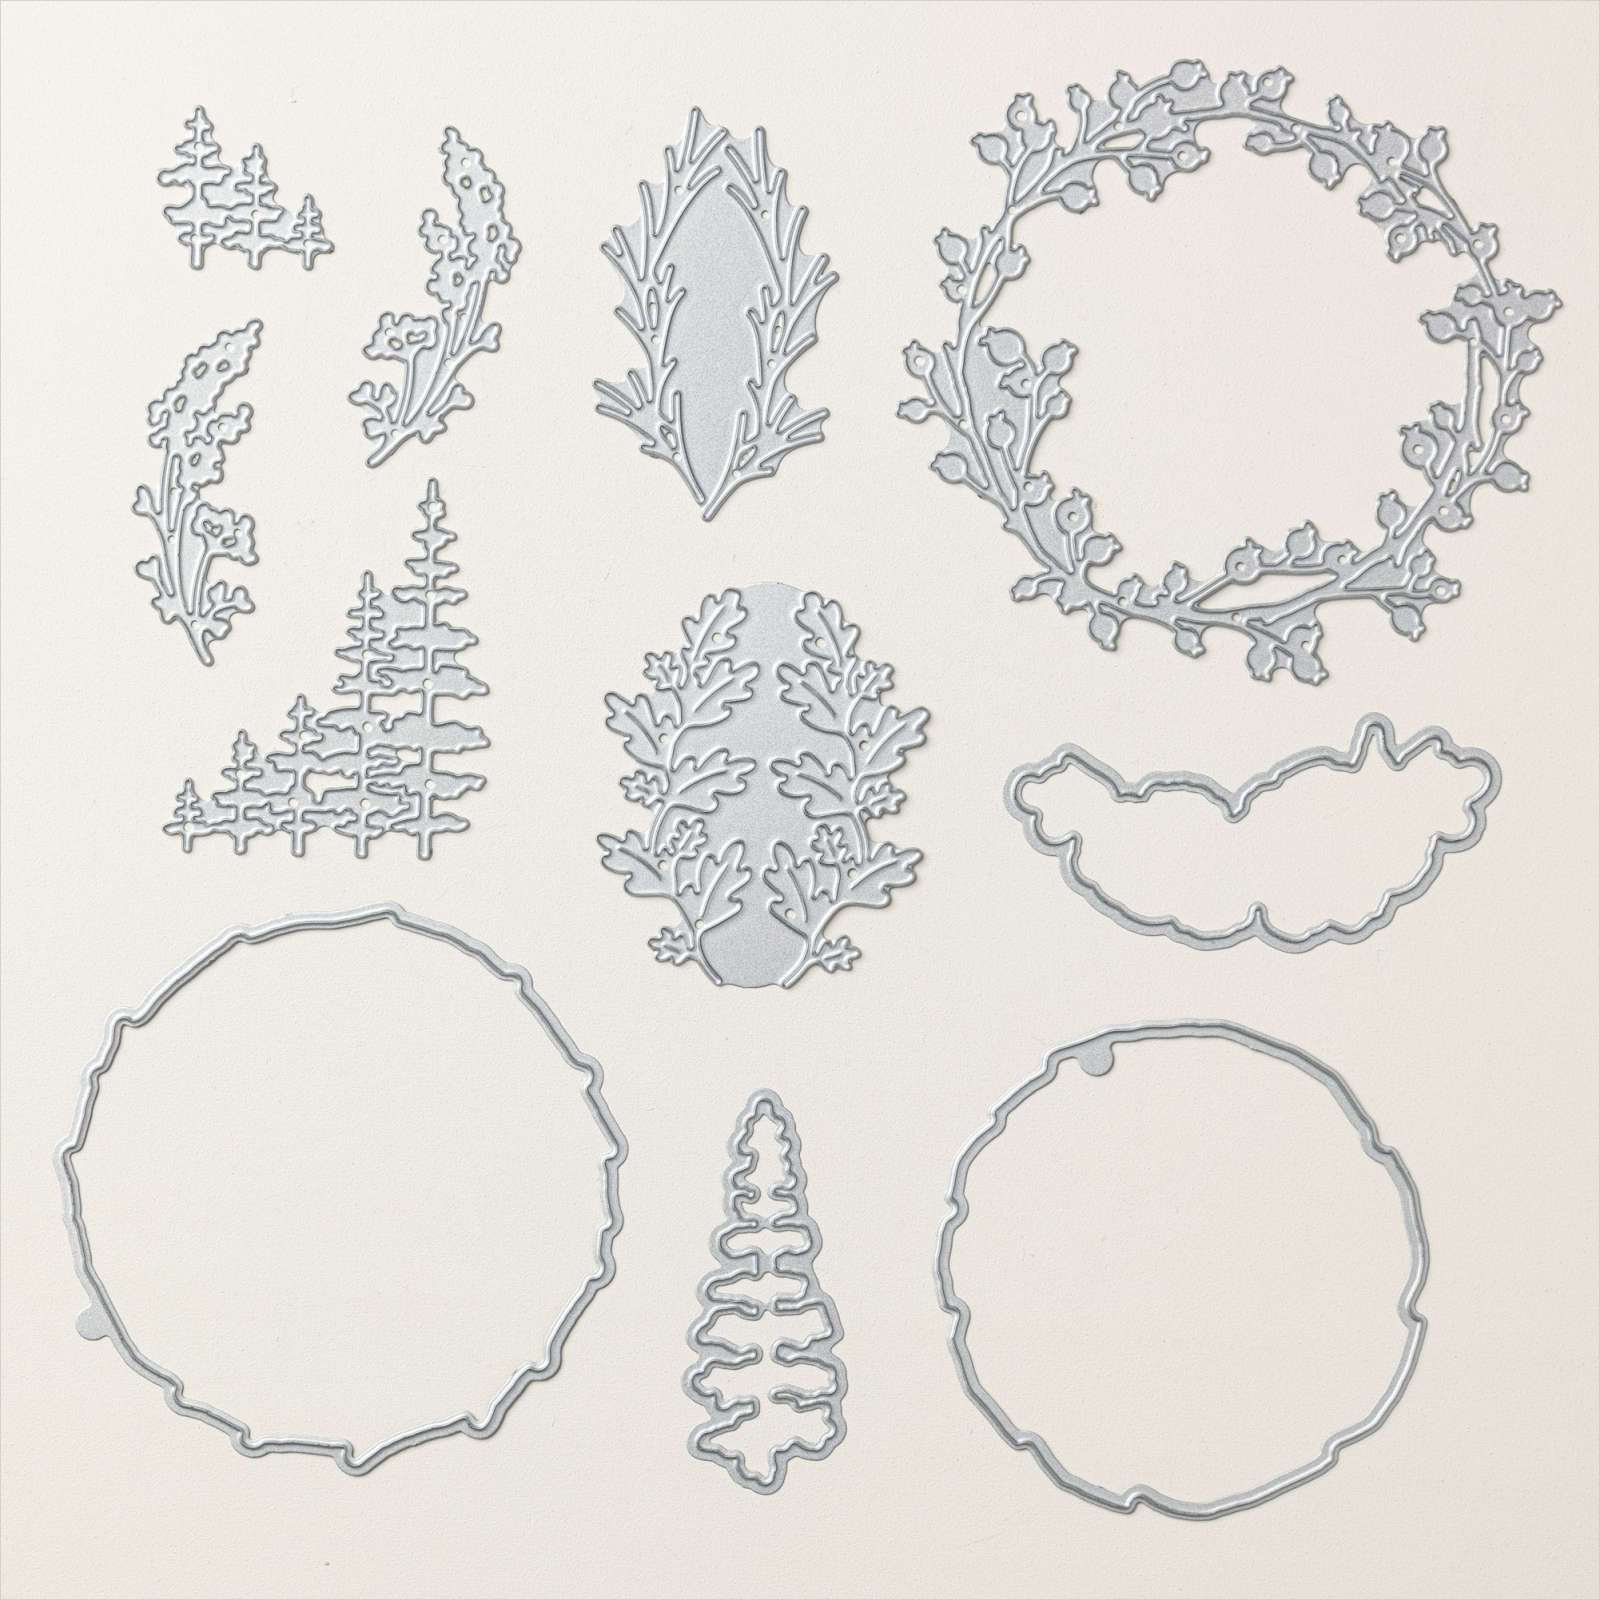
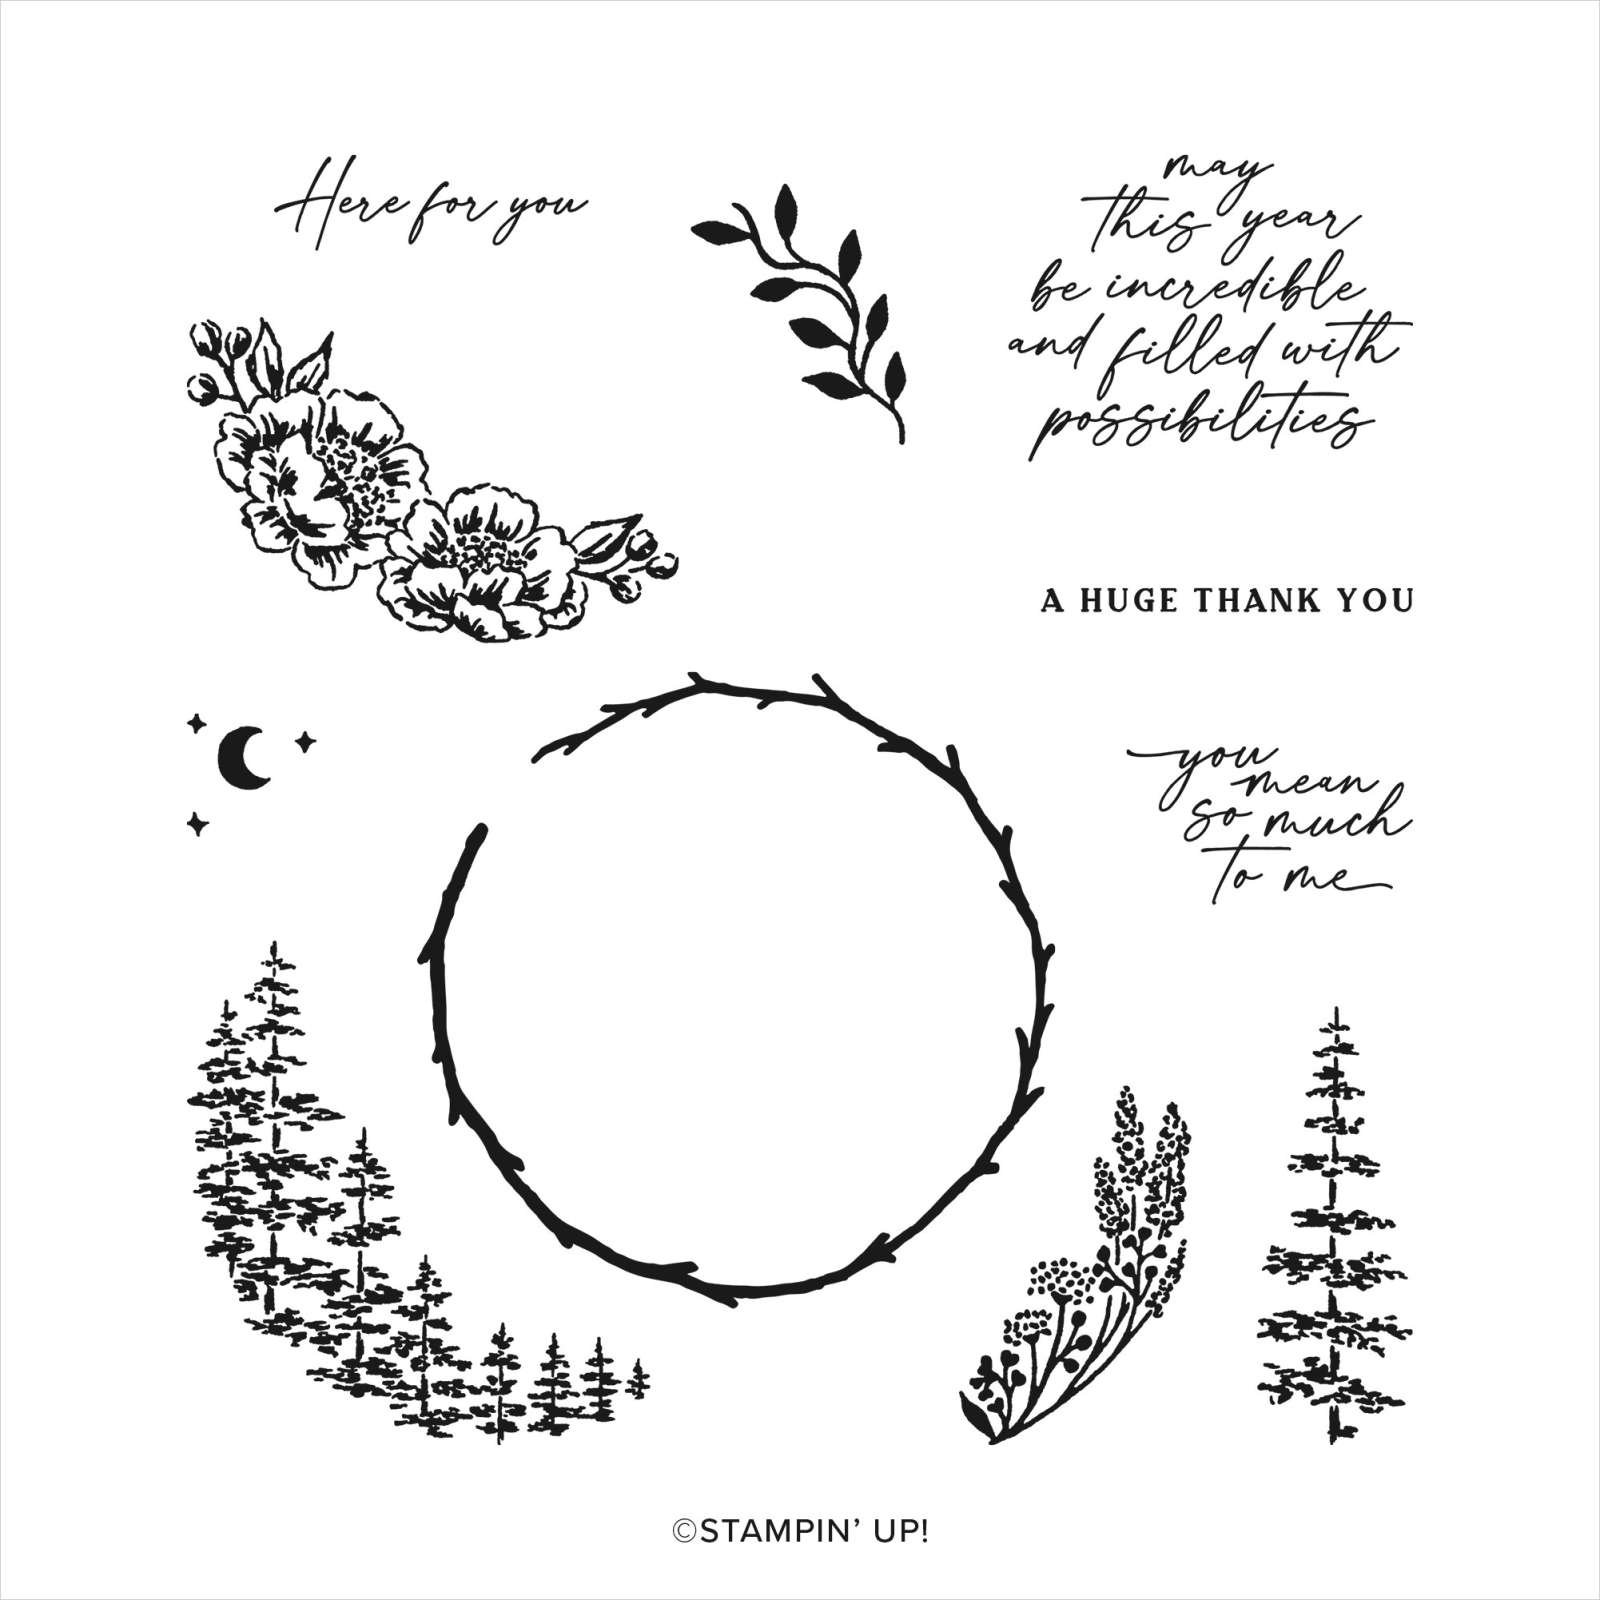
My Marvelous Monday FB Live premiered the new Online Exclusive Encircled In Nature Bundle! I was so excited to show you two peek-a-boo cards and how many seasons I could get out of one bundle (all 4 seasons in gallery below)! The stamp set includes 11 stamps with beautiful sentiments and there are 11 fabulous dies that help you create peek-a-boo and great 3D elements for your cards.


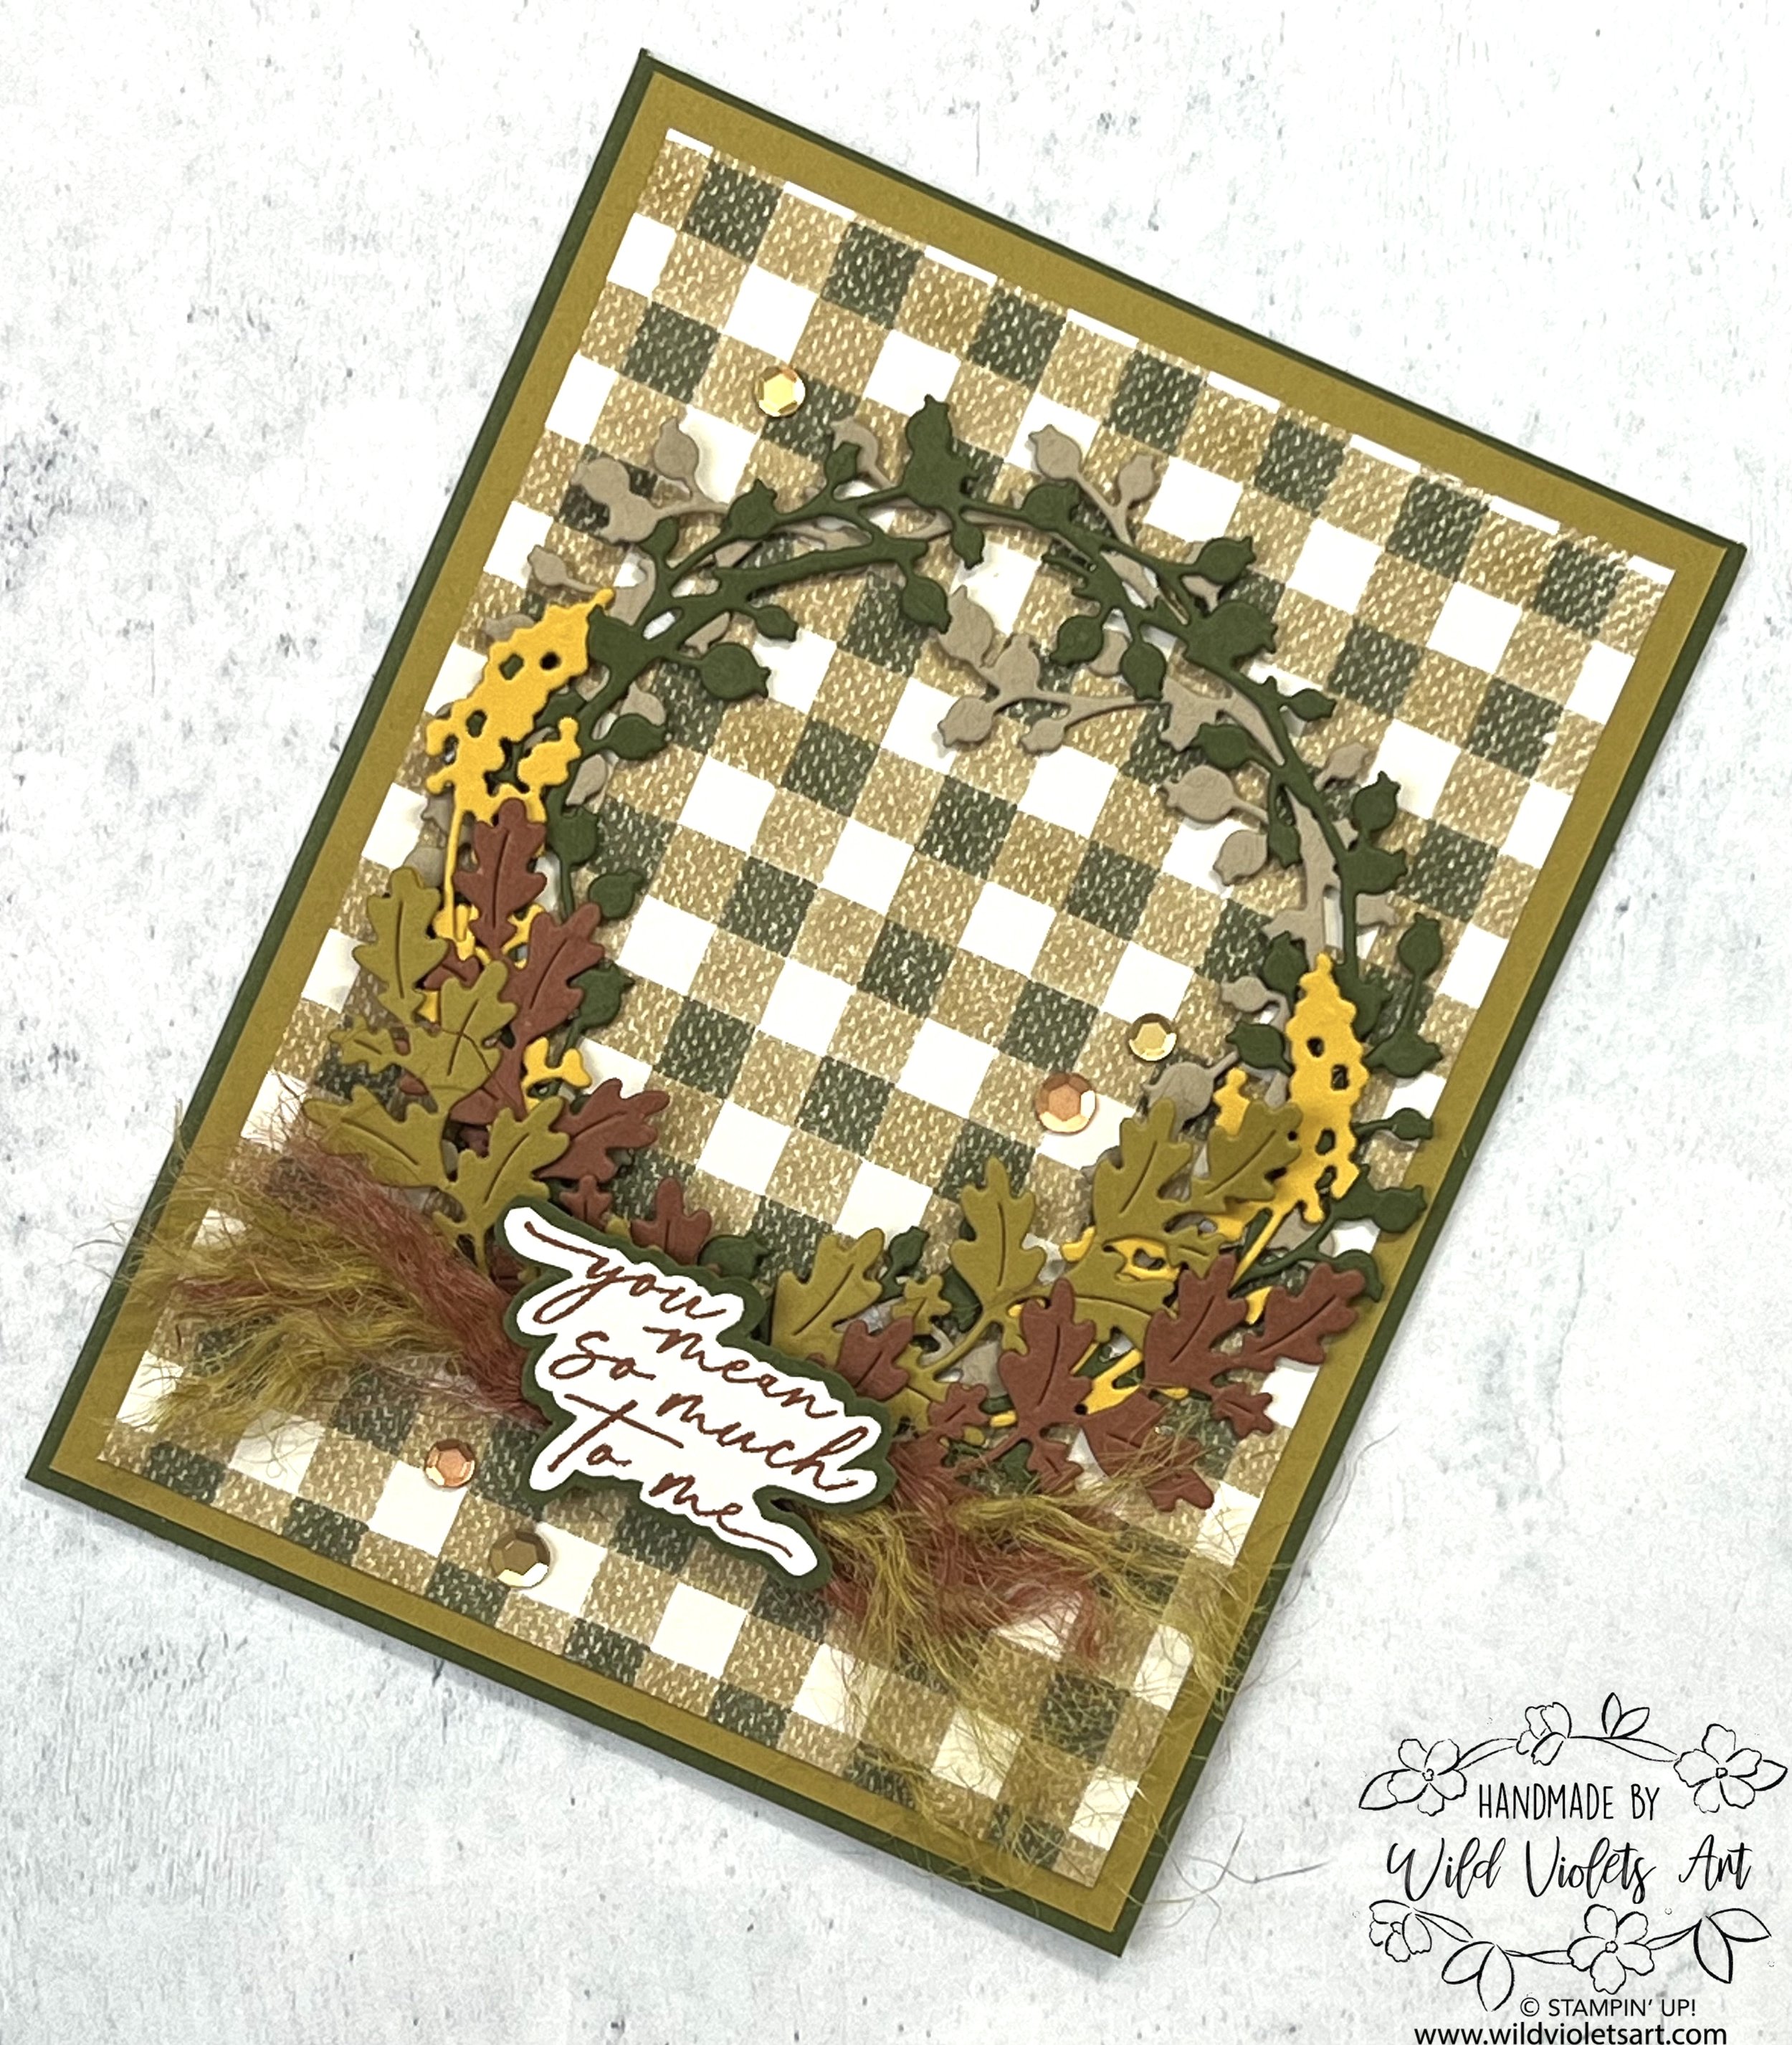
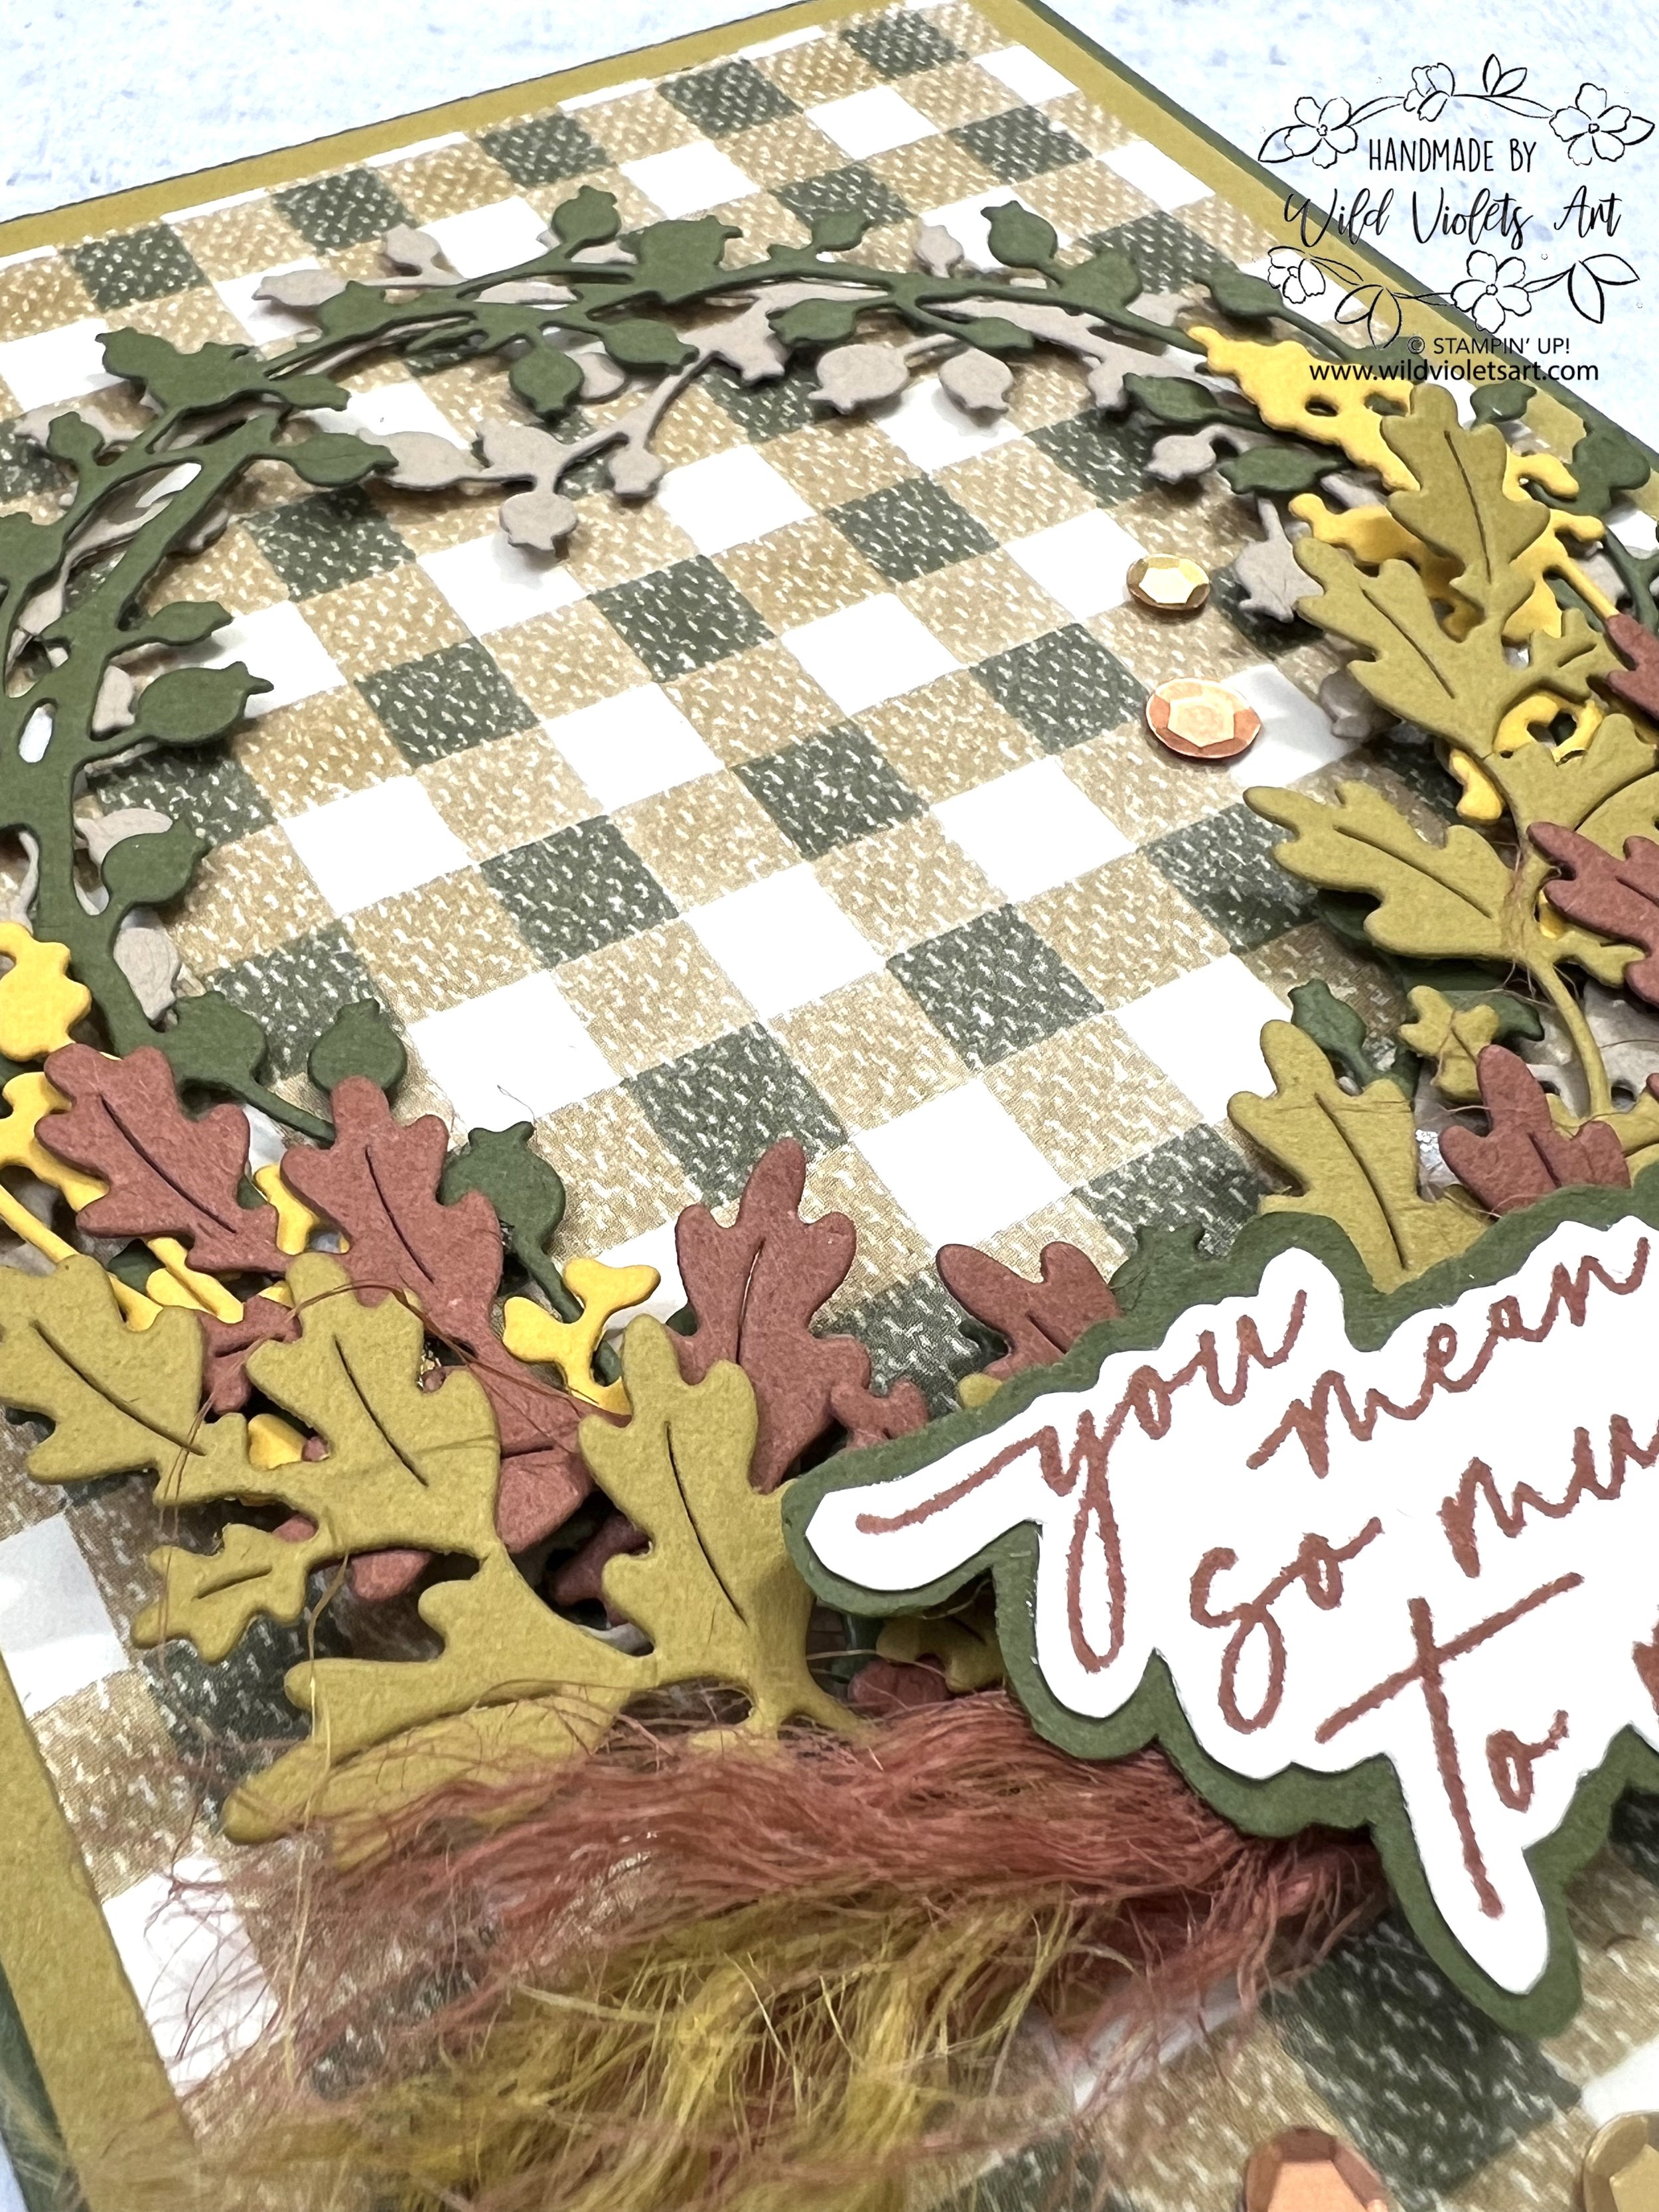
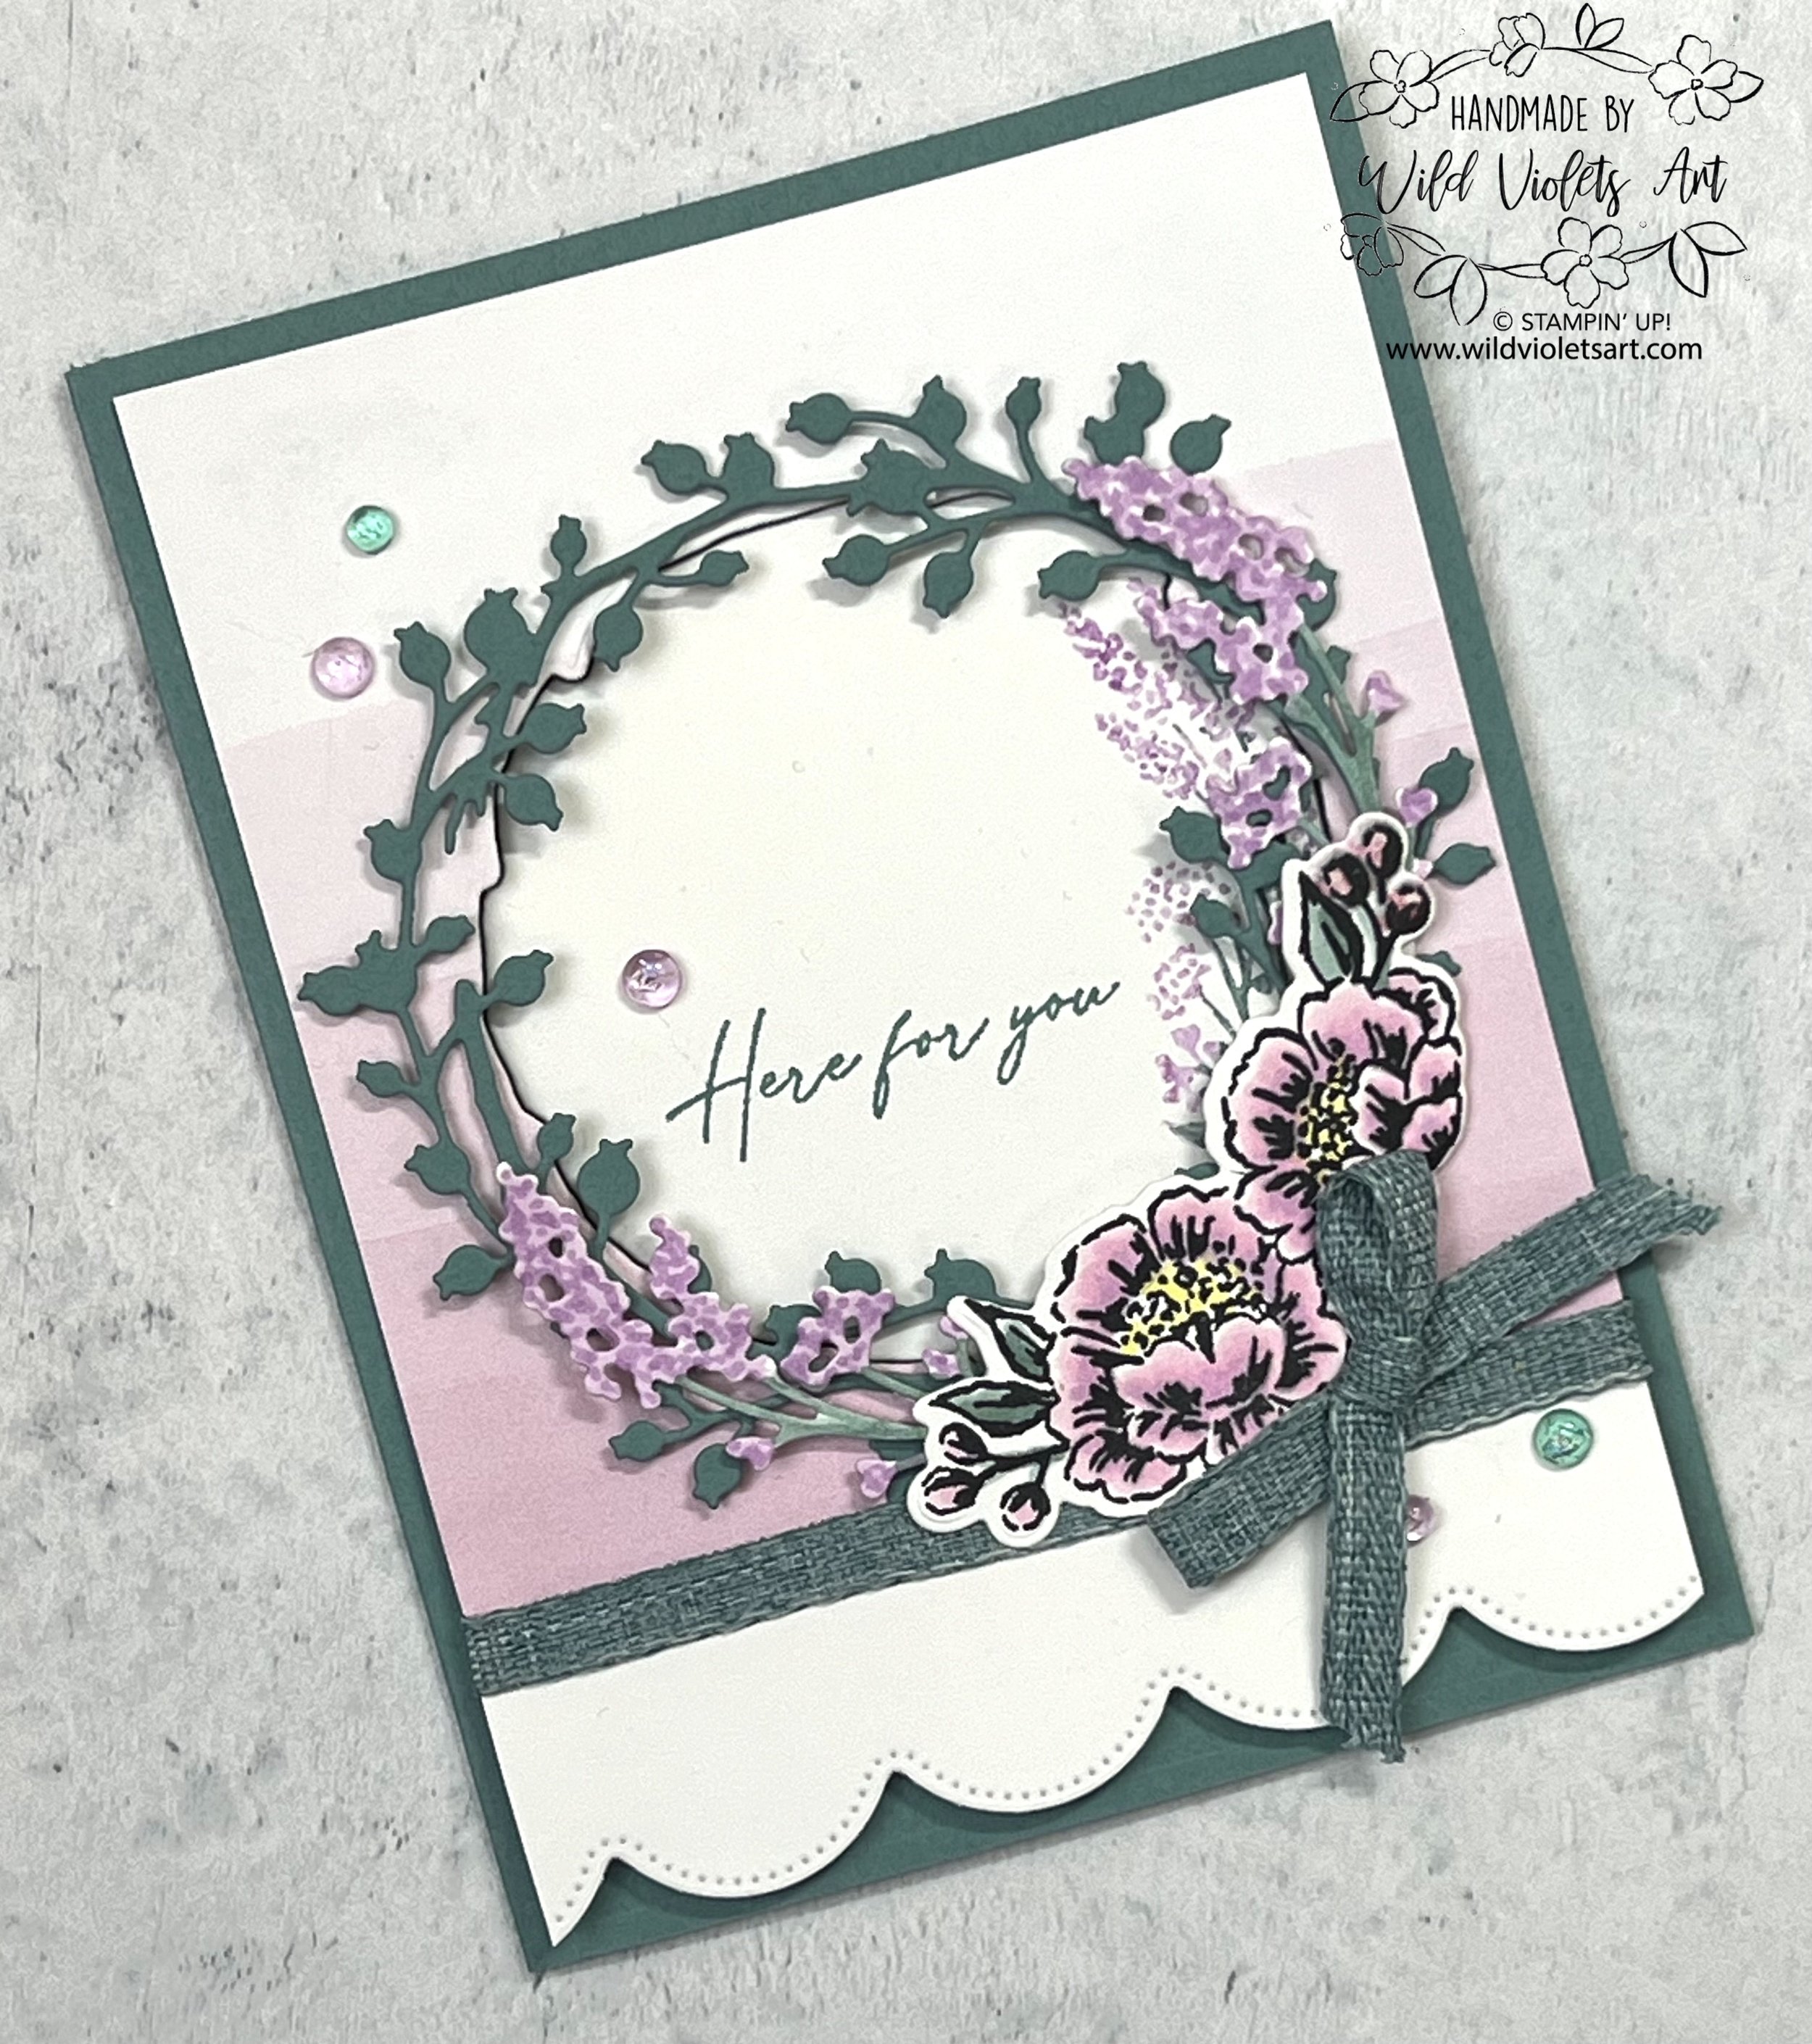
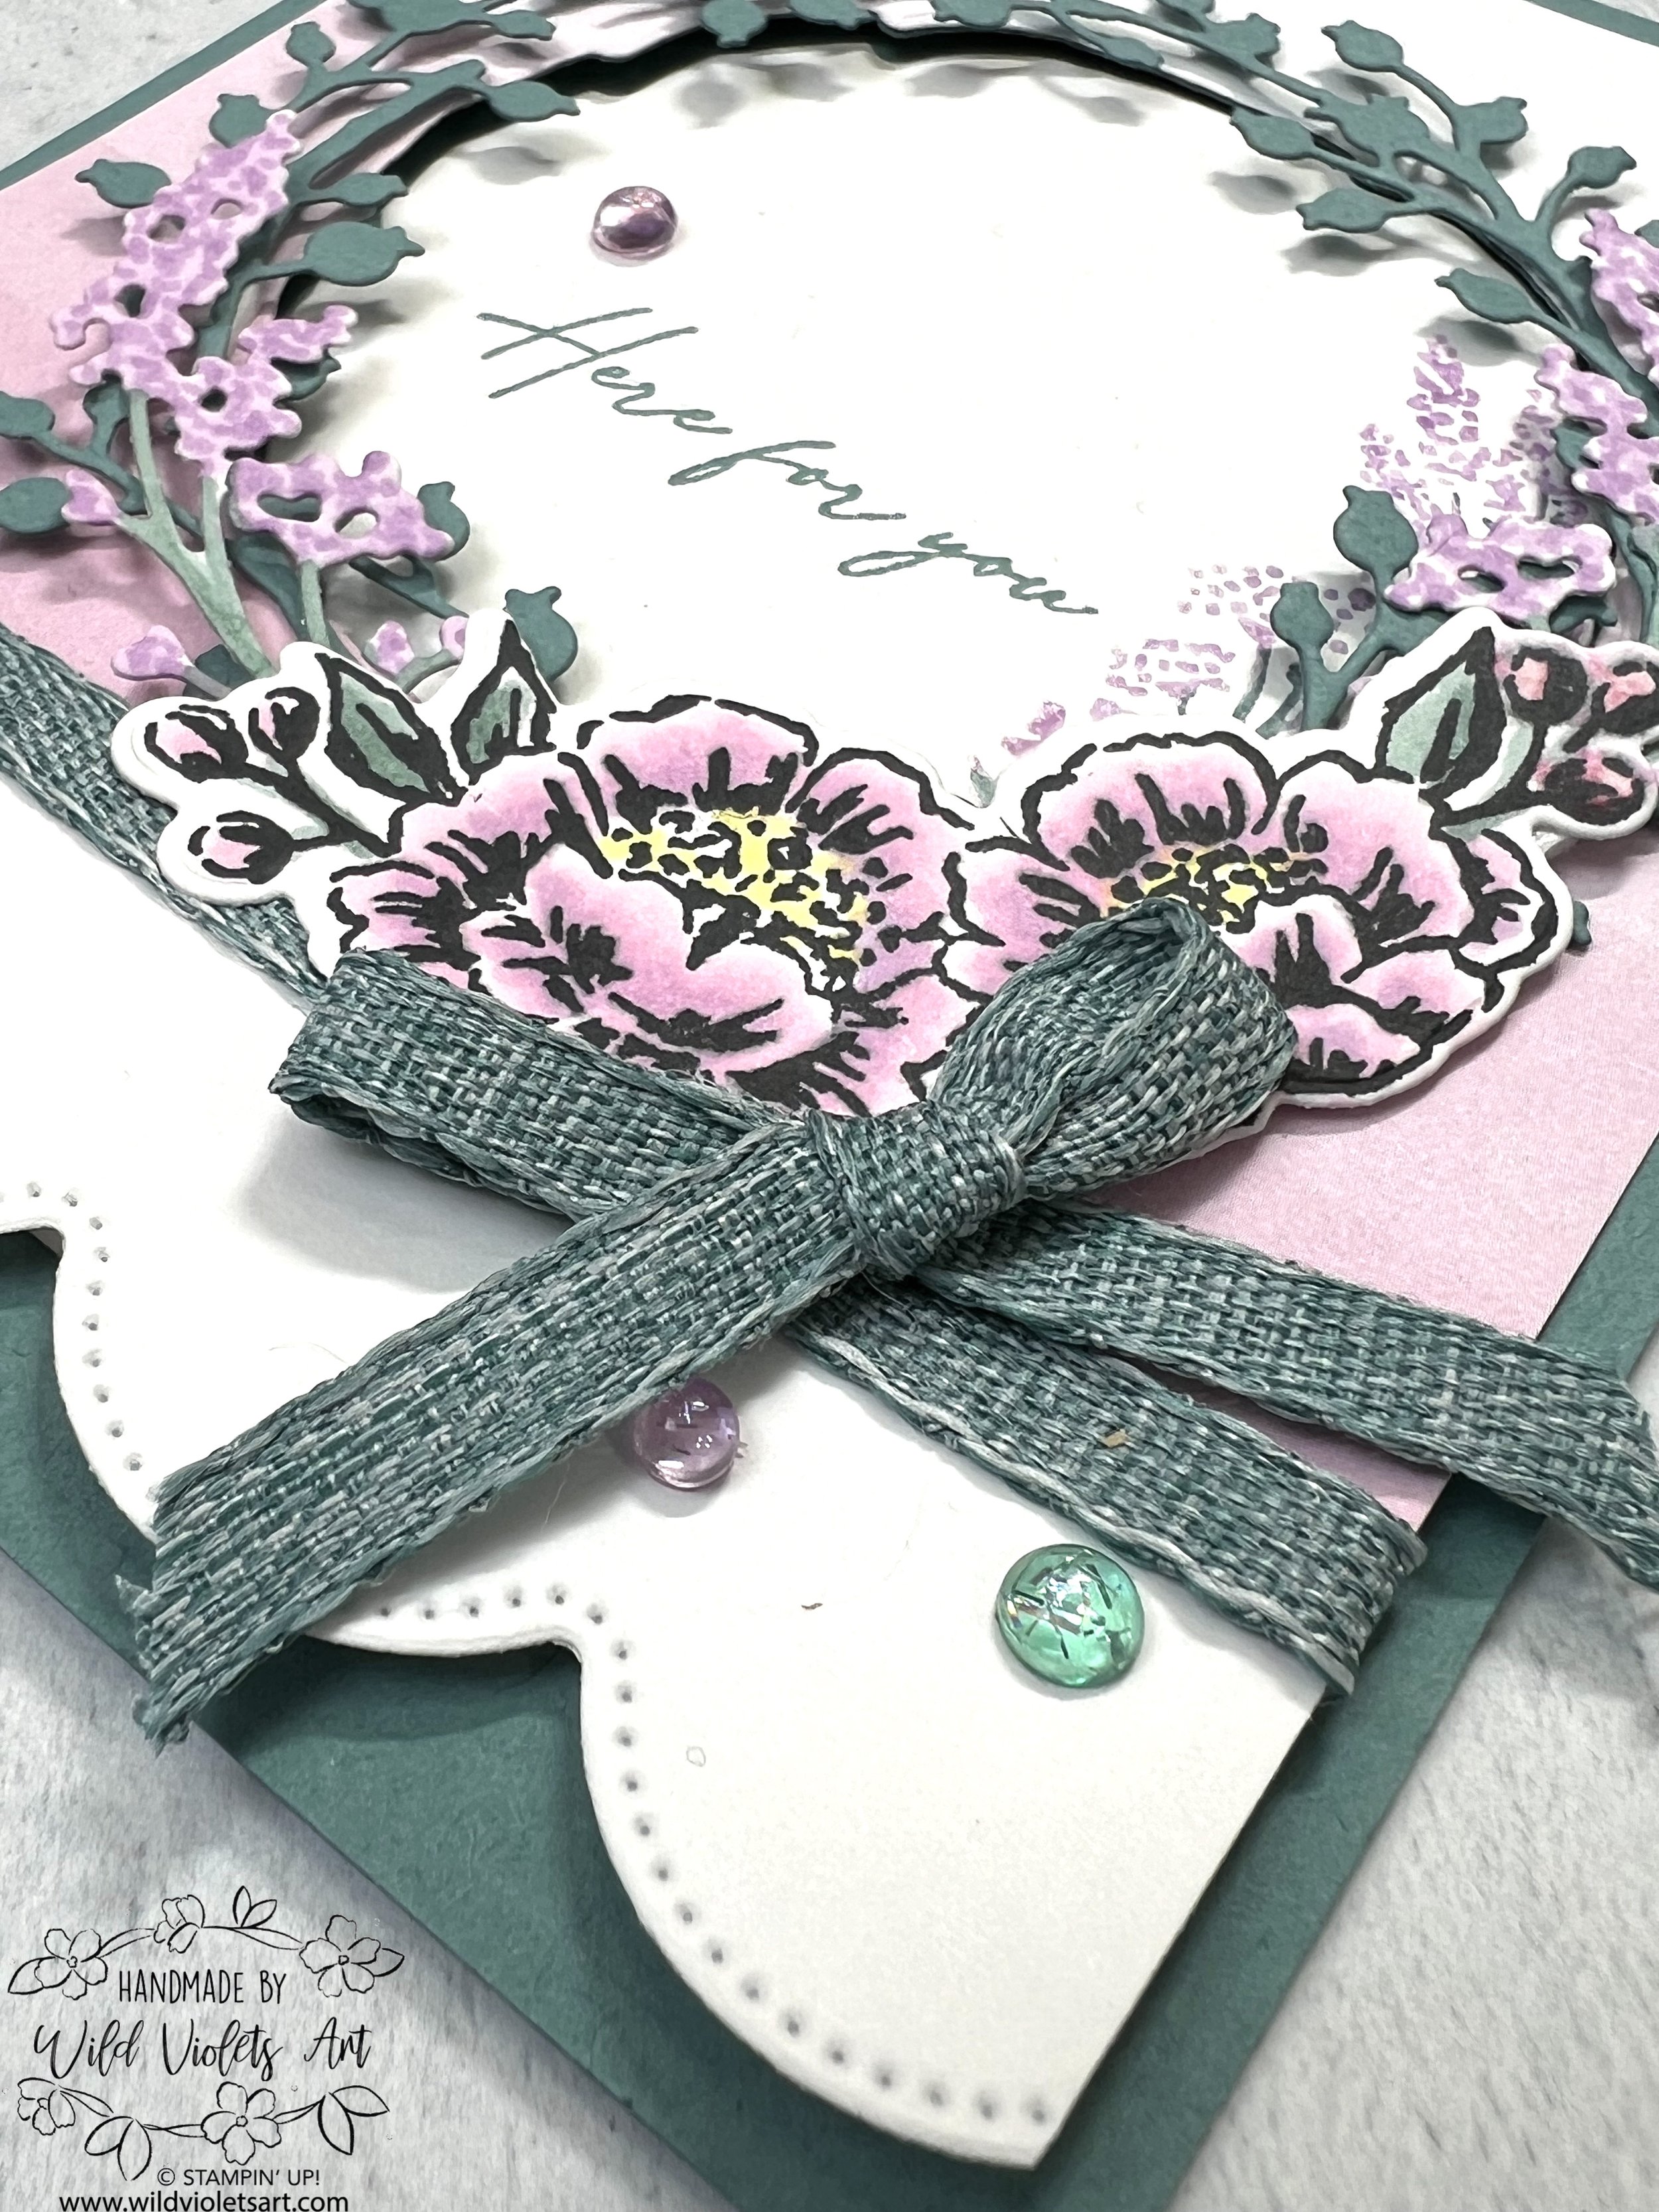
Here for you
This sweet spring themed peek-a-boo card is easy to make and definitely provides that wow when opened up and the greeting is on the inside. I used an A2 card base in Lost Lagoon CS and adhered a piece of 4”x4-3/4” Bright & Beautiful 6”x6” DSP (but glue only around the edges). Once glue is dried, open up card and put both layers through Stampin’ Cut & Emboss Machine and die cut out with smallest twig circle die at top center of front of card. (See my video and how not to do it… sigh).

Using your Fresh Freesia and Lost Lagoon Stampin’ Write Marker, color floral sprig and then stamp on right side of die cut Basic White scrap, then glue it to the inside of card, matching cut-out.
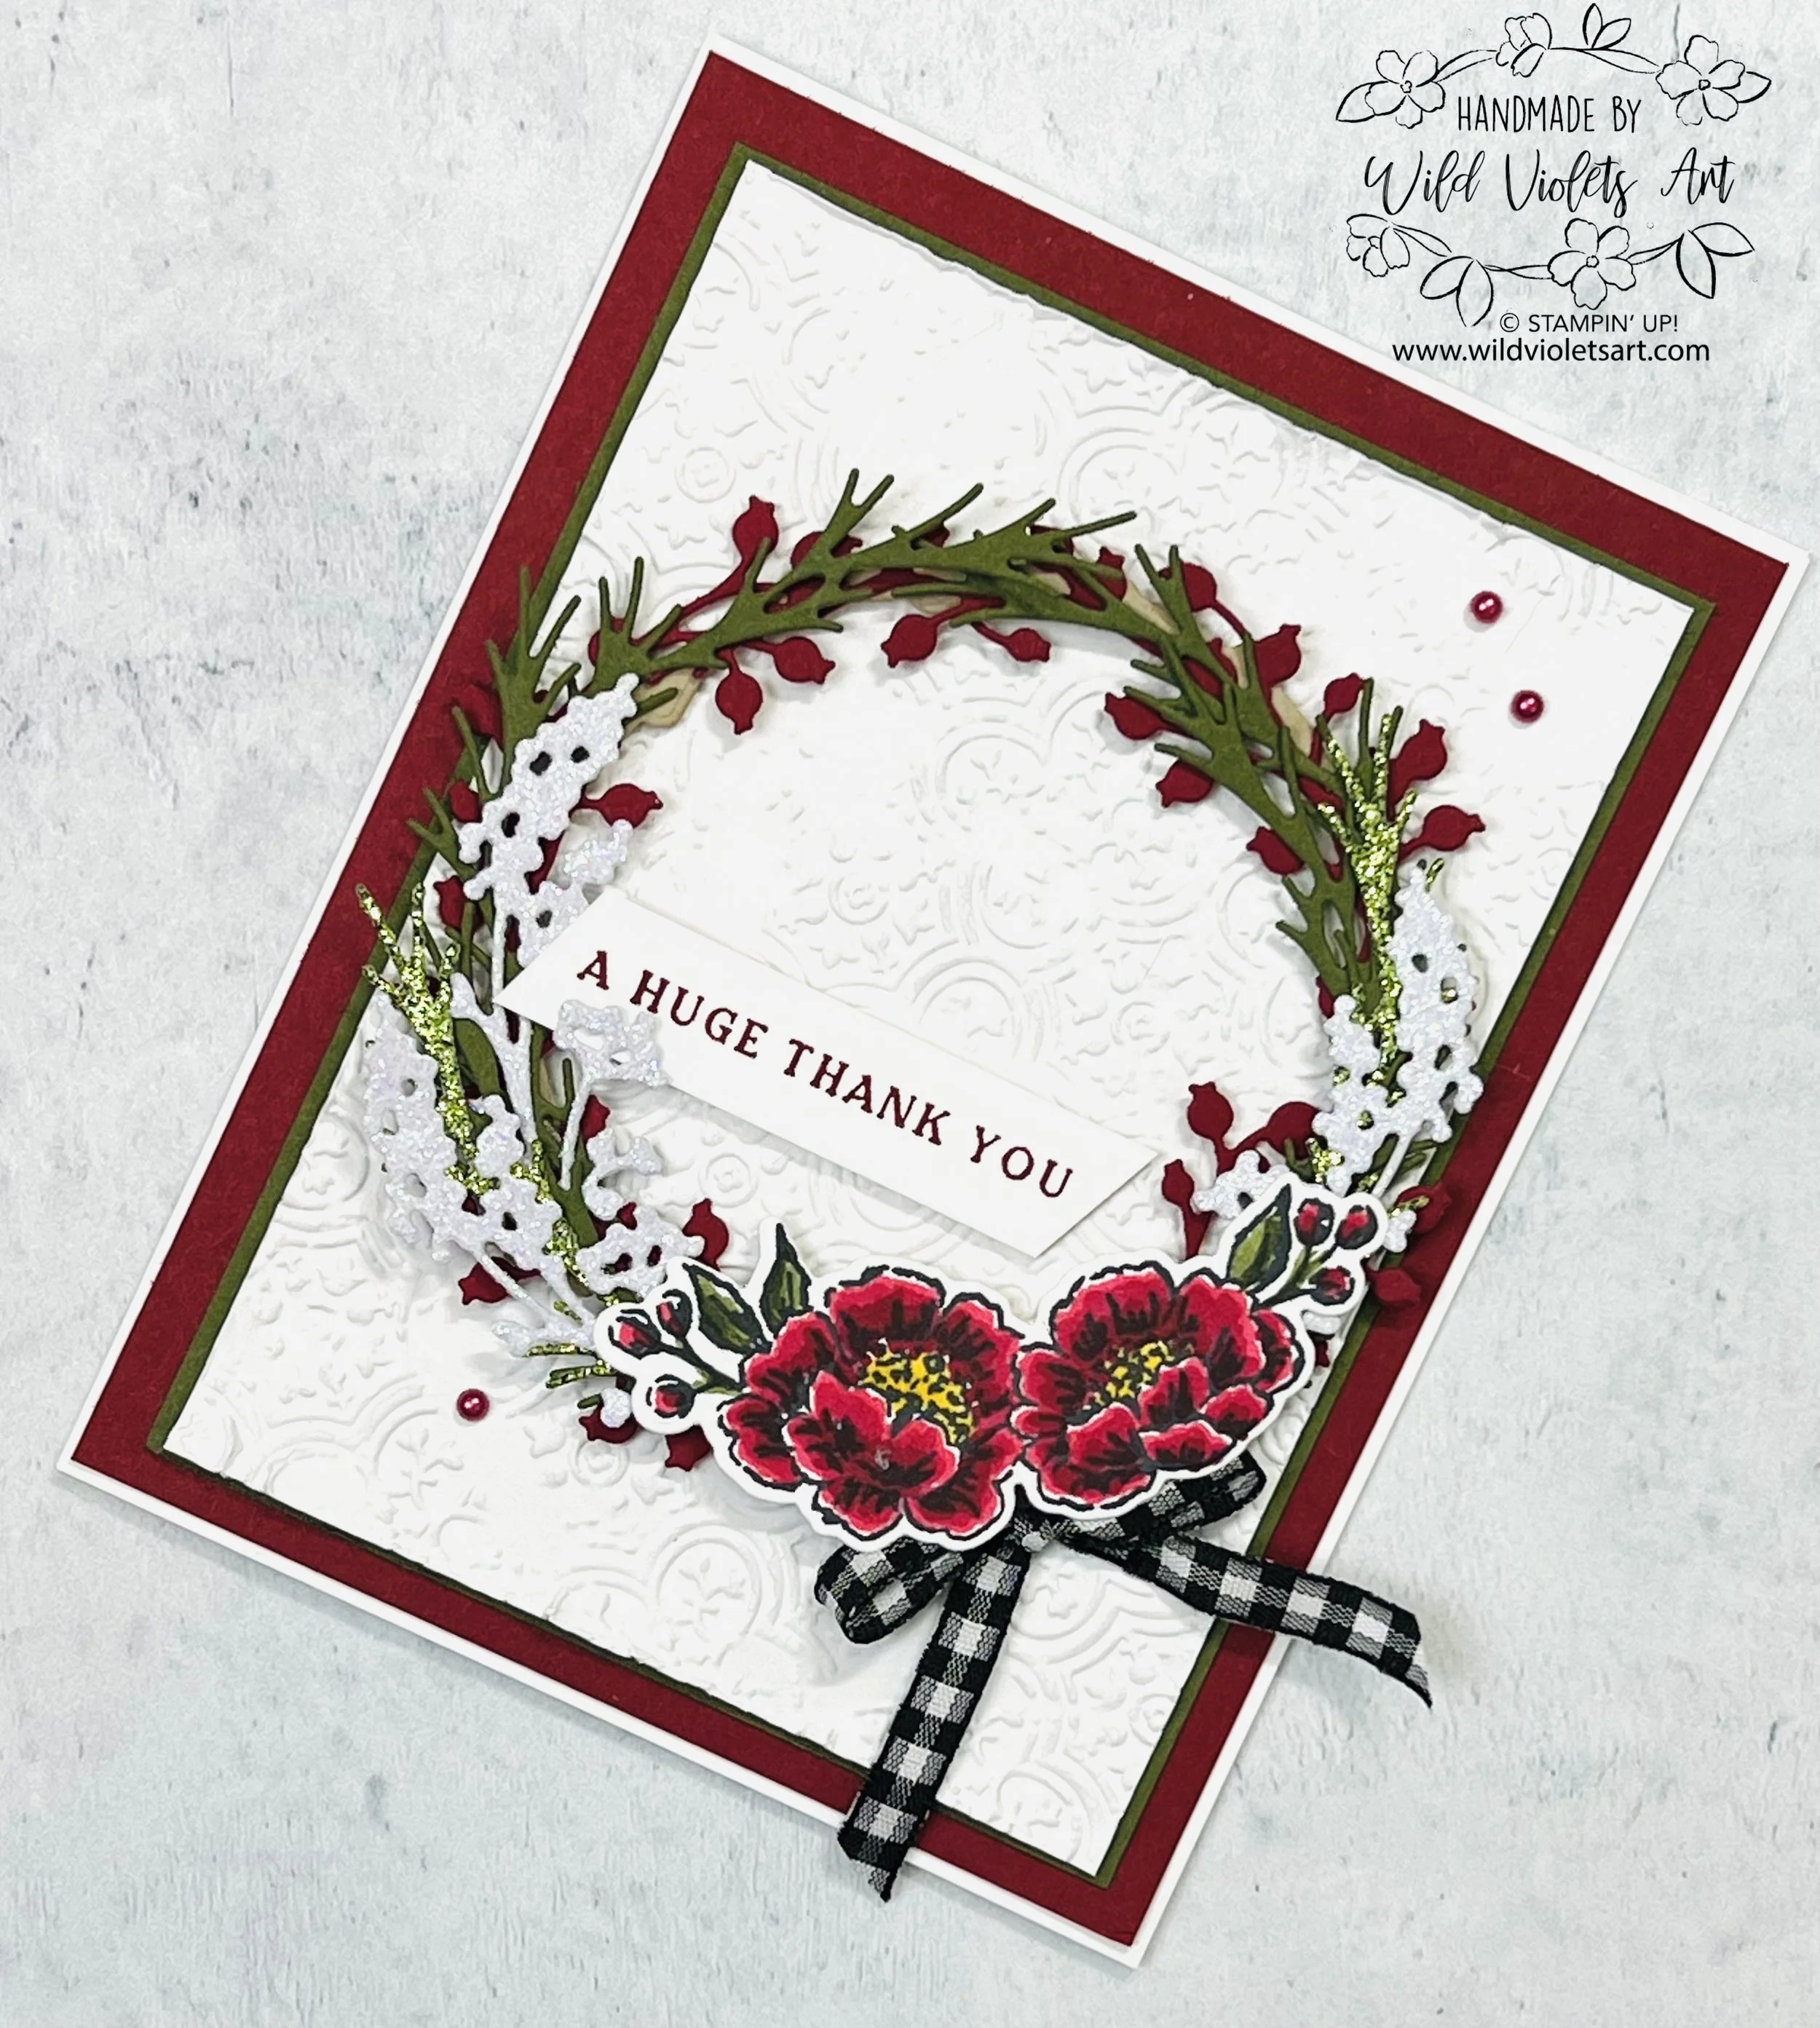
Take a 1-1/4”x4” piece of Basic White CS and die cut the scallop using the Scalloped Contours Dies. Wrap the Lost Lagoon 1/4” Bordered Ribbon around front of scallop piece then pop up on card front using Stampin’ Dimensionals. Using a 4” square of Lost Lagoon CS, die cut out wreath.

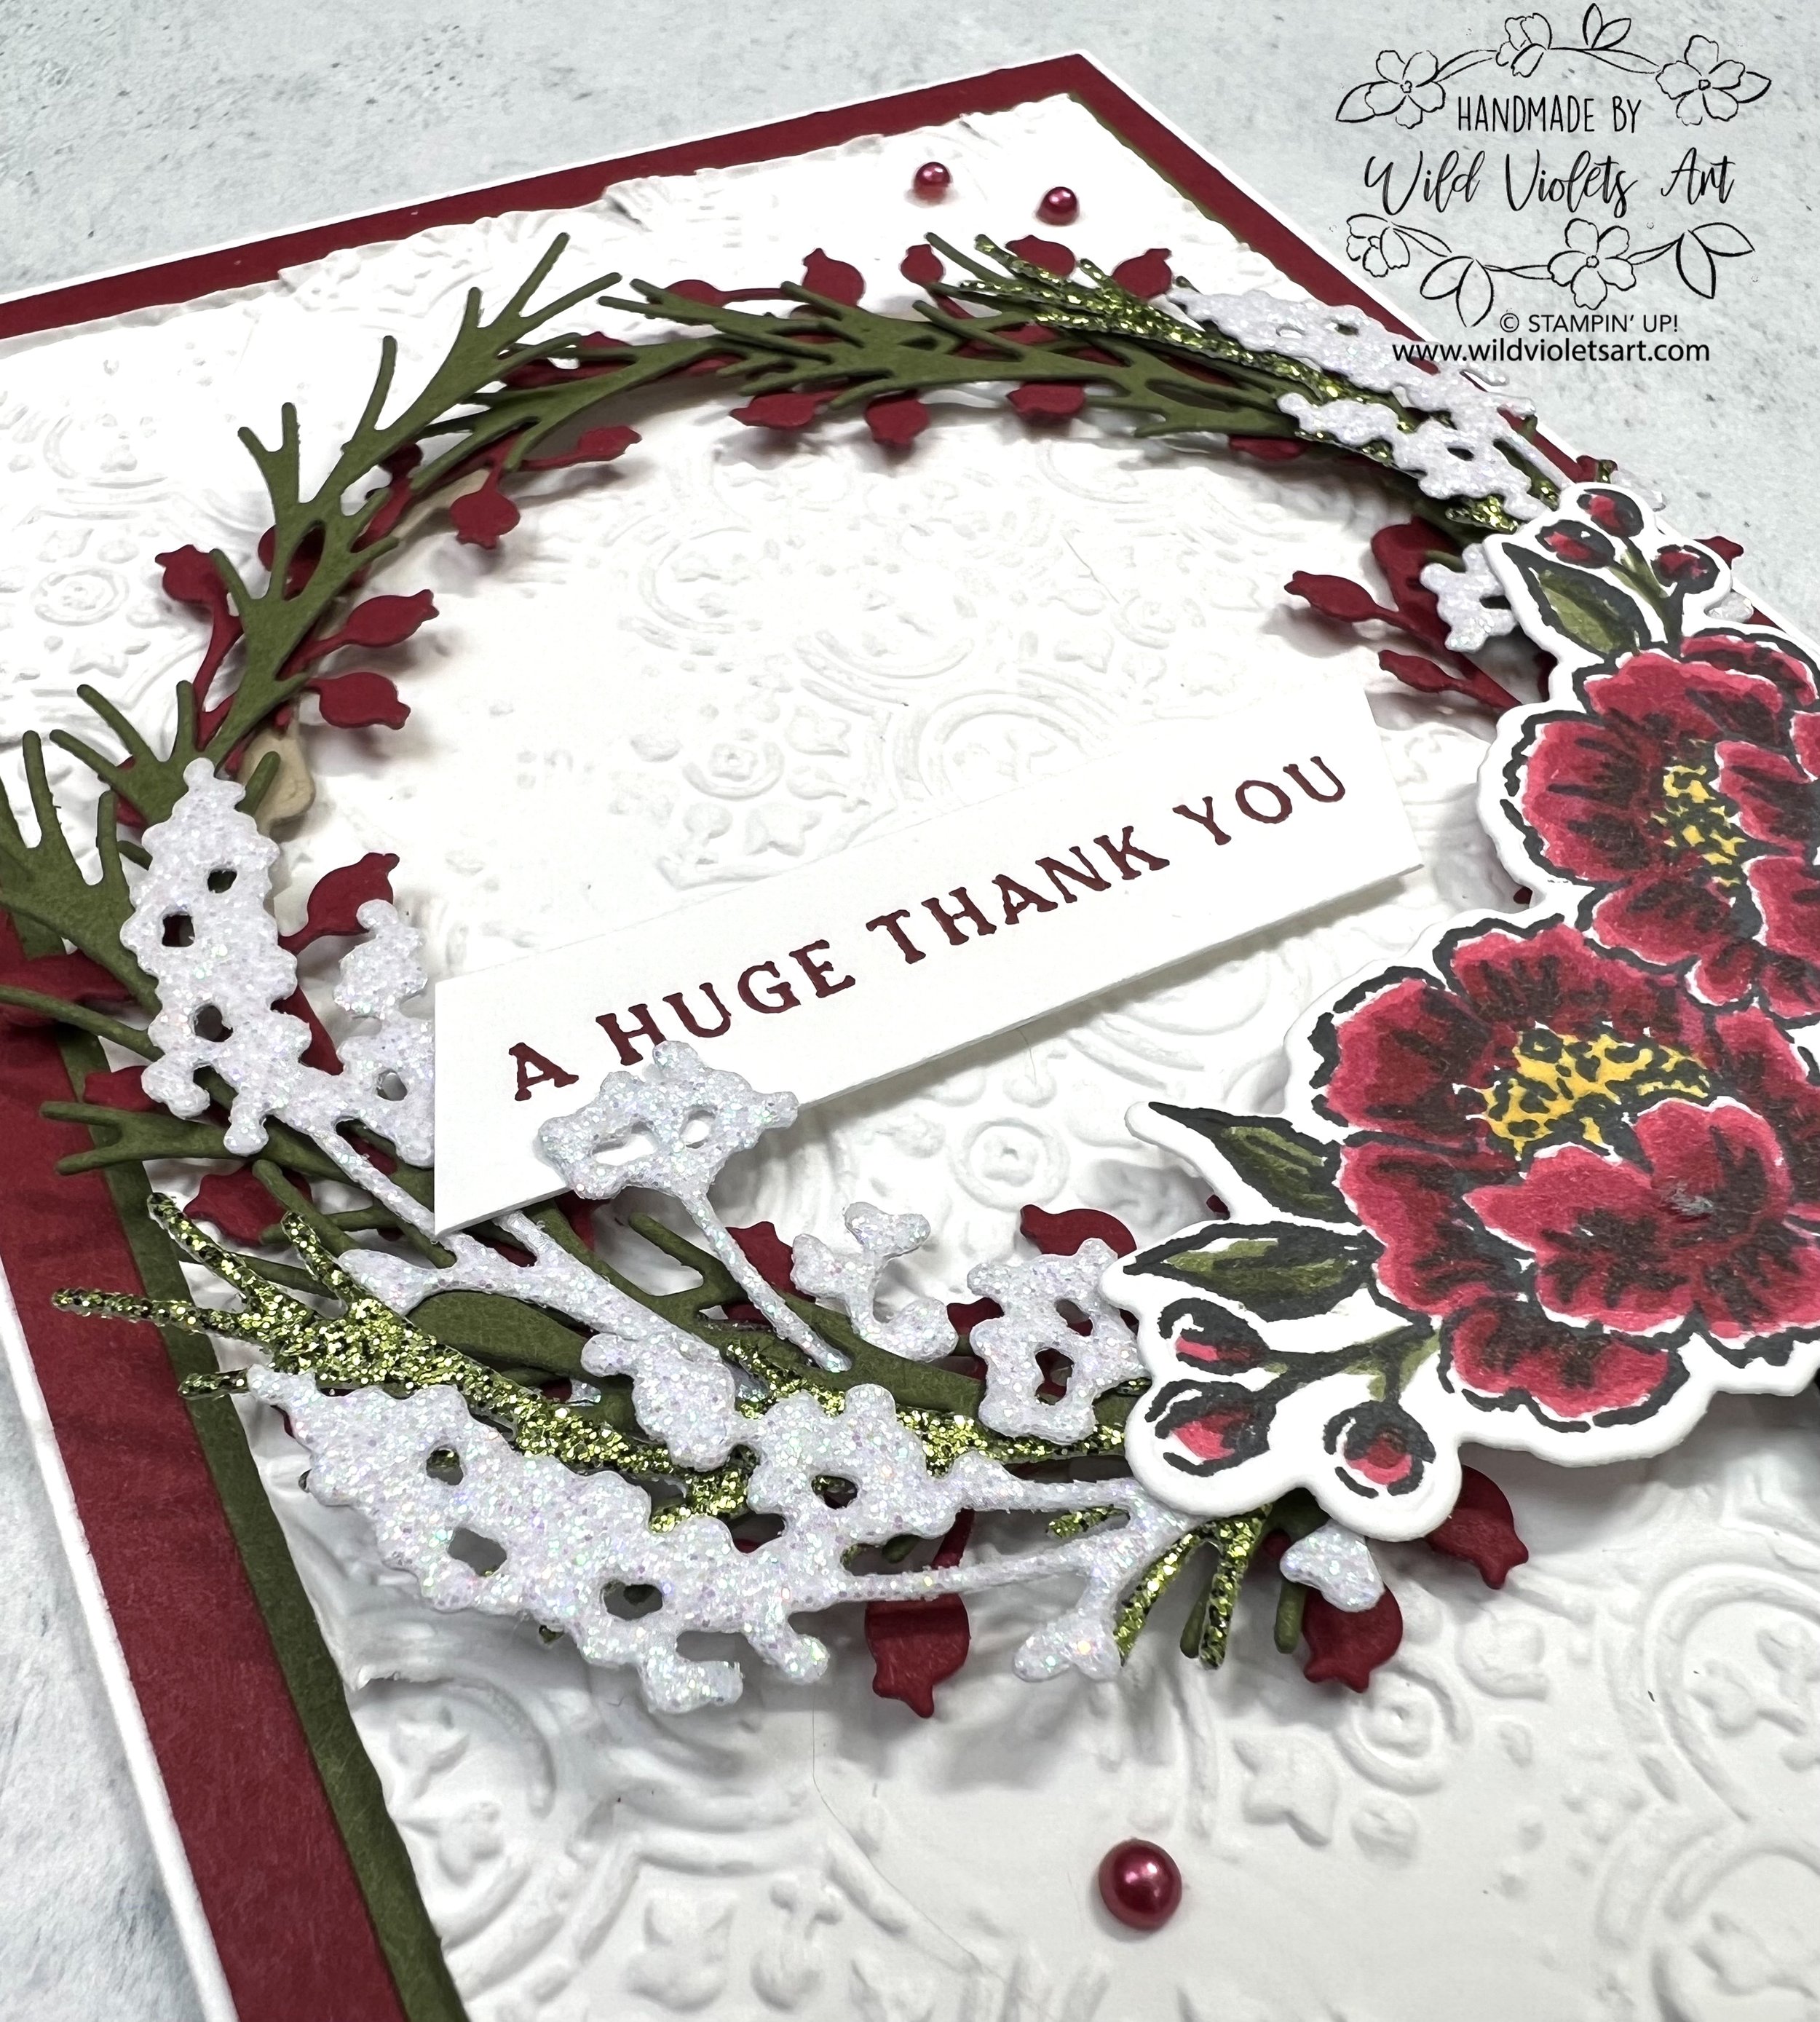
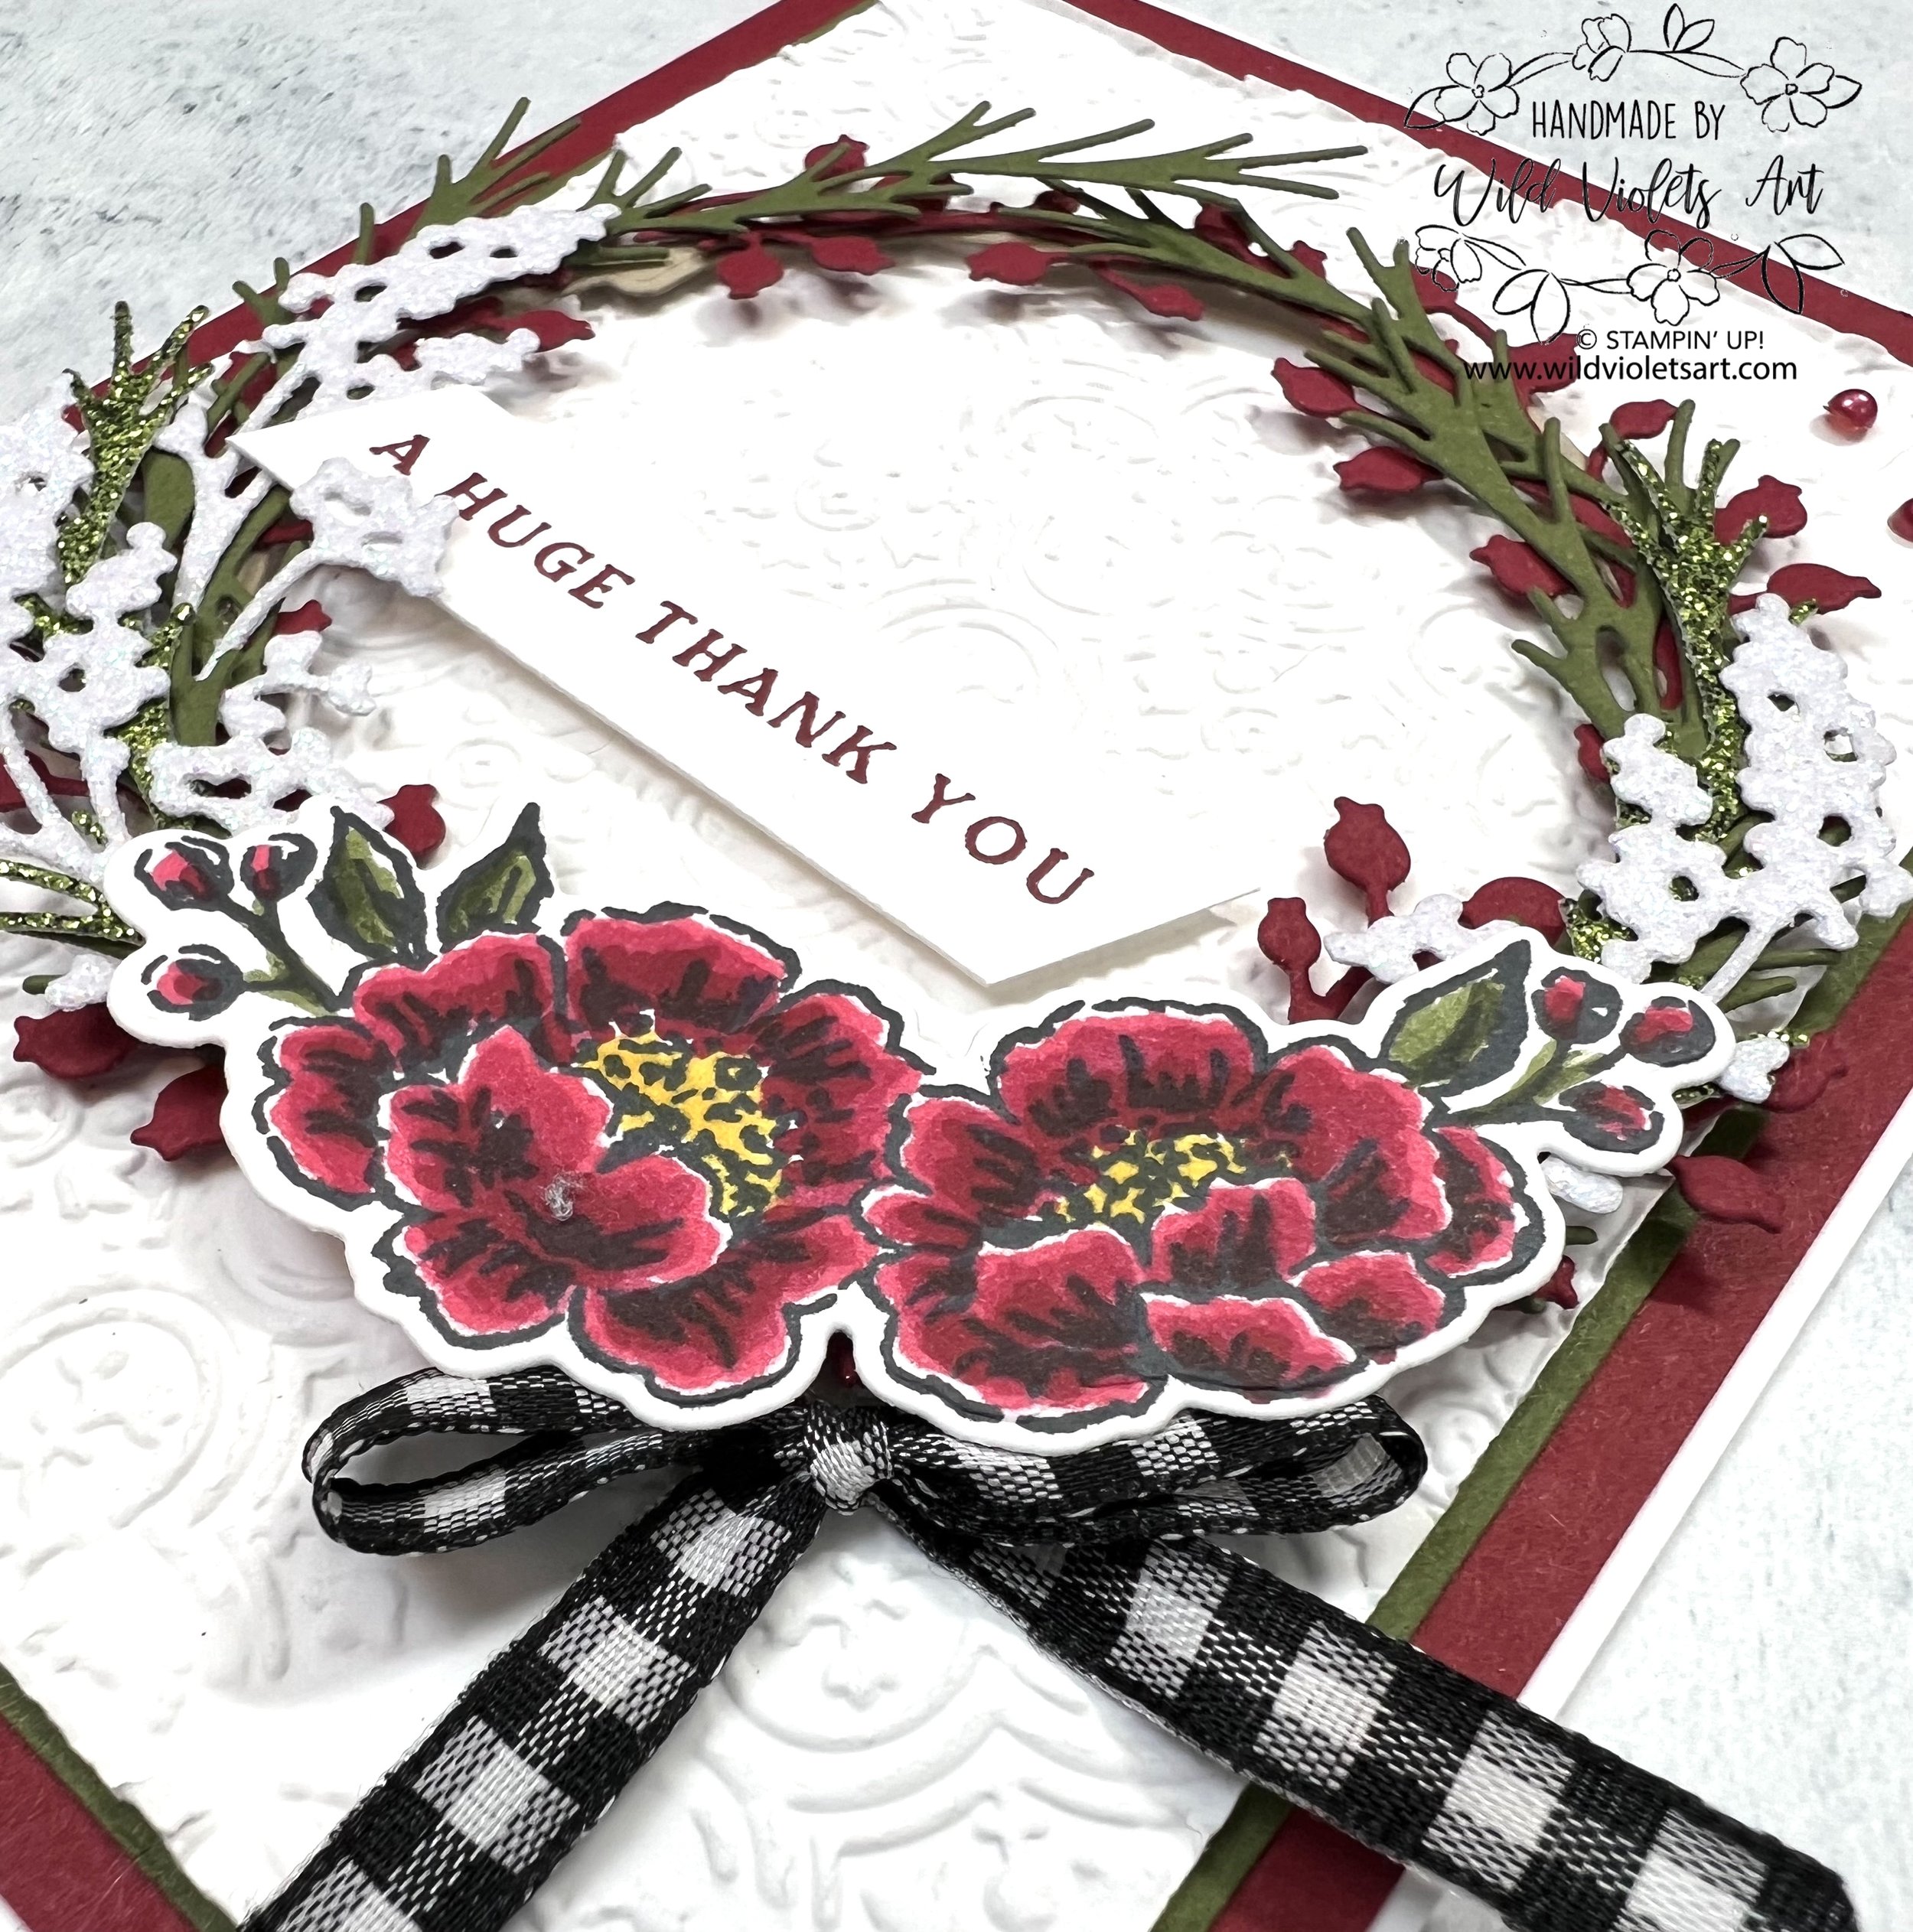
Add wreath to surround cut out area of card using Mini Stampin’ Dimensionals, (you may need to cut dimensionals in half). Stamp floral in Memento Black ink on a 2”x4” scrap and color using Bubble Gum and Lost Lagoon Blends, along with Fresh Freesia Light and Lemon Lolly dark blends. see video for instructions. Die cut and pop up on card front as shown using Stampin’ Dimensionals.
Die cut out two floral sprigs in Basic White CS and use Fresh Freesia and Lost Lagoon Blends to color as shown (see video). Add to wreath as shown. Stamp sentiment in Lost Lagoon Classic Stampin’ Pad ink with card closed to make sure it lines up where you want it. Add Tinsel Gems Three-Pack in Fresh Freesia & Lost Lagoon as shown.

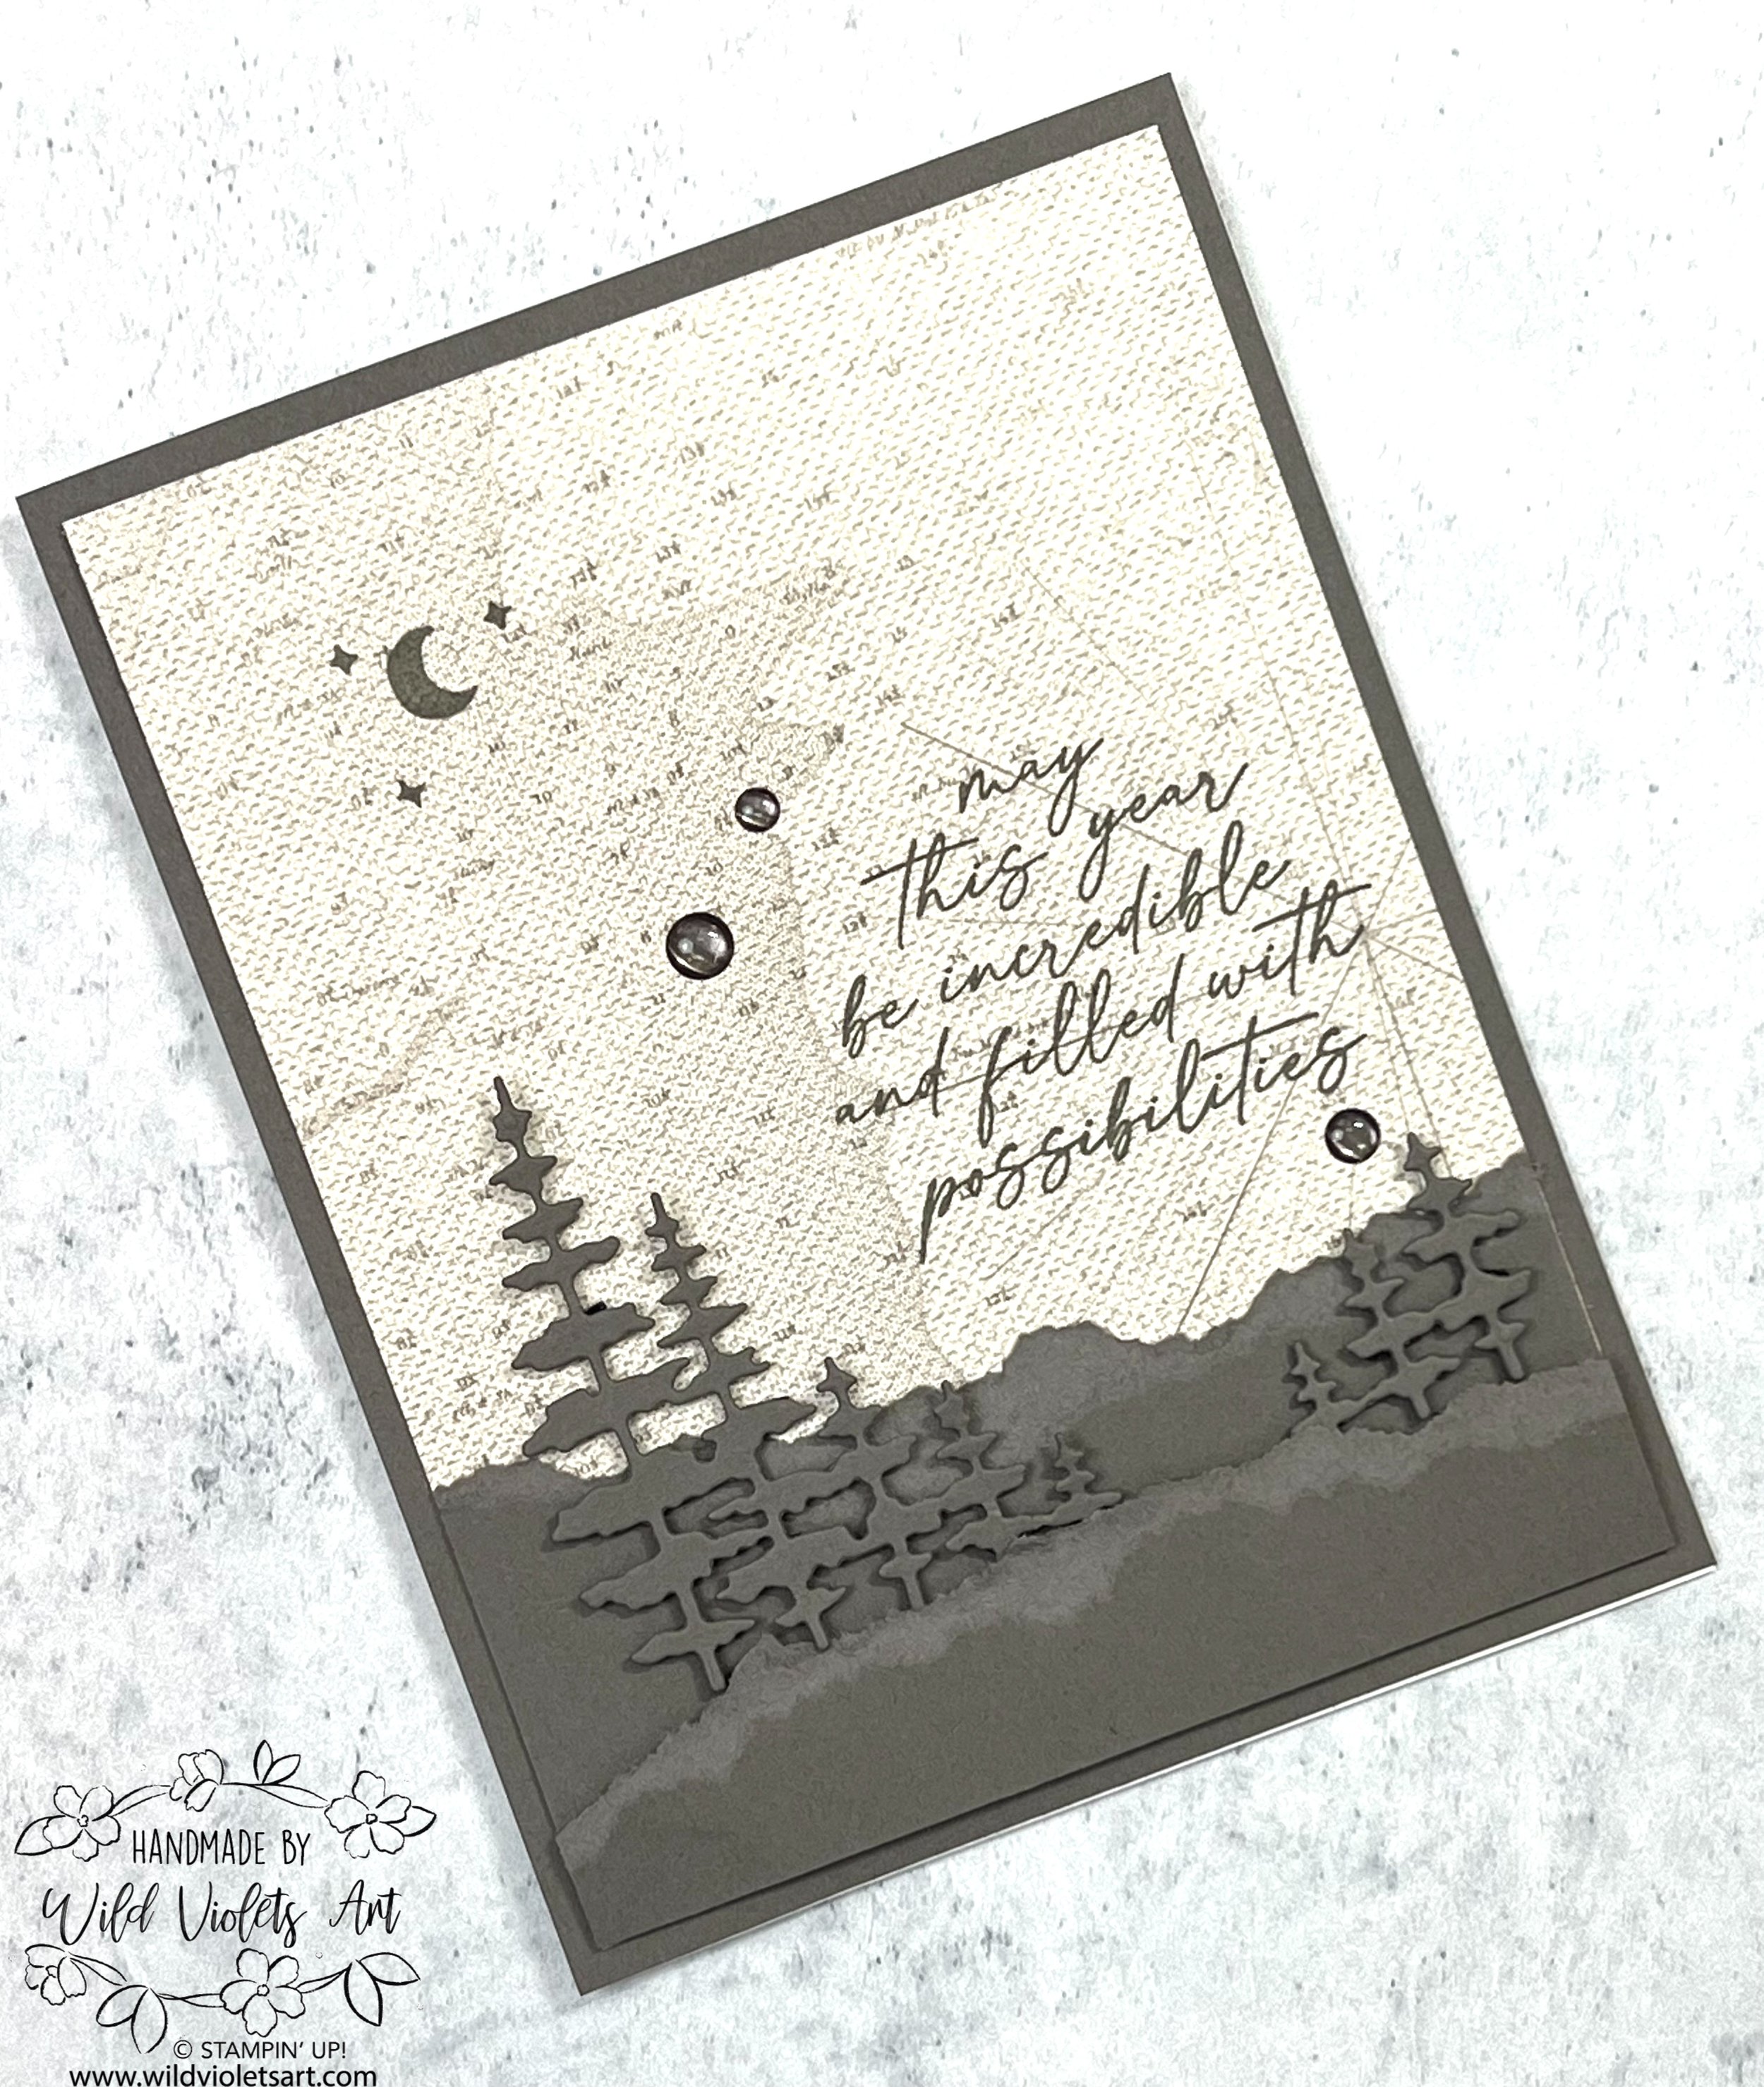
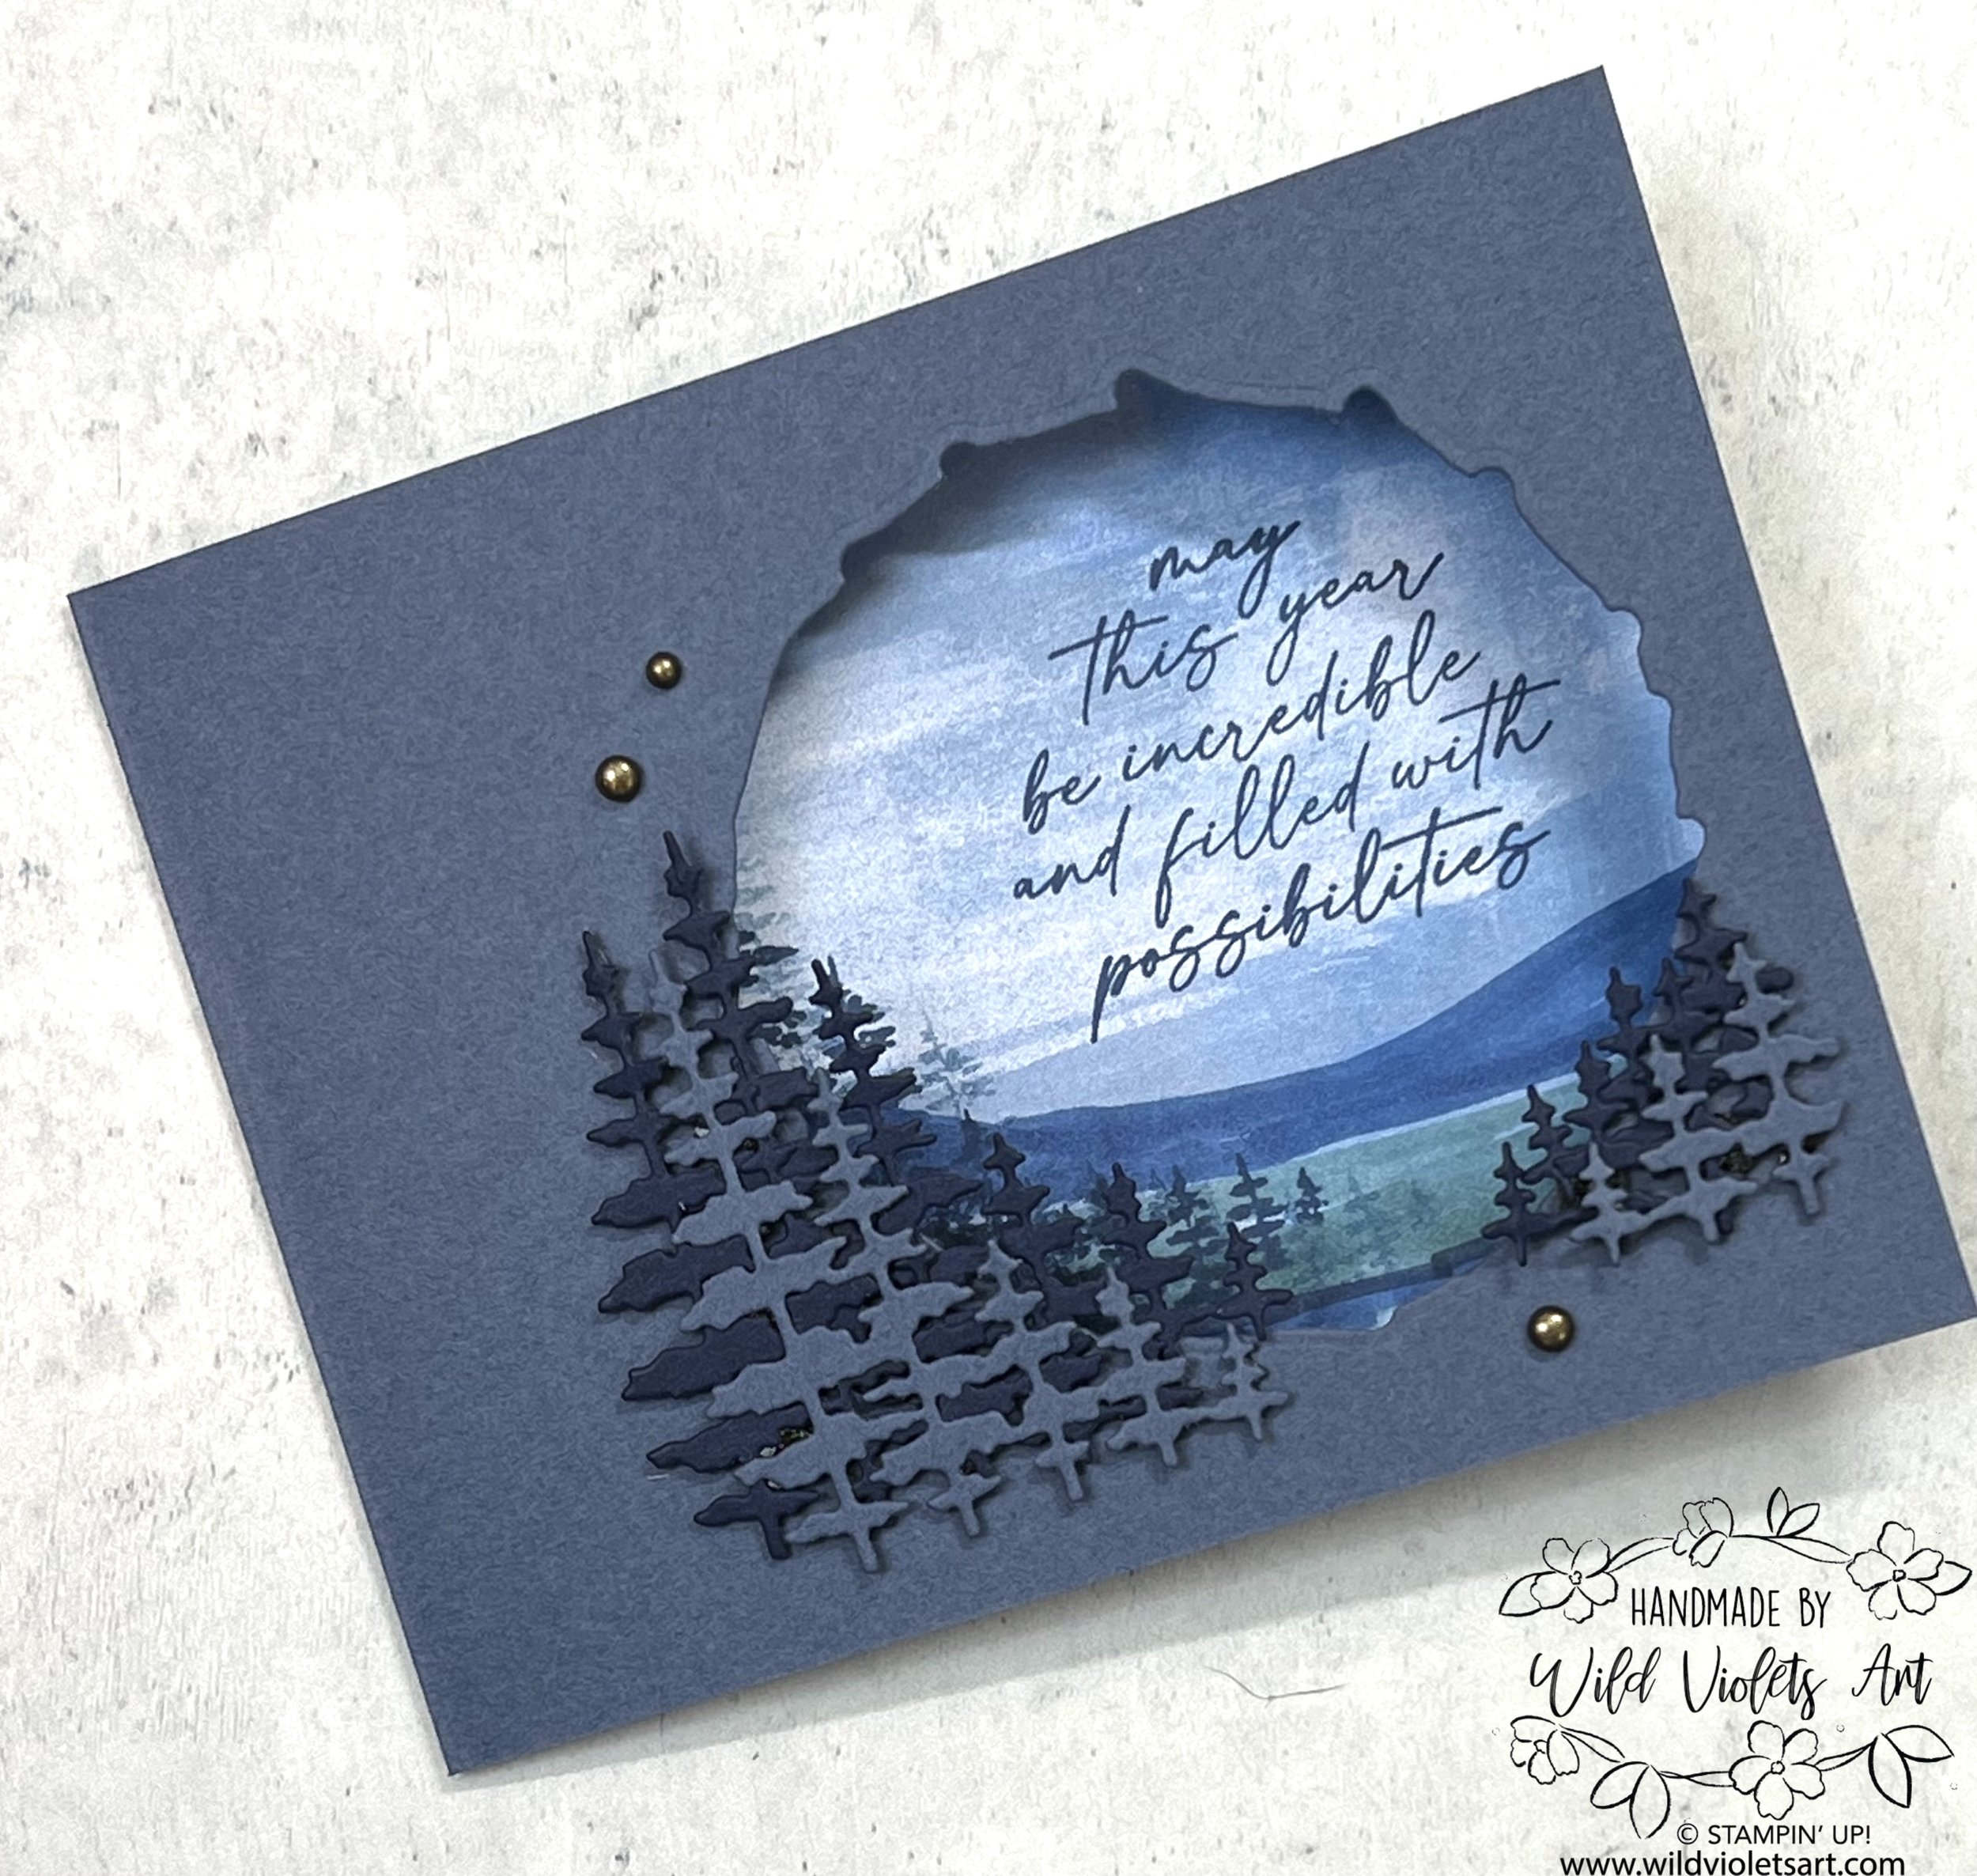
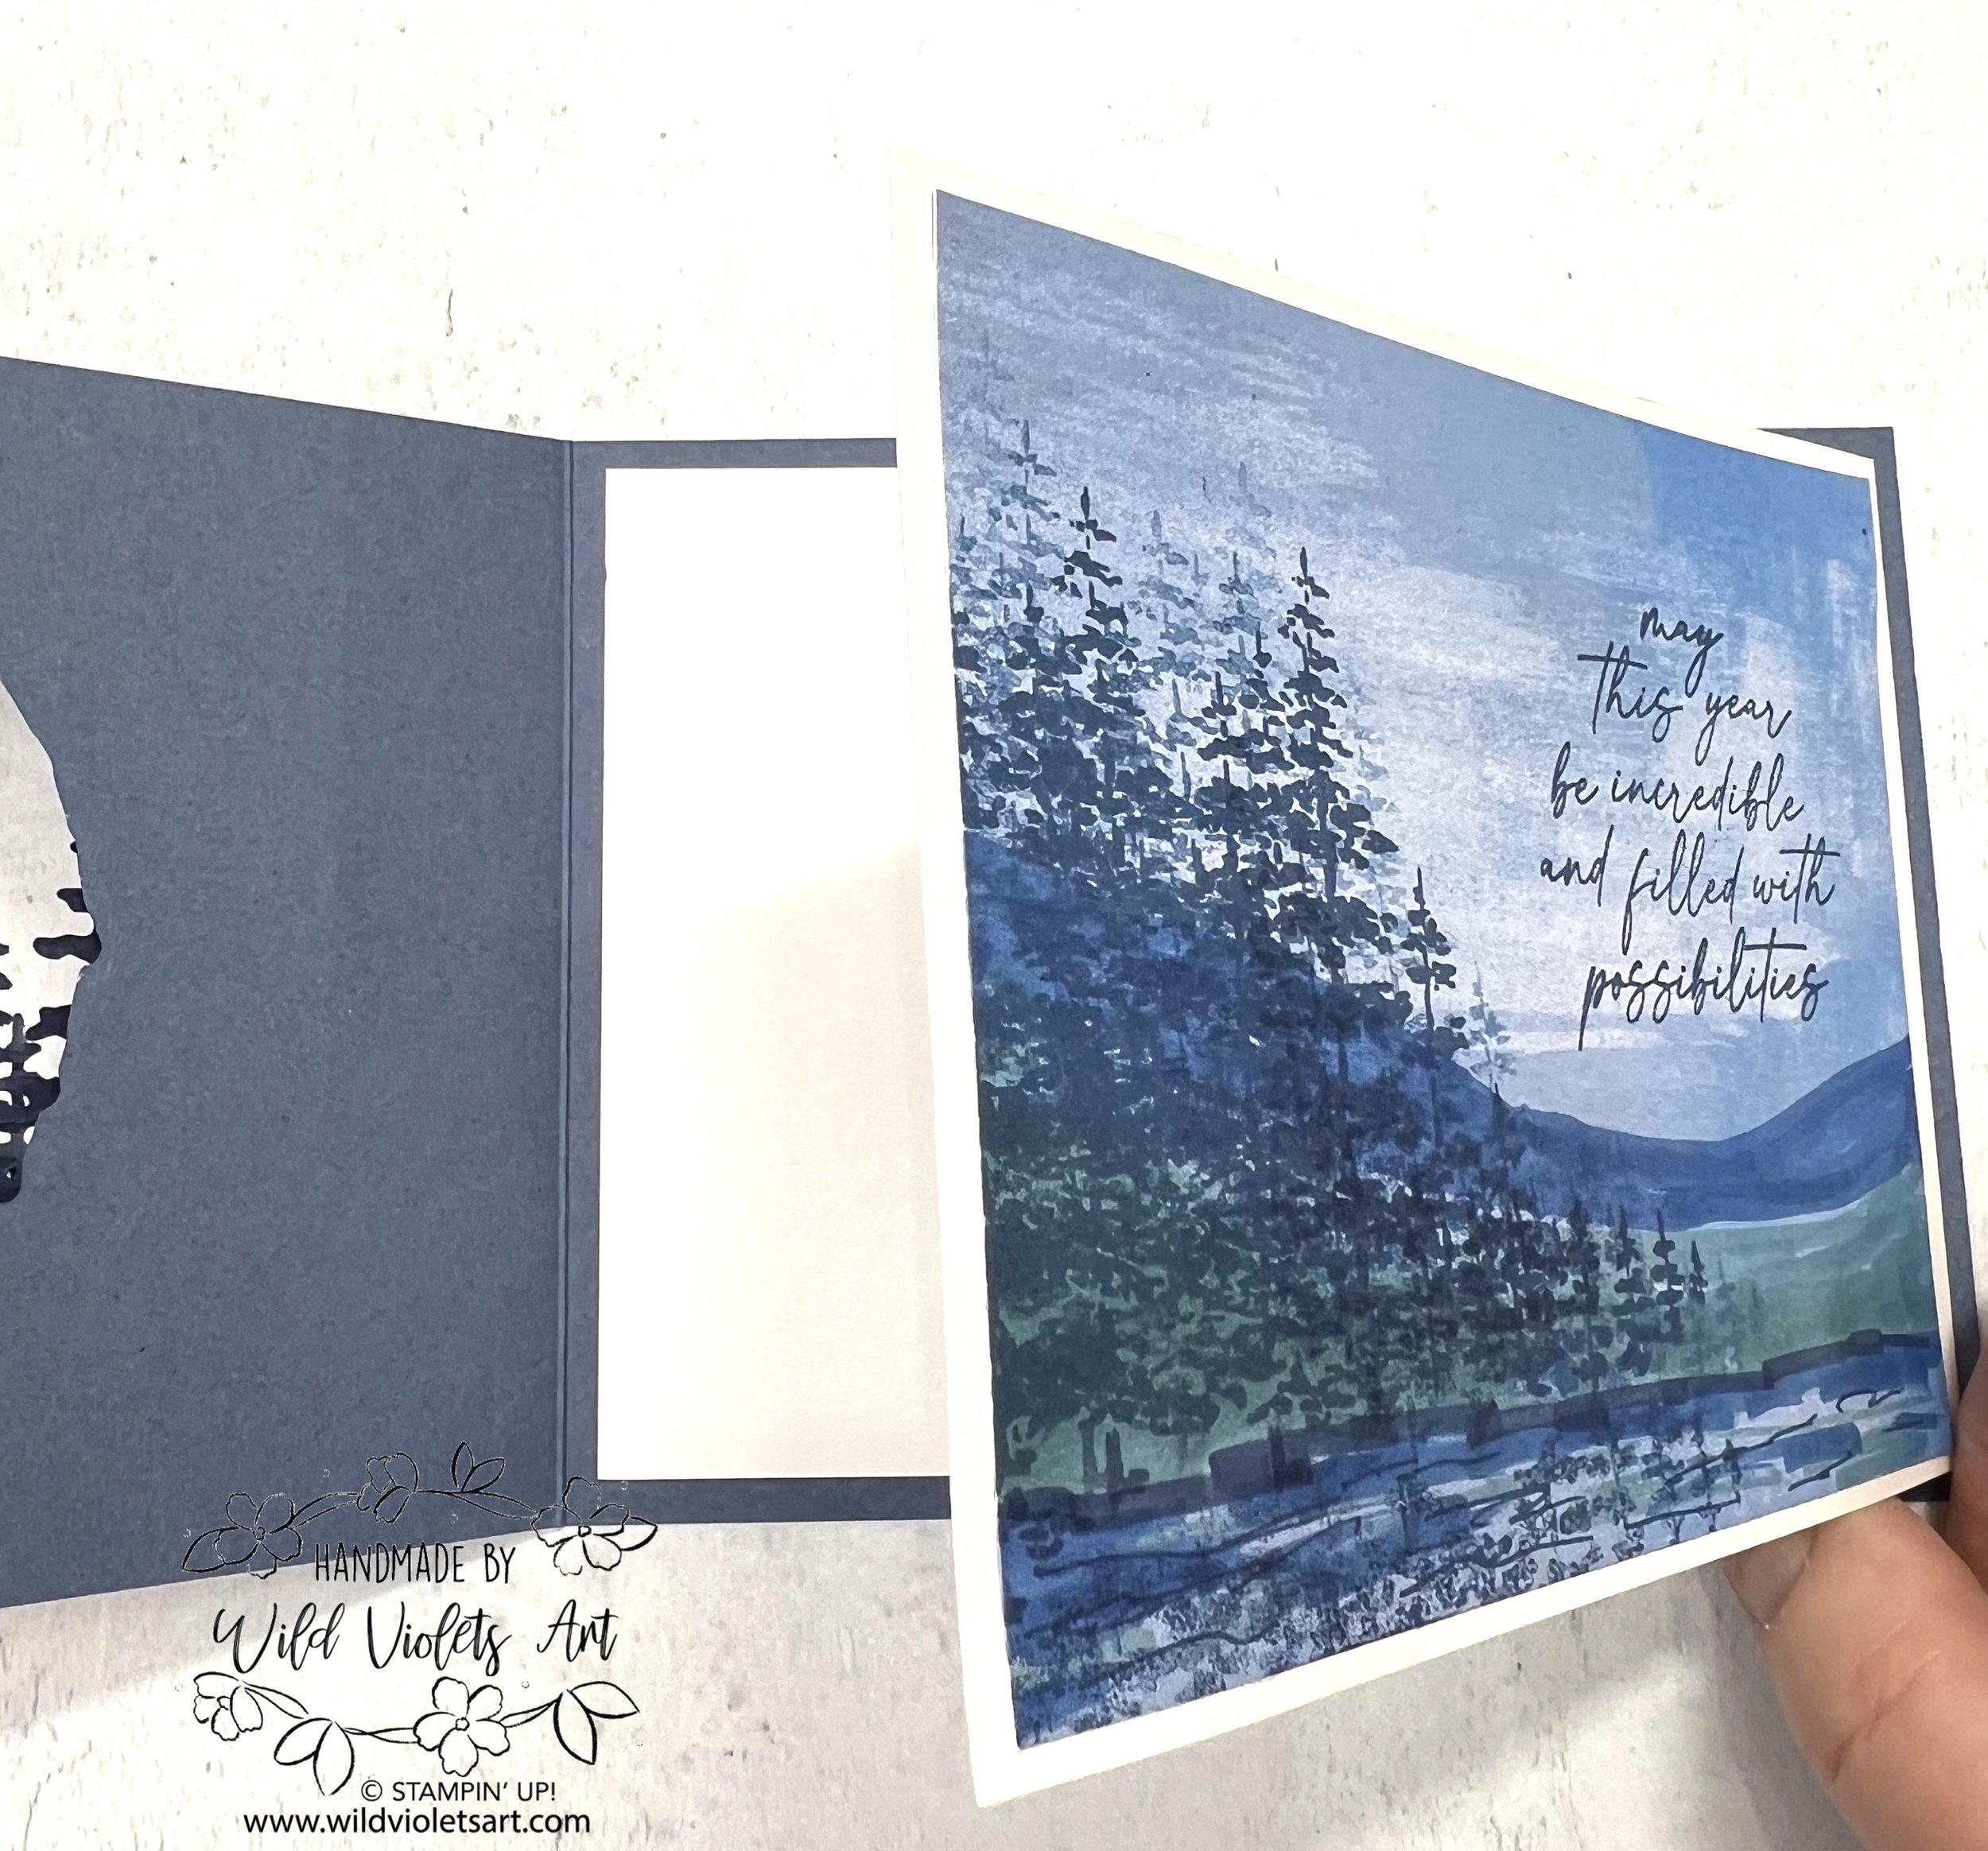
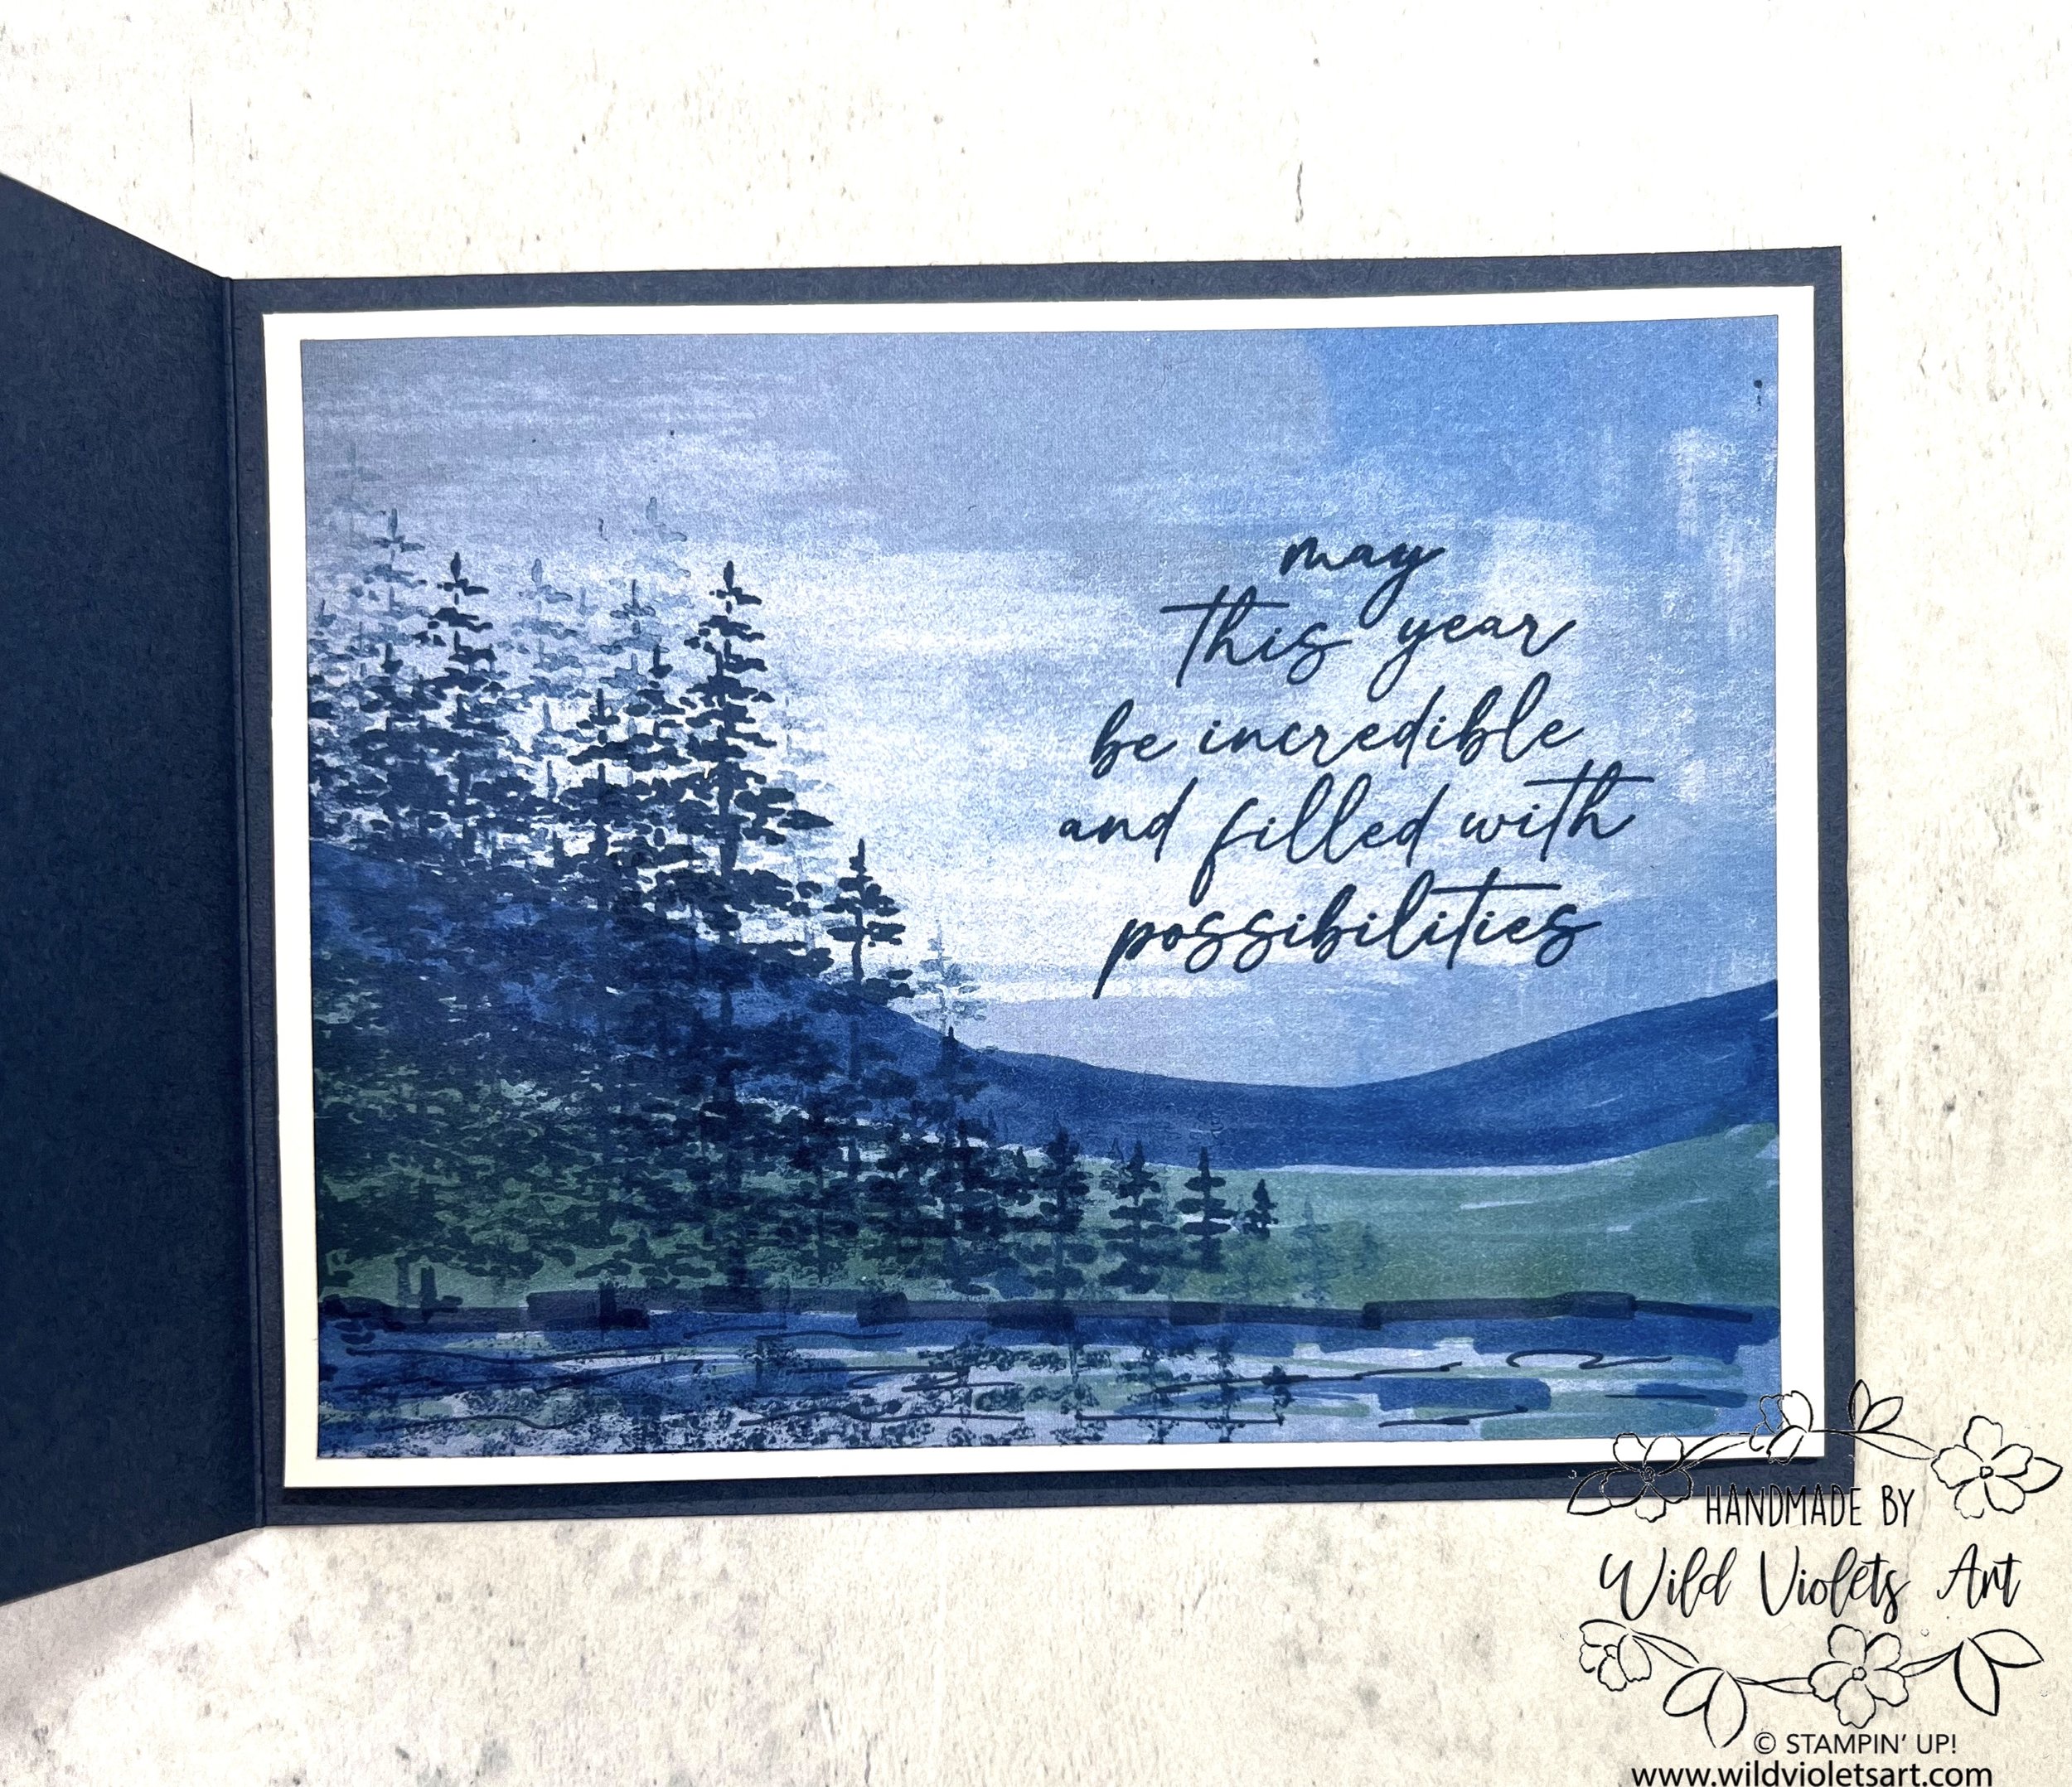
May this year…
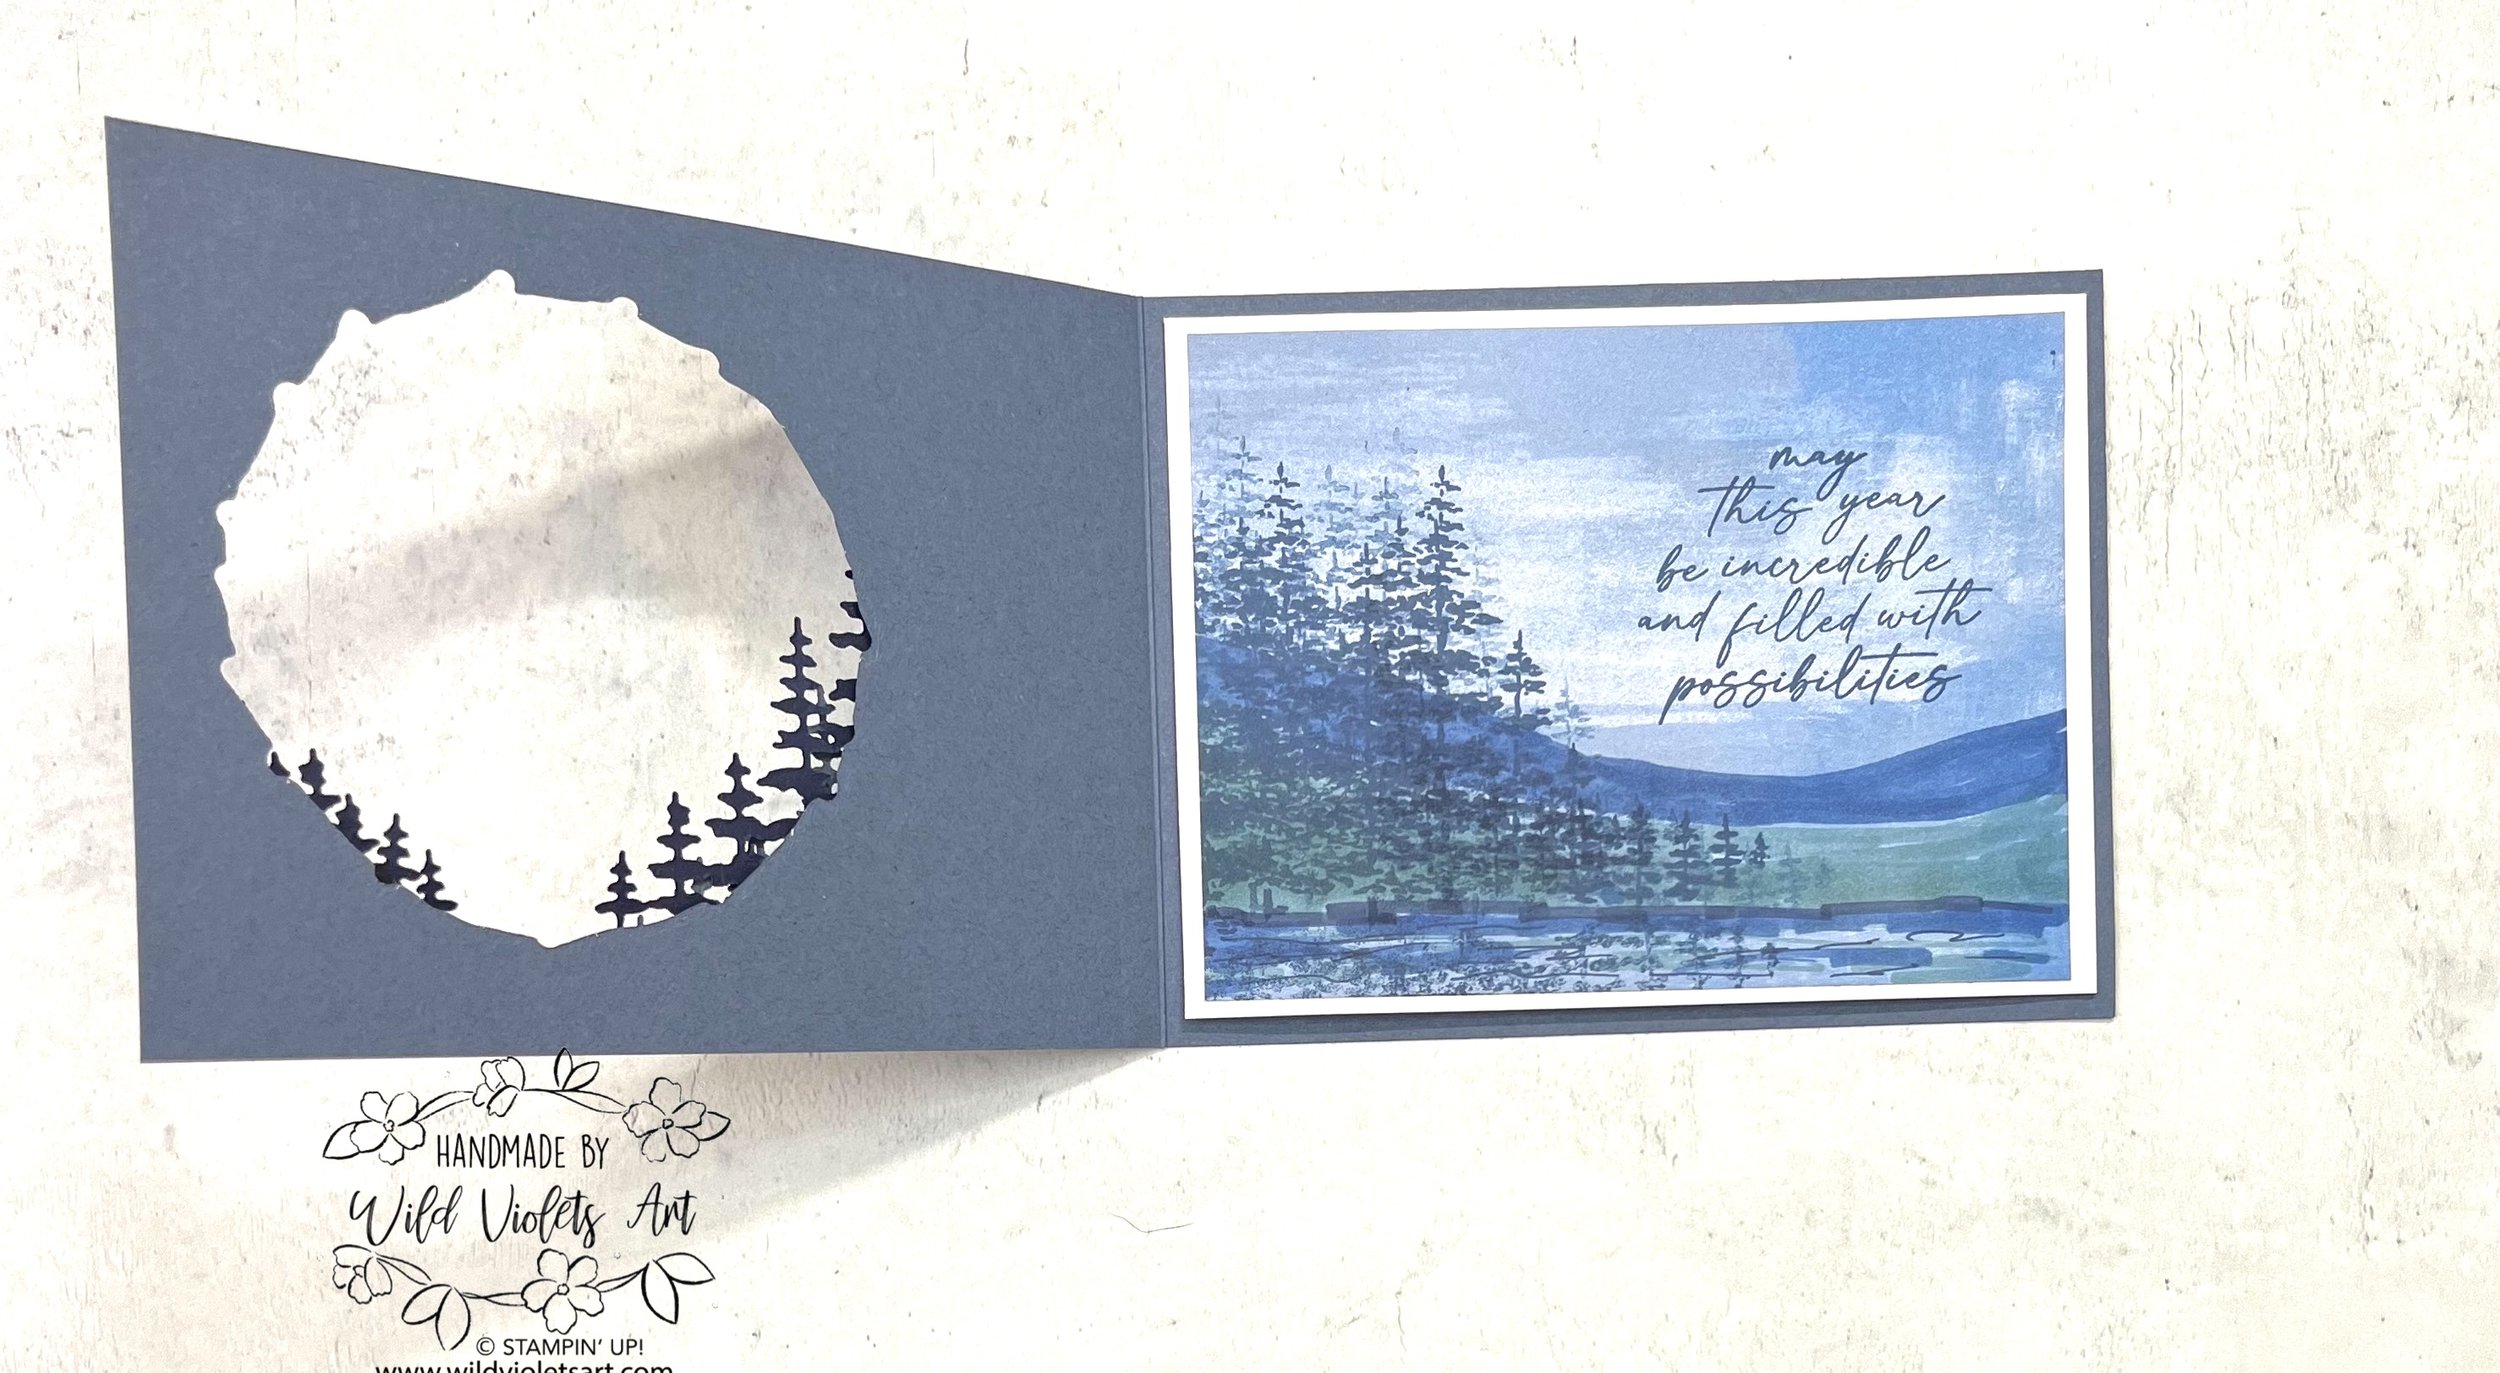
For this lovely summery peek-a-boo card, I started with an A2 card base, measuring 4-1/4”x11” in Misty Moonlight, scored at 5-1/2”. You will need a 4”x10-1/2” piece of Basic White CS, scored at 5-1/4”, and need a 3-3/4”x5” piece of the blue Fresh As A Daisy 12”x12” DSP. You will also need a 3”x5” piece of Night of Navy CS. You will use your Misty Moonlight Light Blend, Lost Lagoon Light Blend, along with your Misty Moonlight ink pad and Stampin’ Write Marker.

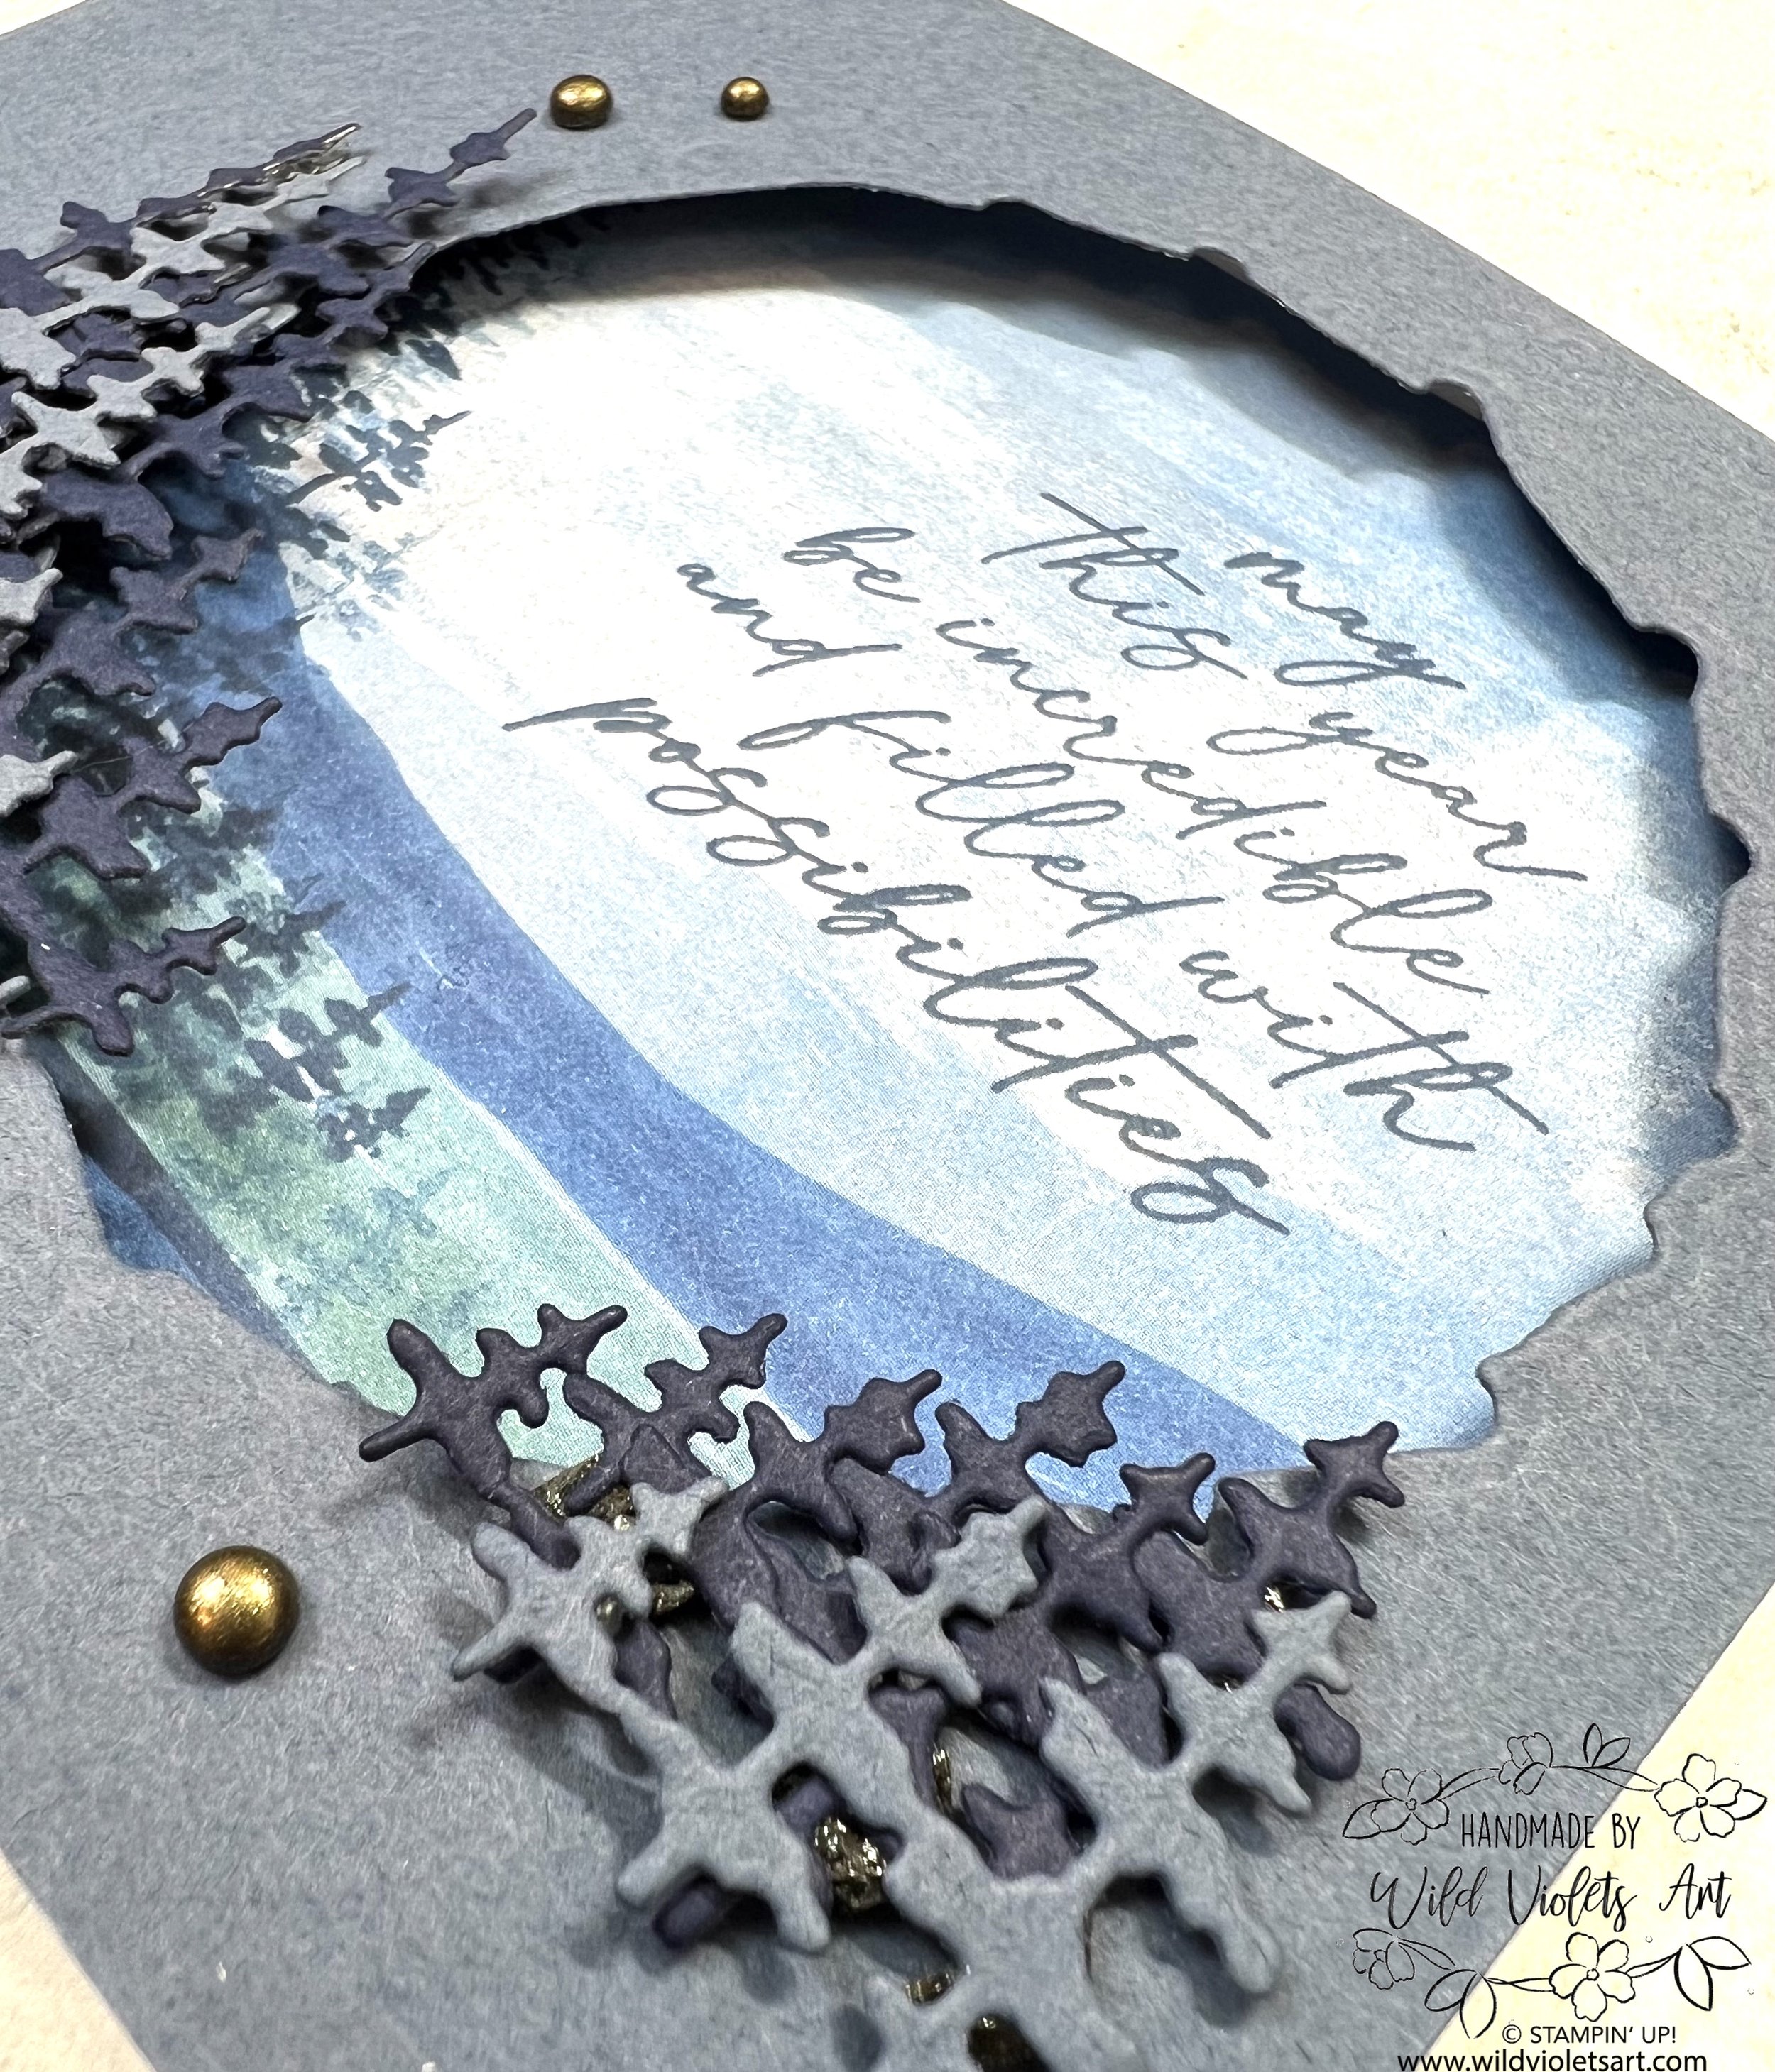
First take the Misty Moonlight card base and die cut with the largest twig circle die on the right hand side of the card as shown. You can die cut out one set of trees from the center at the same time. Then glue your Basic White CS in the opposite direction and centered on the inside of the Misty Moonlight card base. see video
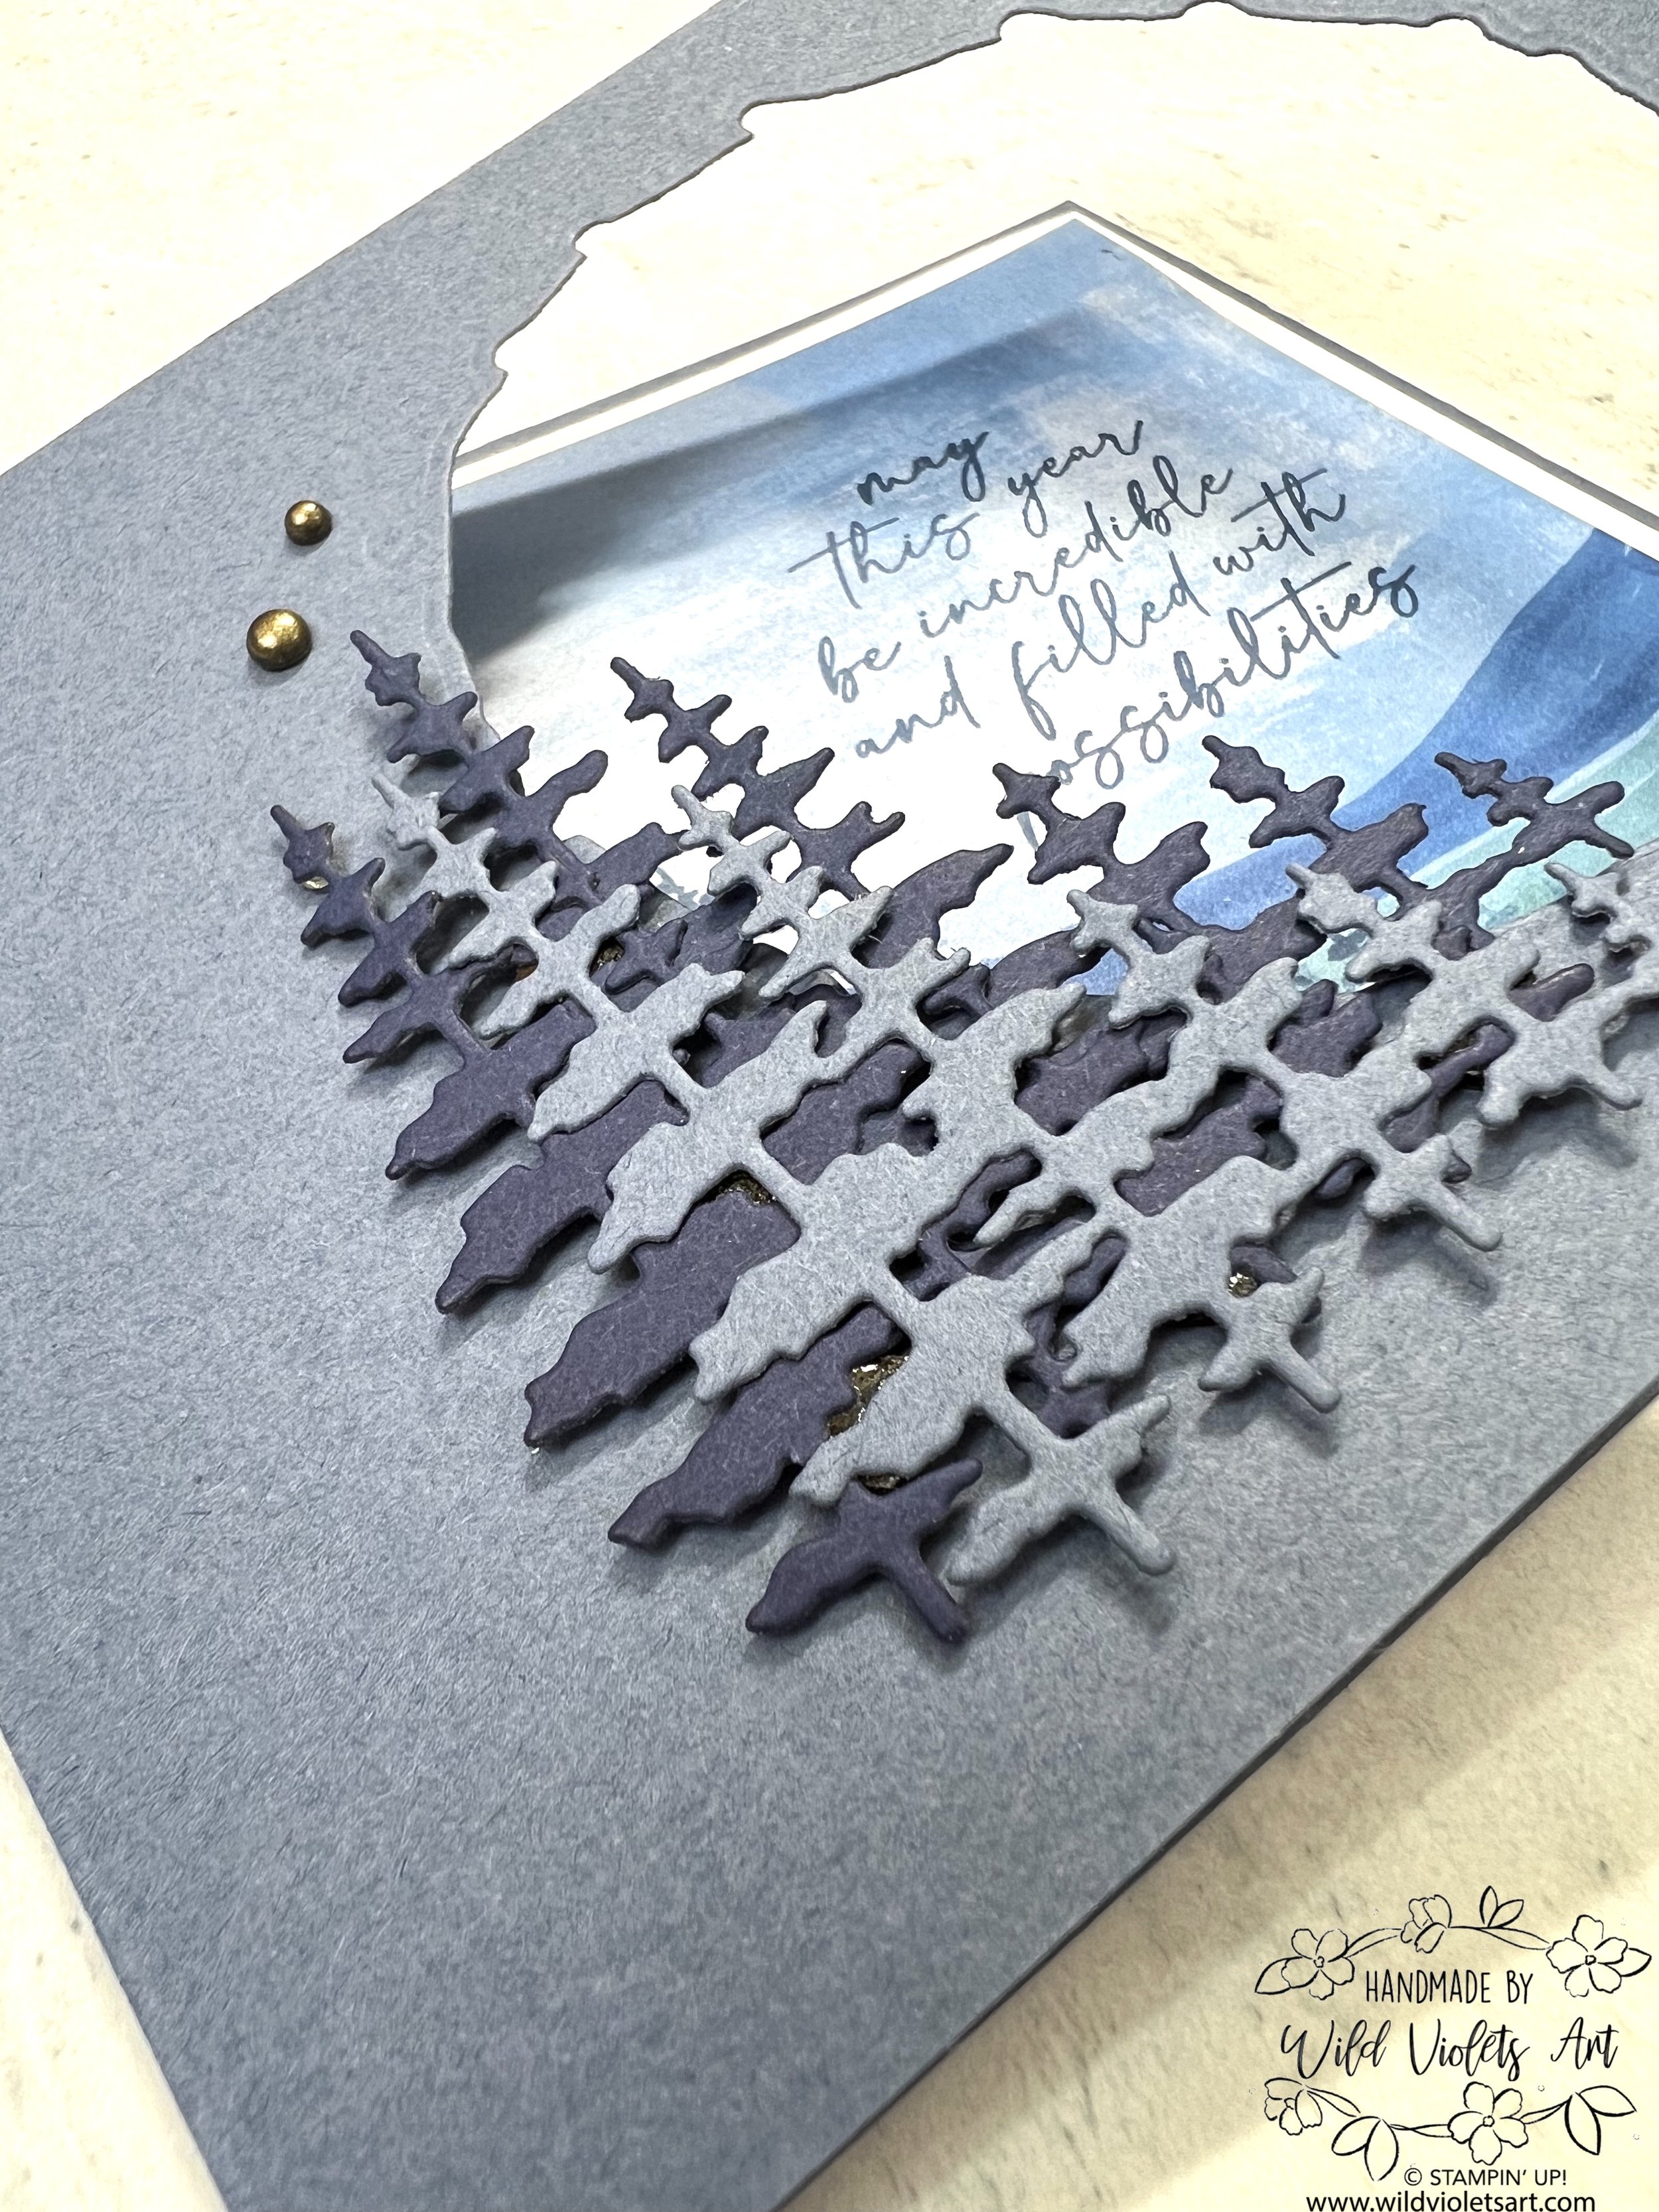
Die cut out two sets of Night of Navy trees and set aside.

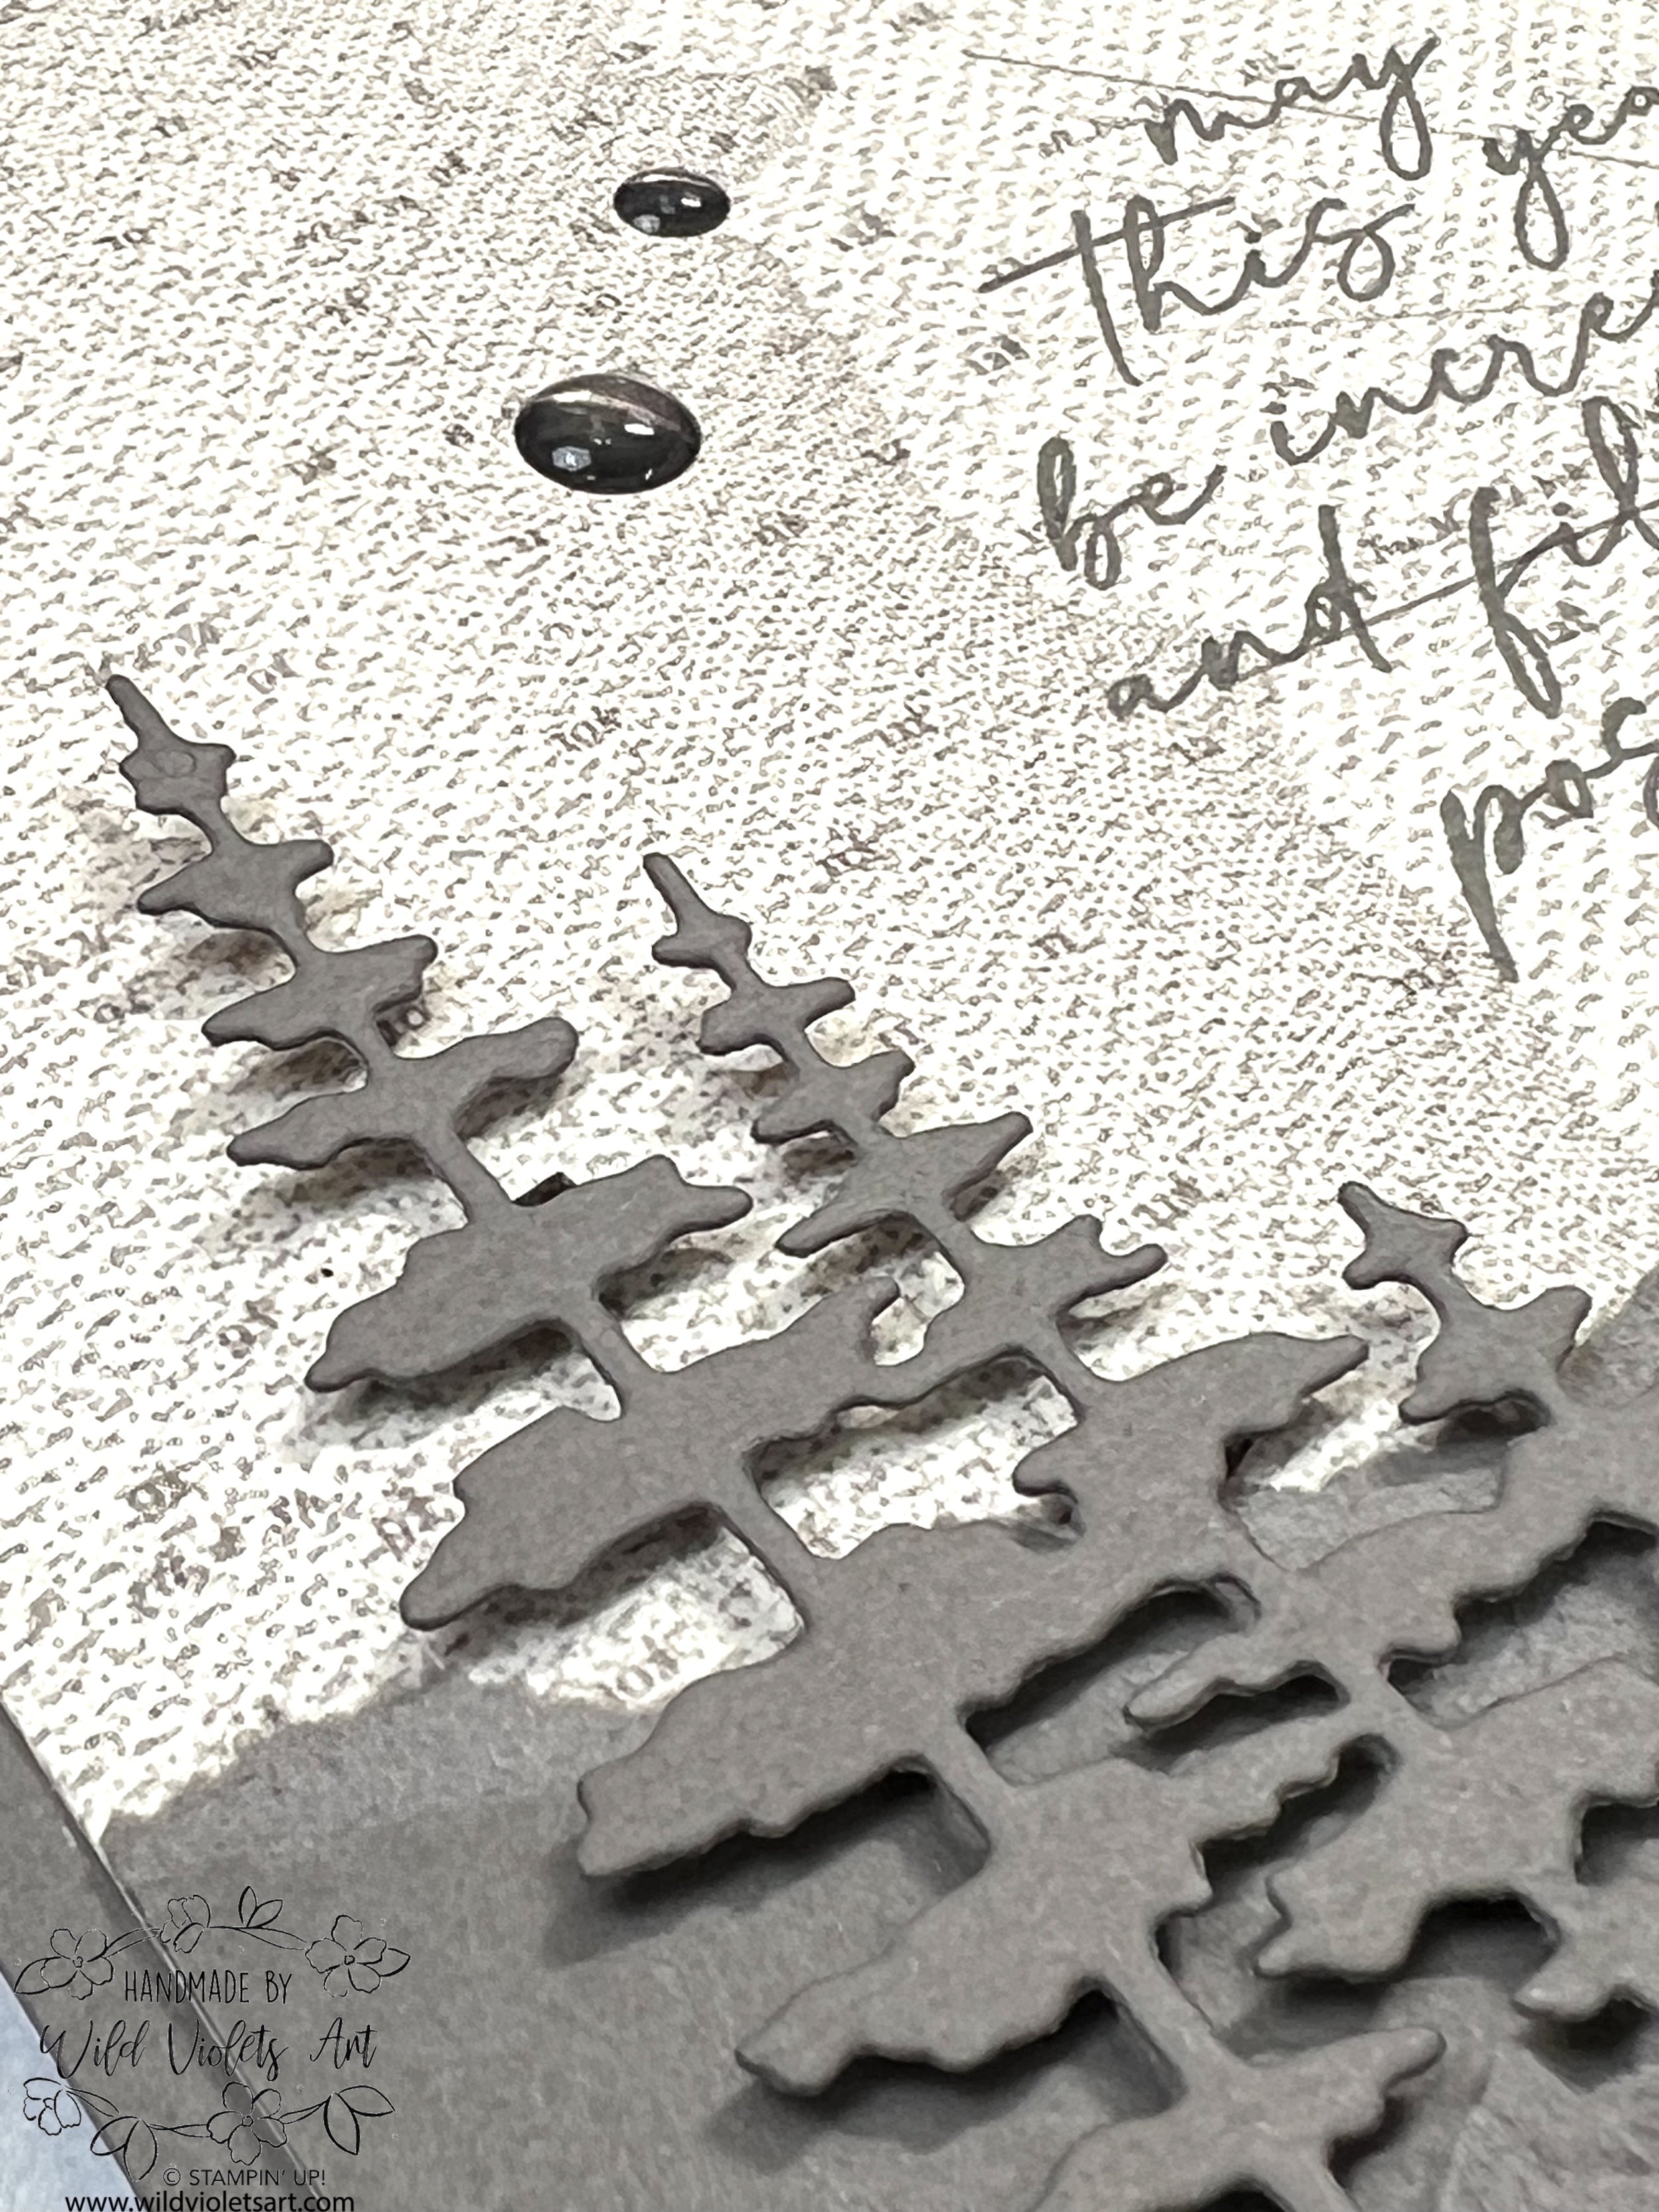
Using your Misty Moonlight marker, create a lake edge, then add a few water marks. Using the Lost Lagoon blend, create a meadow, valley and hillside as shown. Take Misty Moonlight Light blend and create mountains behind valley. Stamp trees in Misty Moonlight Classic Stampin’ Pad ink, stamping twice for shadowed effect as shown in video.
Using the Silicone Craft Sheet, stamp your trees once, turn it upside down, then press across where you water is located until you are happy with the reflection or desired effect. Glue to inside front Basic White CS.

Take all 3 sets of trees (smaller and bigger) and stagger them as shown and add black Stampin’ Dimensionals to pop them up on both sides of the front opening. Once you are happy with their location, stamp sentiment in Misty Moonlight to inside card front with card closed to make sure you get it where you want it.
Add Rustic Metallic Adhesive-Backed Dots as shown. While the card front is simple, I wanted the surprise to be on the inside and simple elegance on the outside. Add sentiments to inside of Basic White CS as desired. I added the circled trees to a Basic White Medium Envelope as well. Video and more photos below.

More seasonal cards below as well…