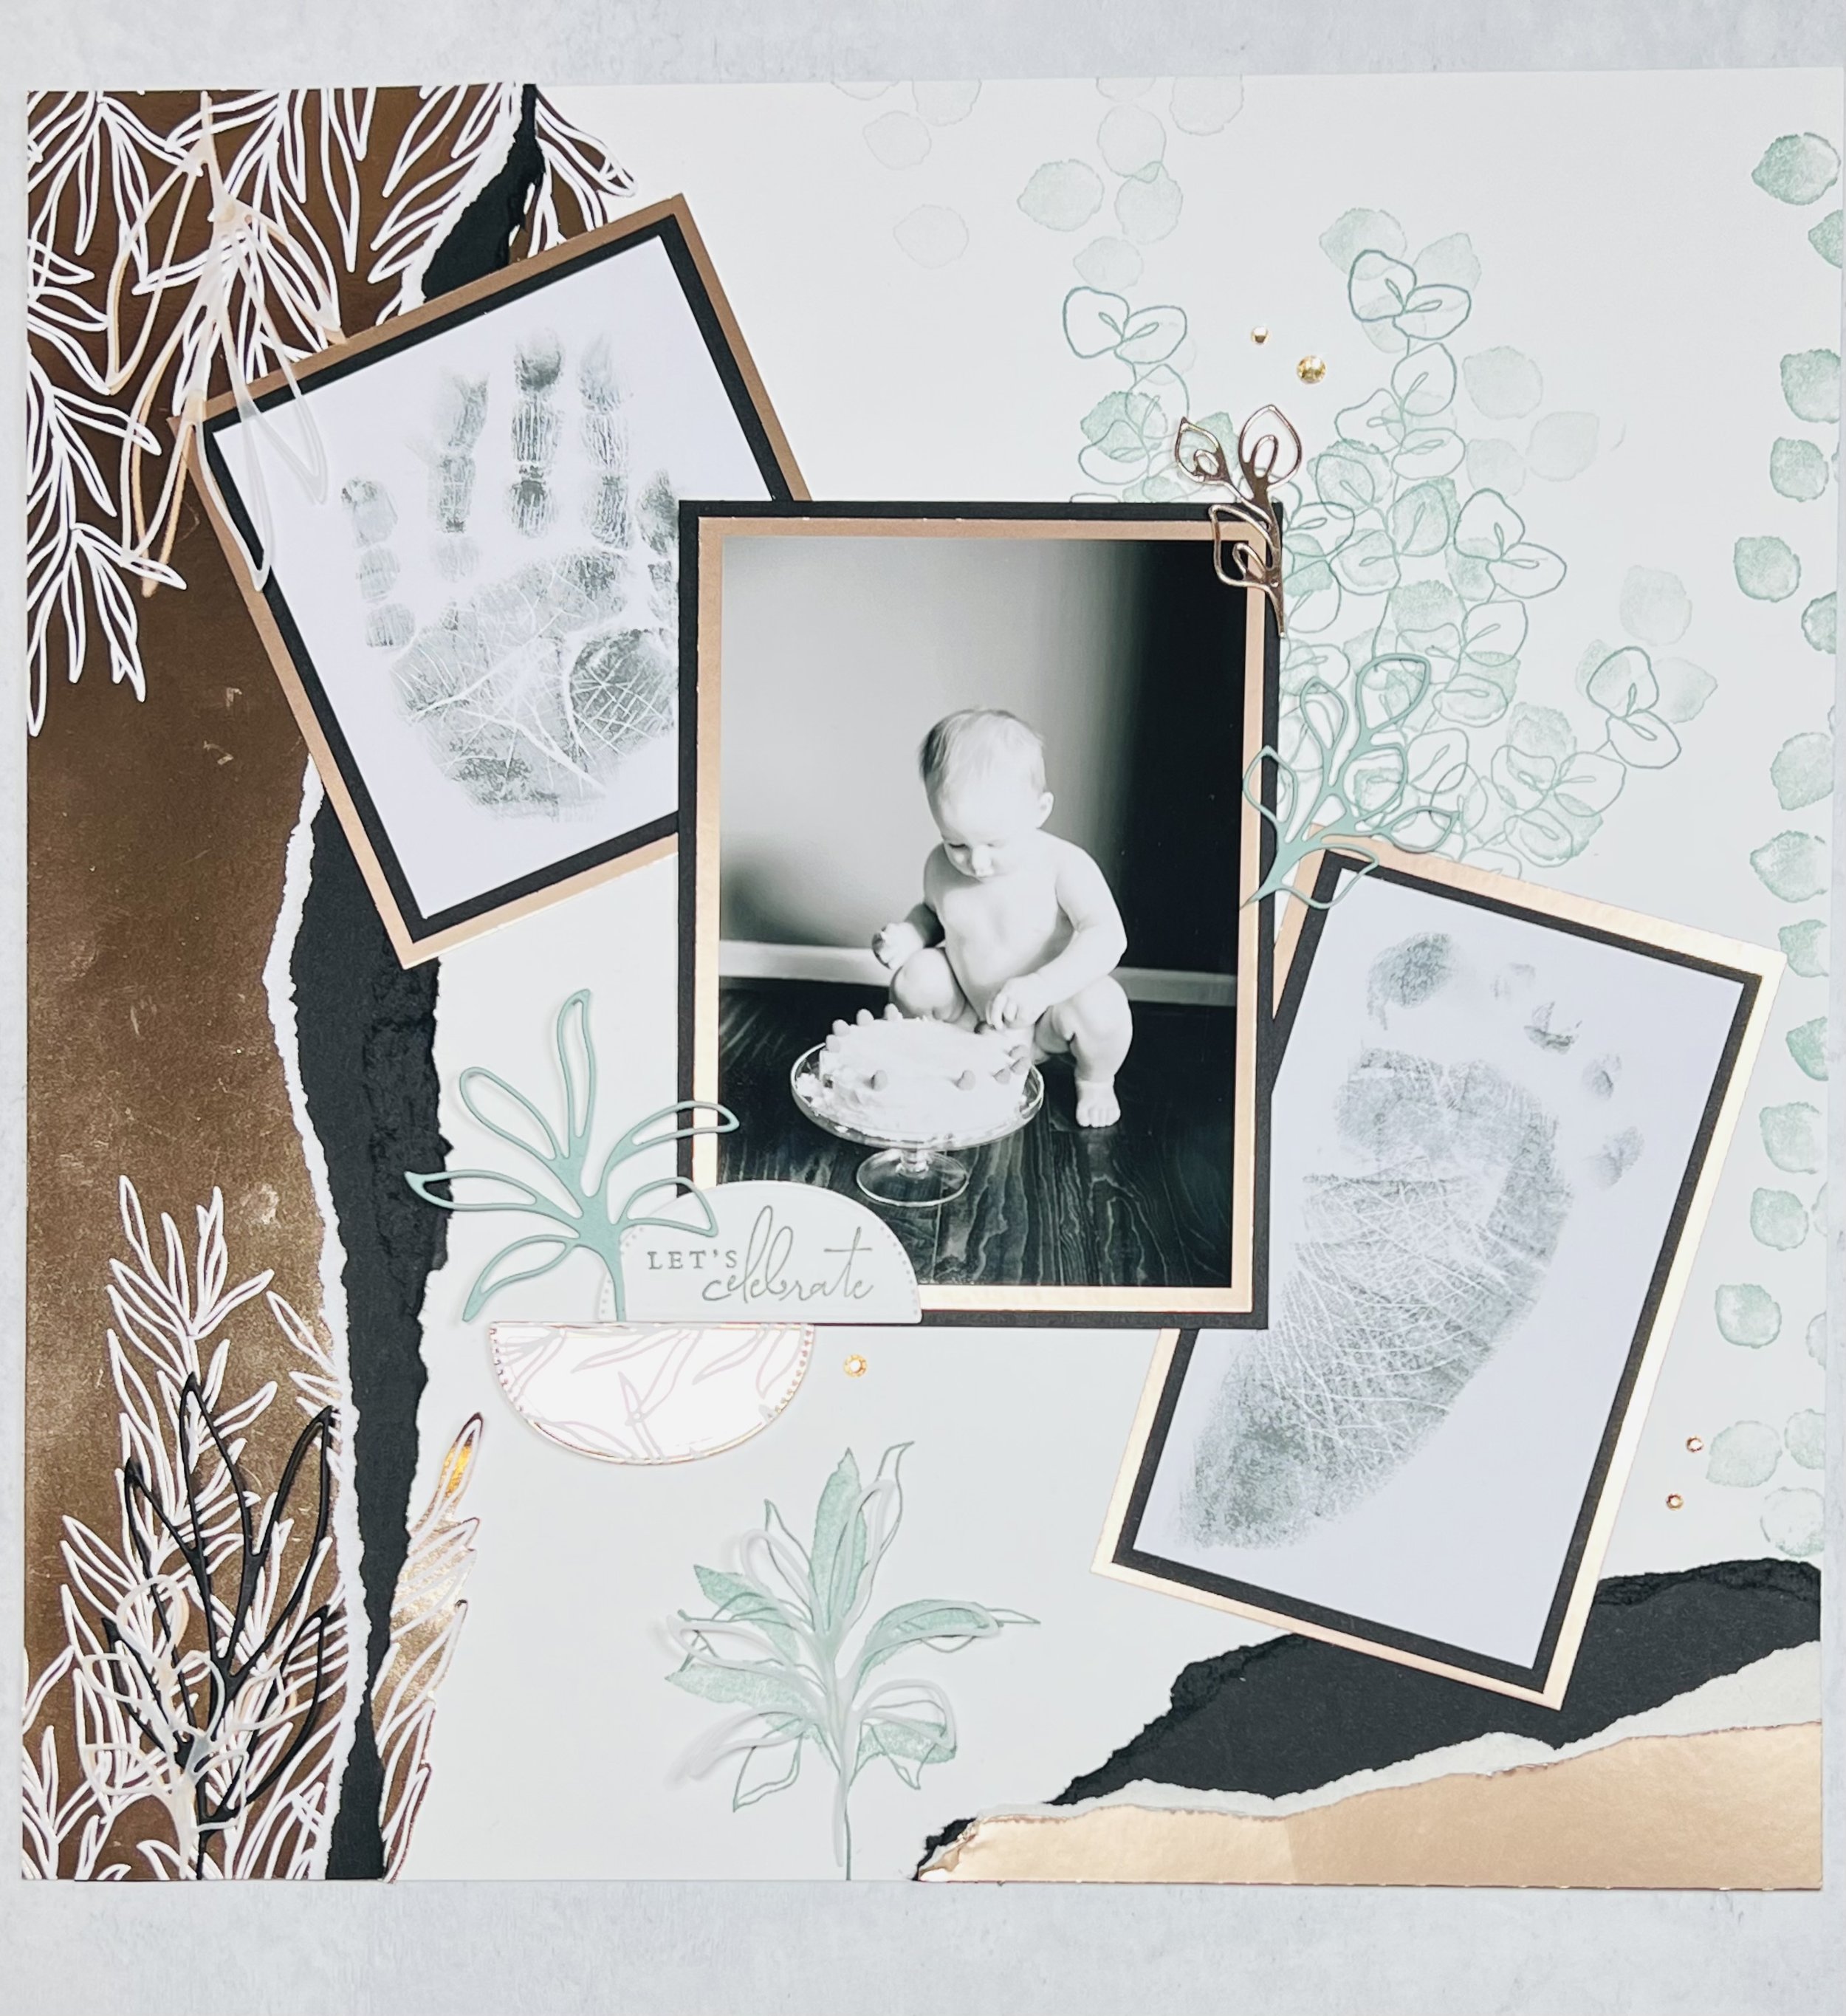
Splendid Day Scrapbook Spread

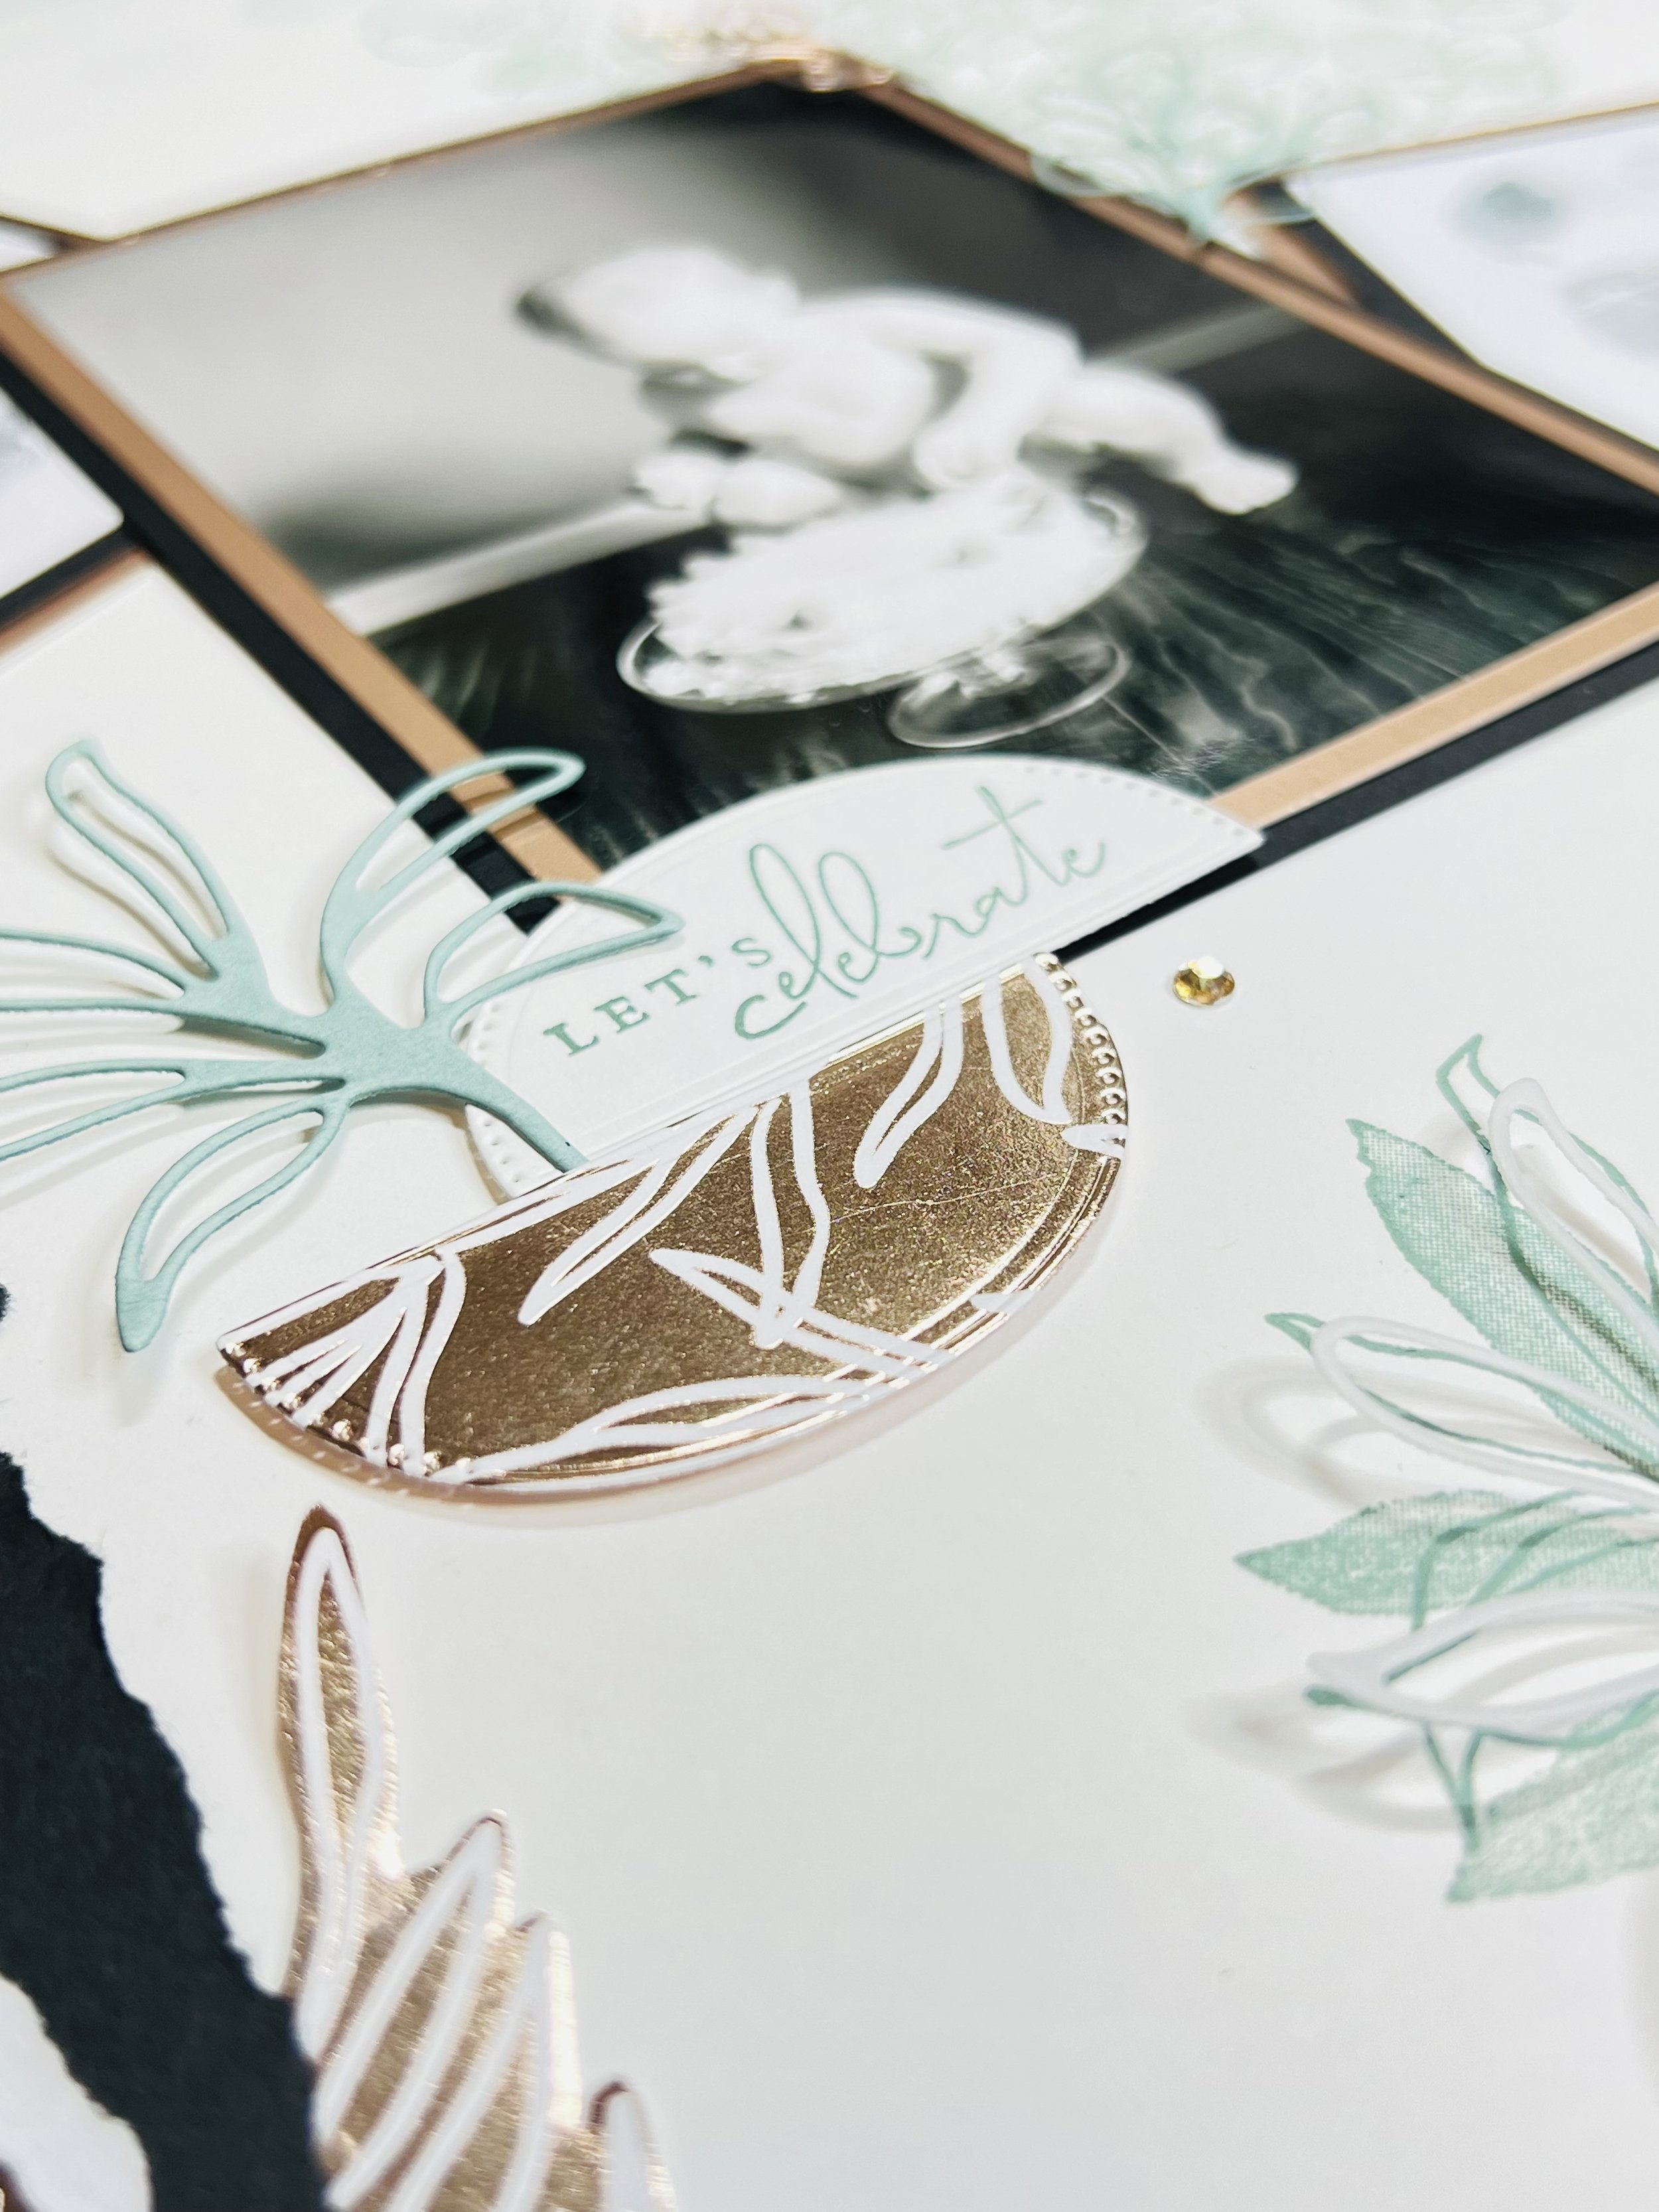
Let’s Celebrate
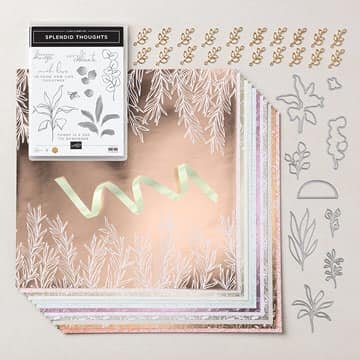
The Splendid Day Suite Collection along with adorable pictures of my granddaughter’s 1st birthday were great inspirations to get back into scrapbooking.


This adorable little turned one in May 2022 and her grandpa and I got to attend her celebration. Her momma is so talented with her photography, that I knew I needed to scrapbook her 1st birthday. I have not touched scrapbooking in at least 13 or 14 years… though I have still collected items I want to scrap (ok, so I horde stuff… haha) in the hopes I will take it up again.
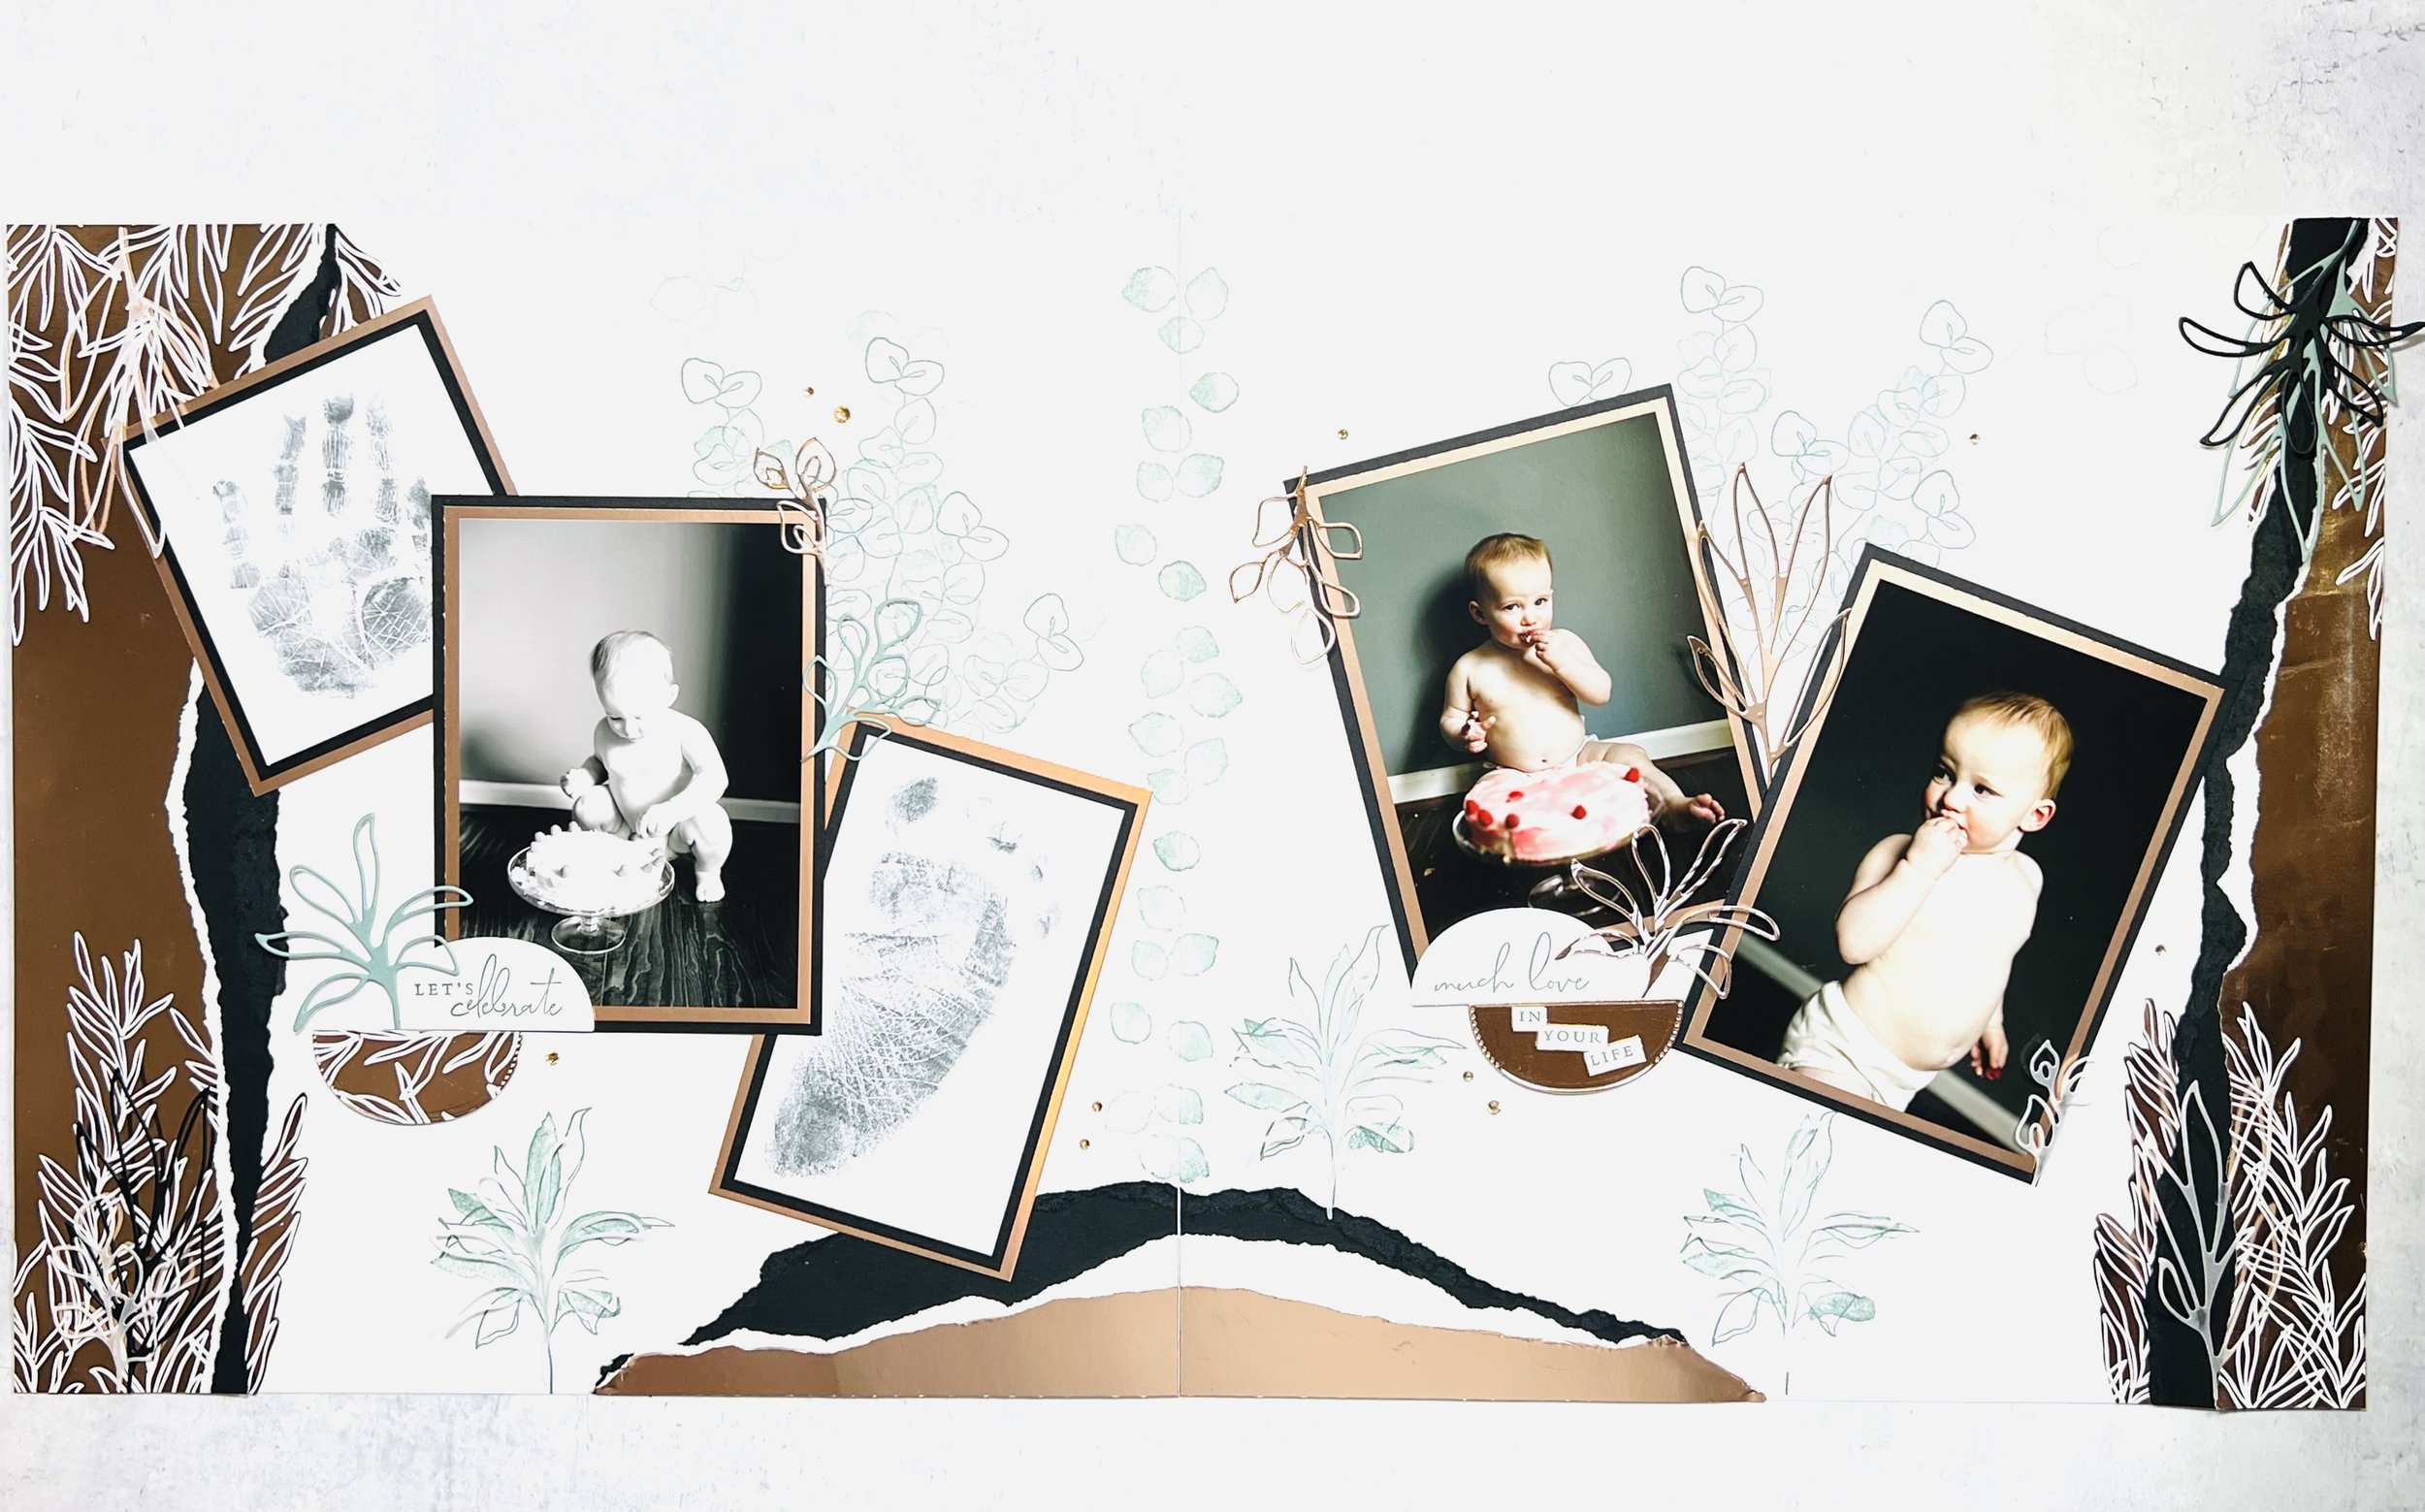
While we were there, I took a stamp pad and cardstock, I was able to get her mom to help me get her hand and foot prints to memorialize her size. She has a tall mom & dad, so she is going to be a tall beautiful blue-eyed redhead (and I could not be more thrilled with this little beauty).

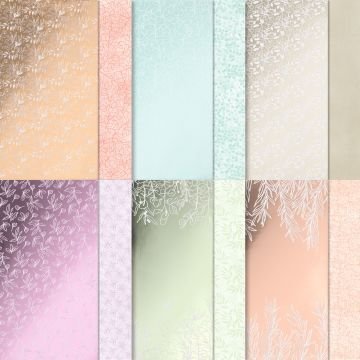
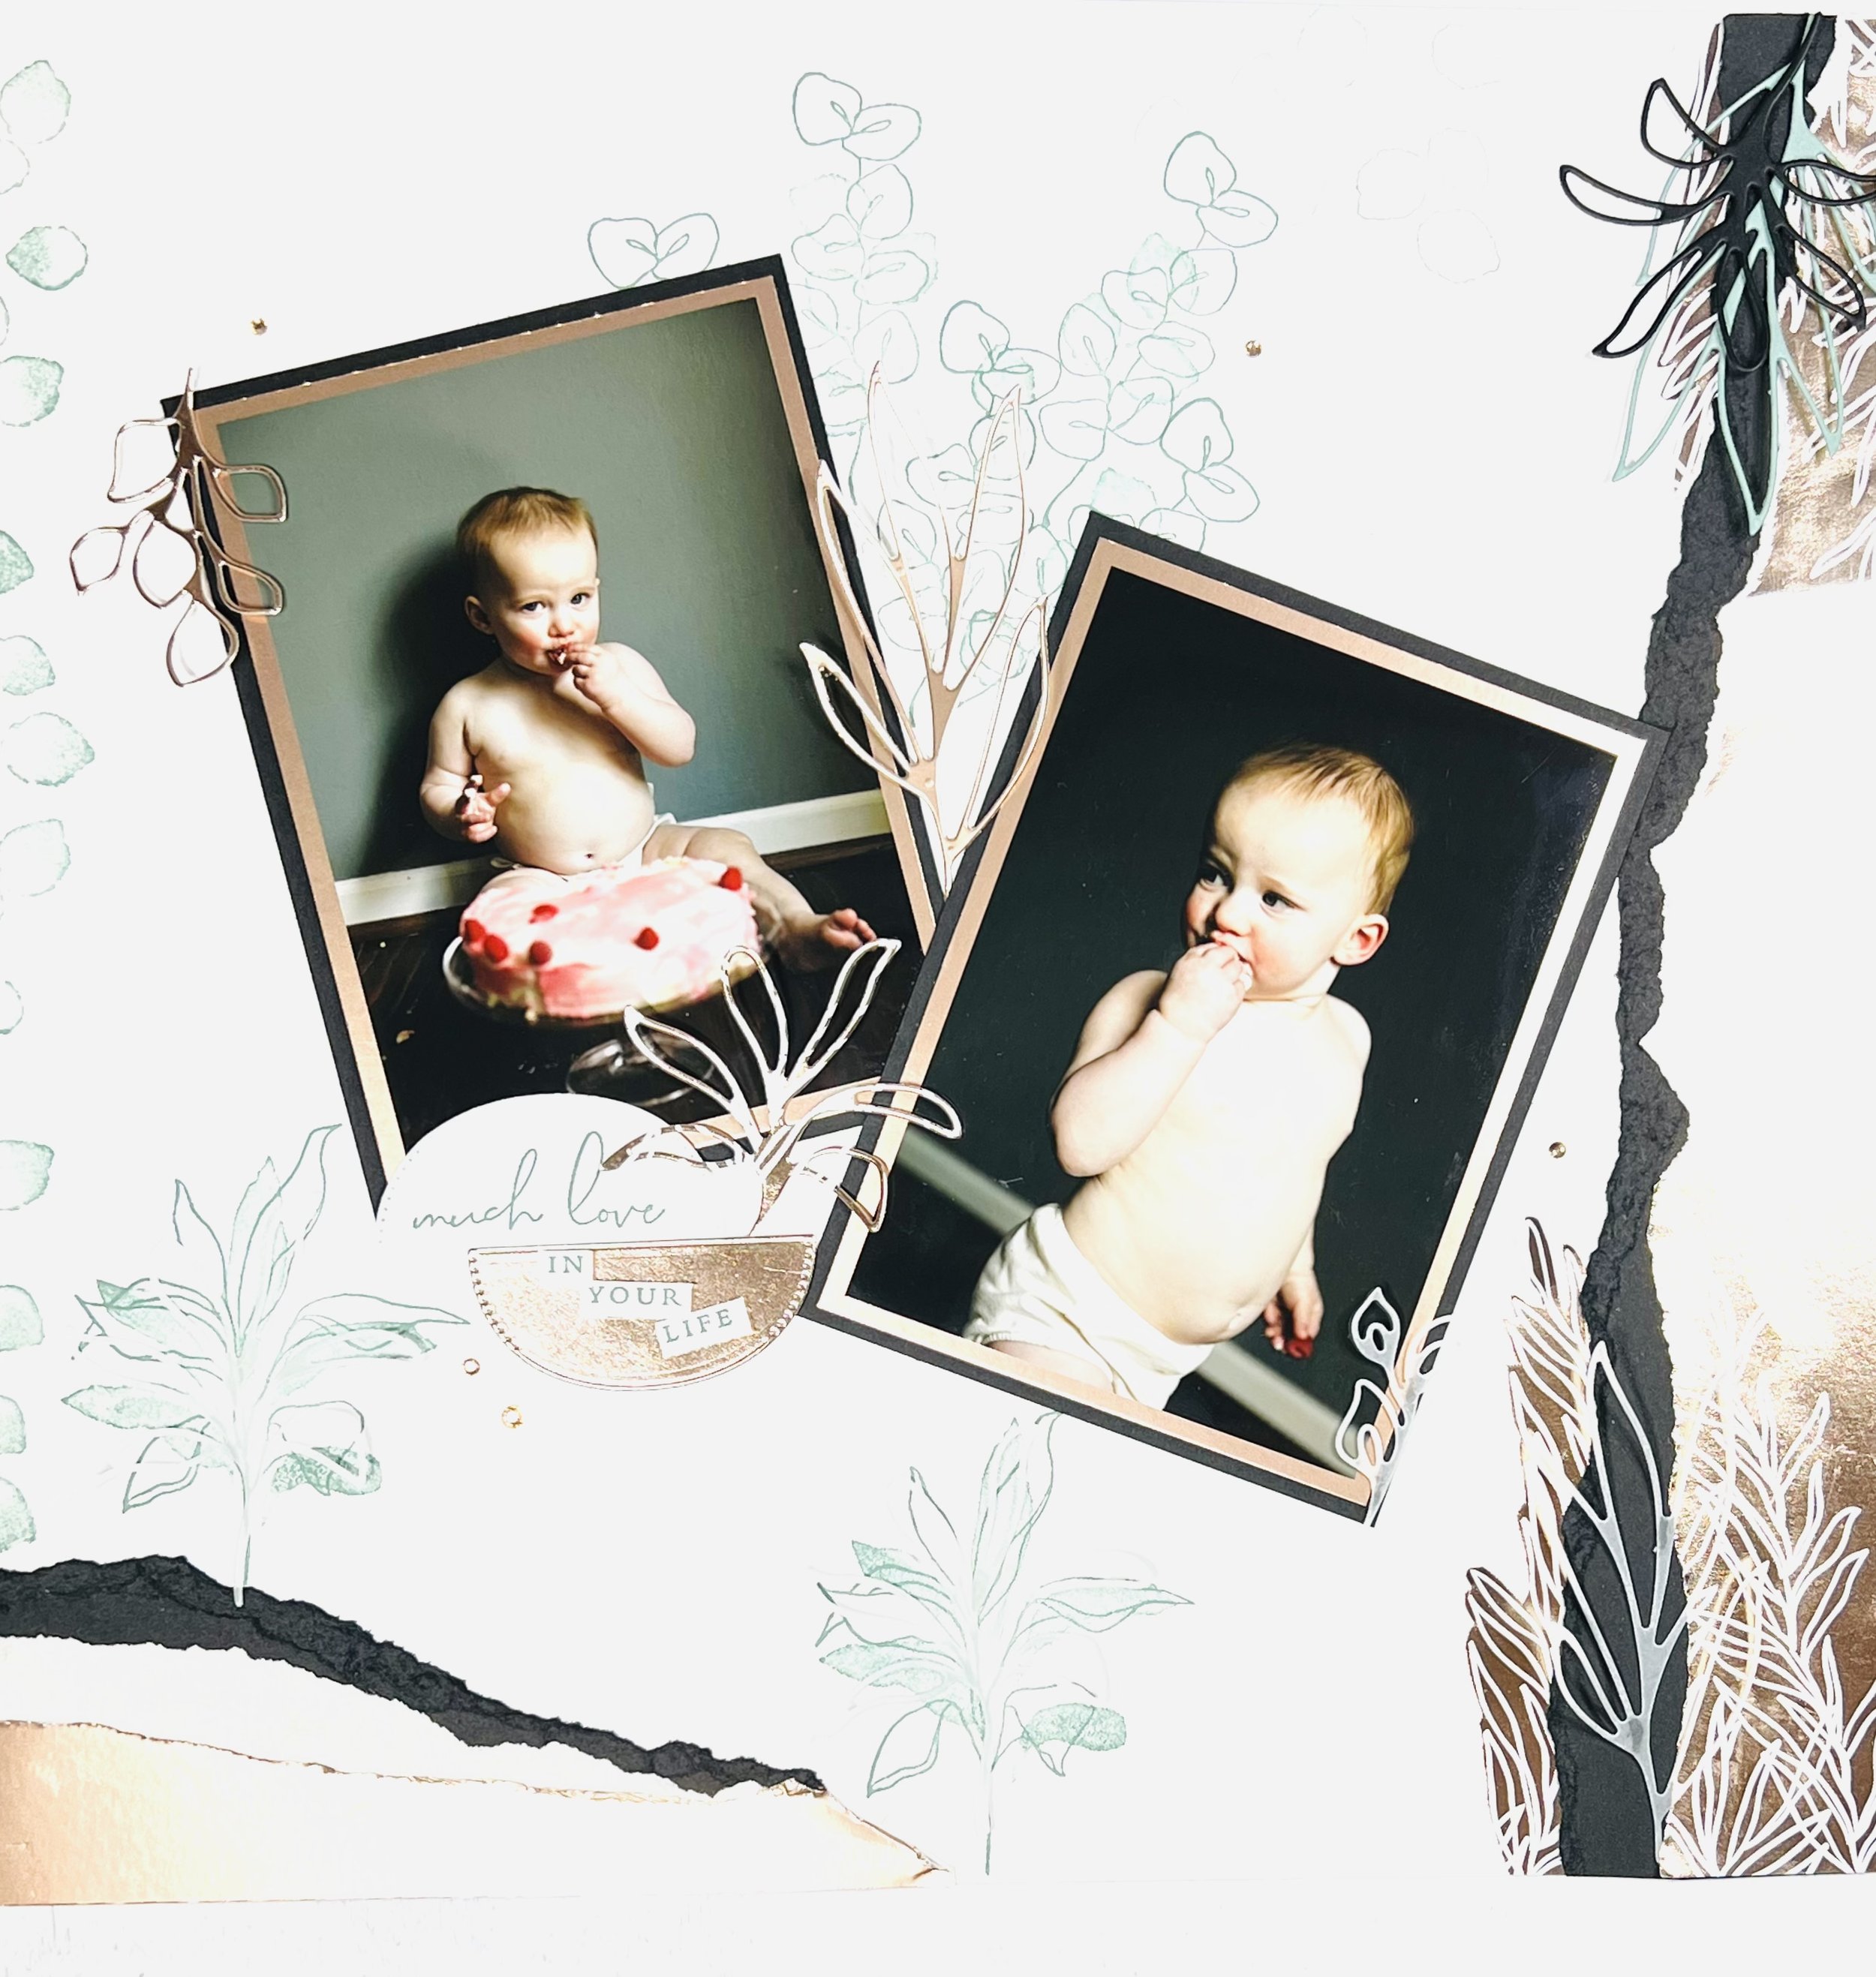
Before I start a scrapbook spread, I like to look at the colors in my photos, then choose cardstock that pick up color if any from my pictures. For this spread, I used the Splendid Day Specialty DSP in rose gold to pick up on Ella’s lovely read hair, Soft Succulent for the wall paint color, Basic Black for the floor, Vellum CS and Basic White for the wall trim and her little pants.
I used Basic White CS 12”x12” as the base for this layout. I had some scraps of the gorgeous Splendid Day SDSP left over from the gift bag in my class projects, so tore a 5”x12” piece in half and split it for the spread above. I took a 3”x12” piece of Basic Black CS 12”x12” (now available in the July-August 2022 Mini Catalog) and tore it in half as well, layering under the SDSP.

Taking some scraps of SDSP, I cut out some of the leaf scraps, tucking that behind as well. Then taking some Basic Black CS, Basic White CS and Rose Gold Foil SP, and placed a curved section in the lower middle after cutting it in half in the middle.
I like to frame the photos with matching cardstock, so layered all three photos with the Rose Gold Foil CS and Basic Black CS. For these layers, I measured the photo and then made each layer 1/4” larger. I then lay the photos on the spread to figure out what else I want to add to the spread, then set aside.
I decided to add Soft Succulent ink stamped foliage in different places between and around the spread, then layered Vellum die cut pieces over for a subtle element.

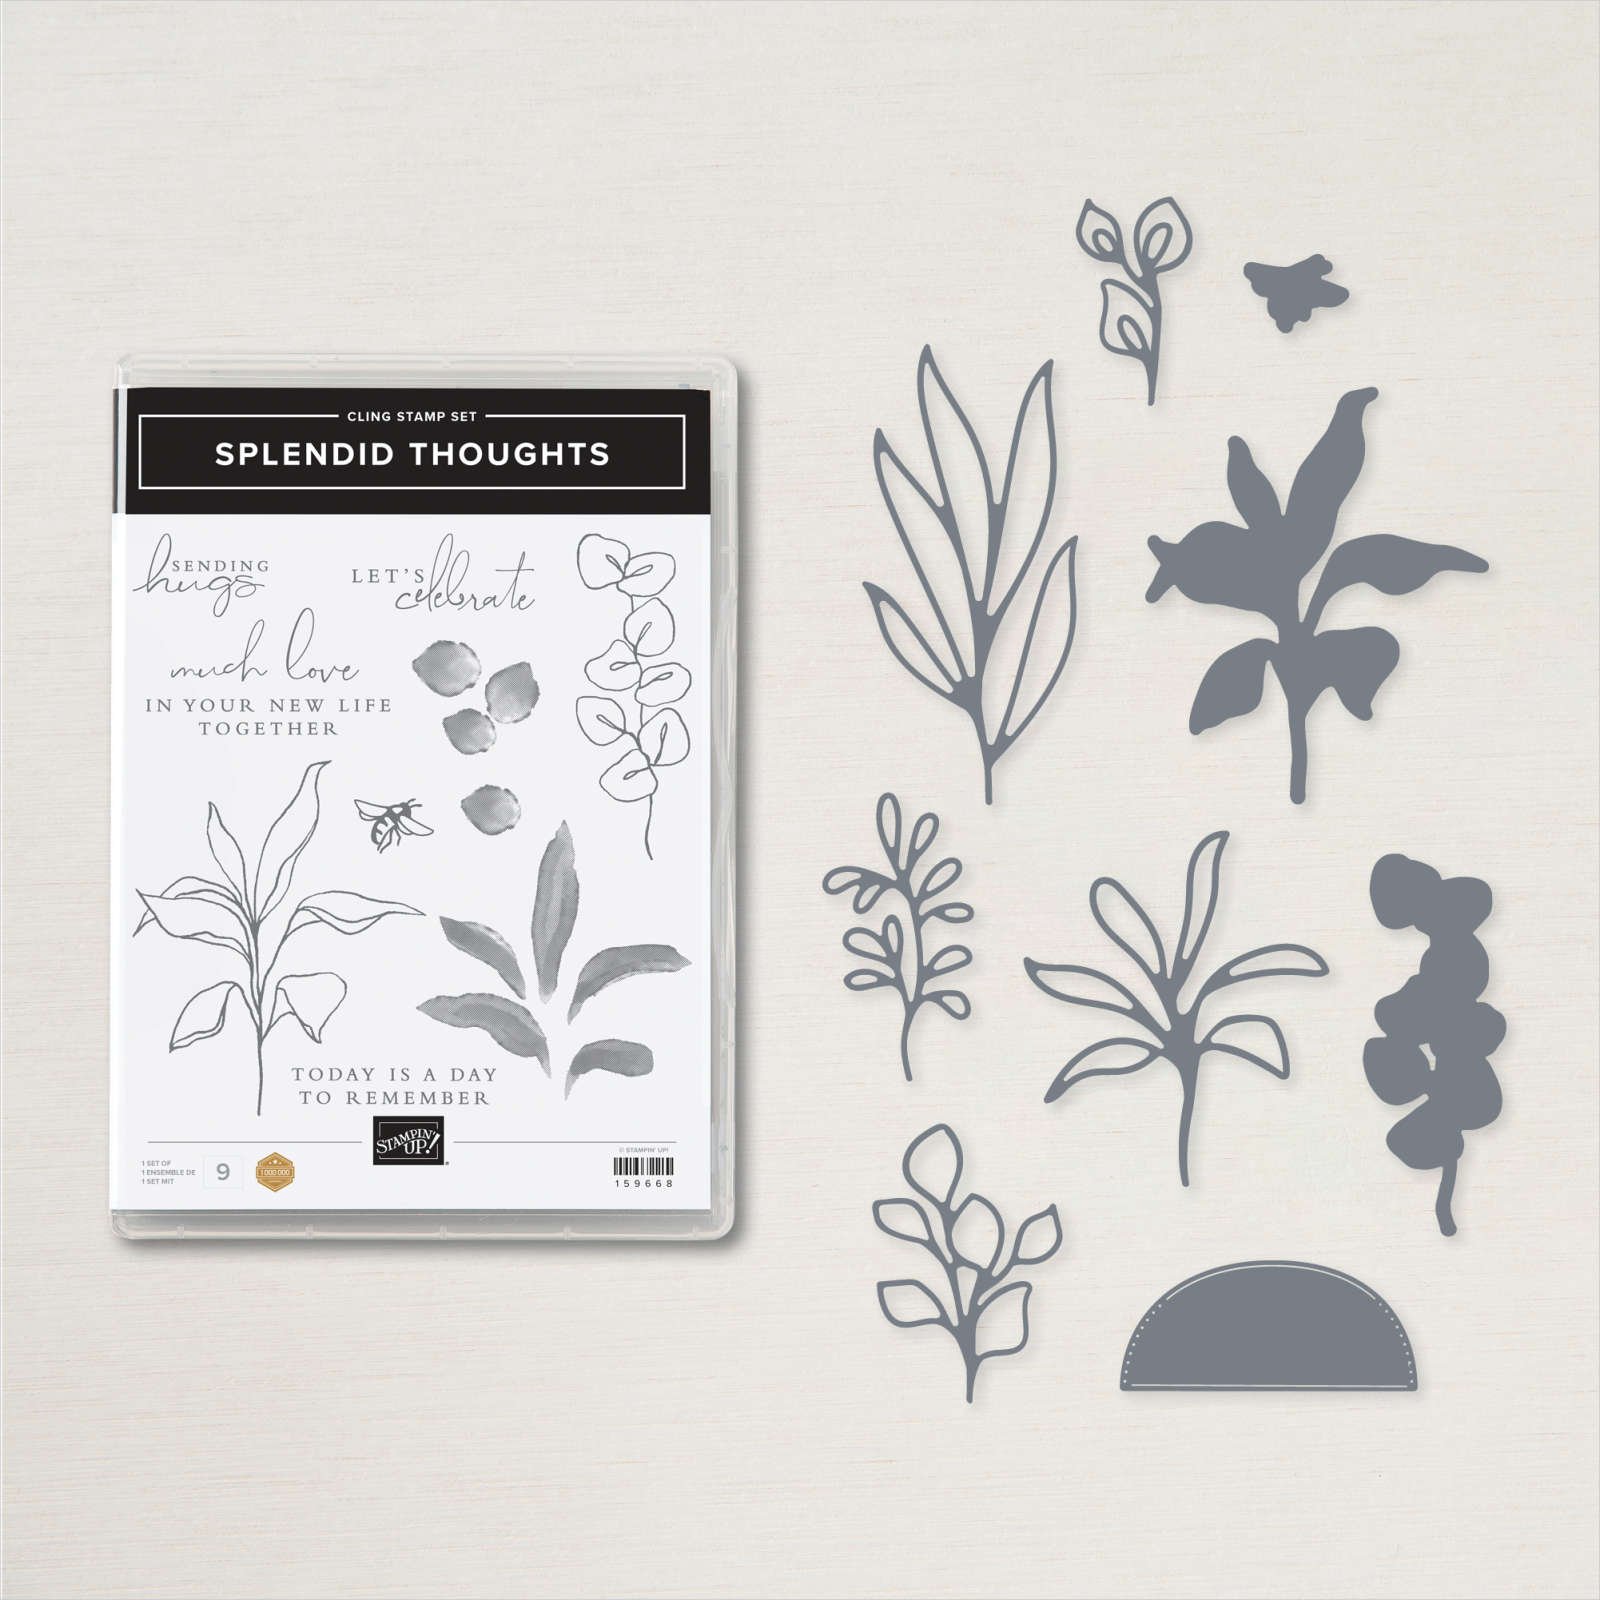
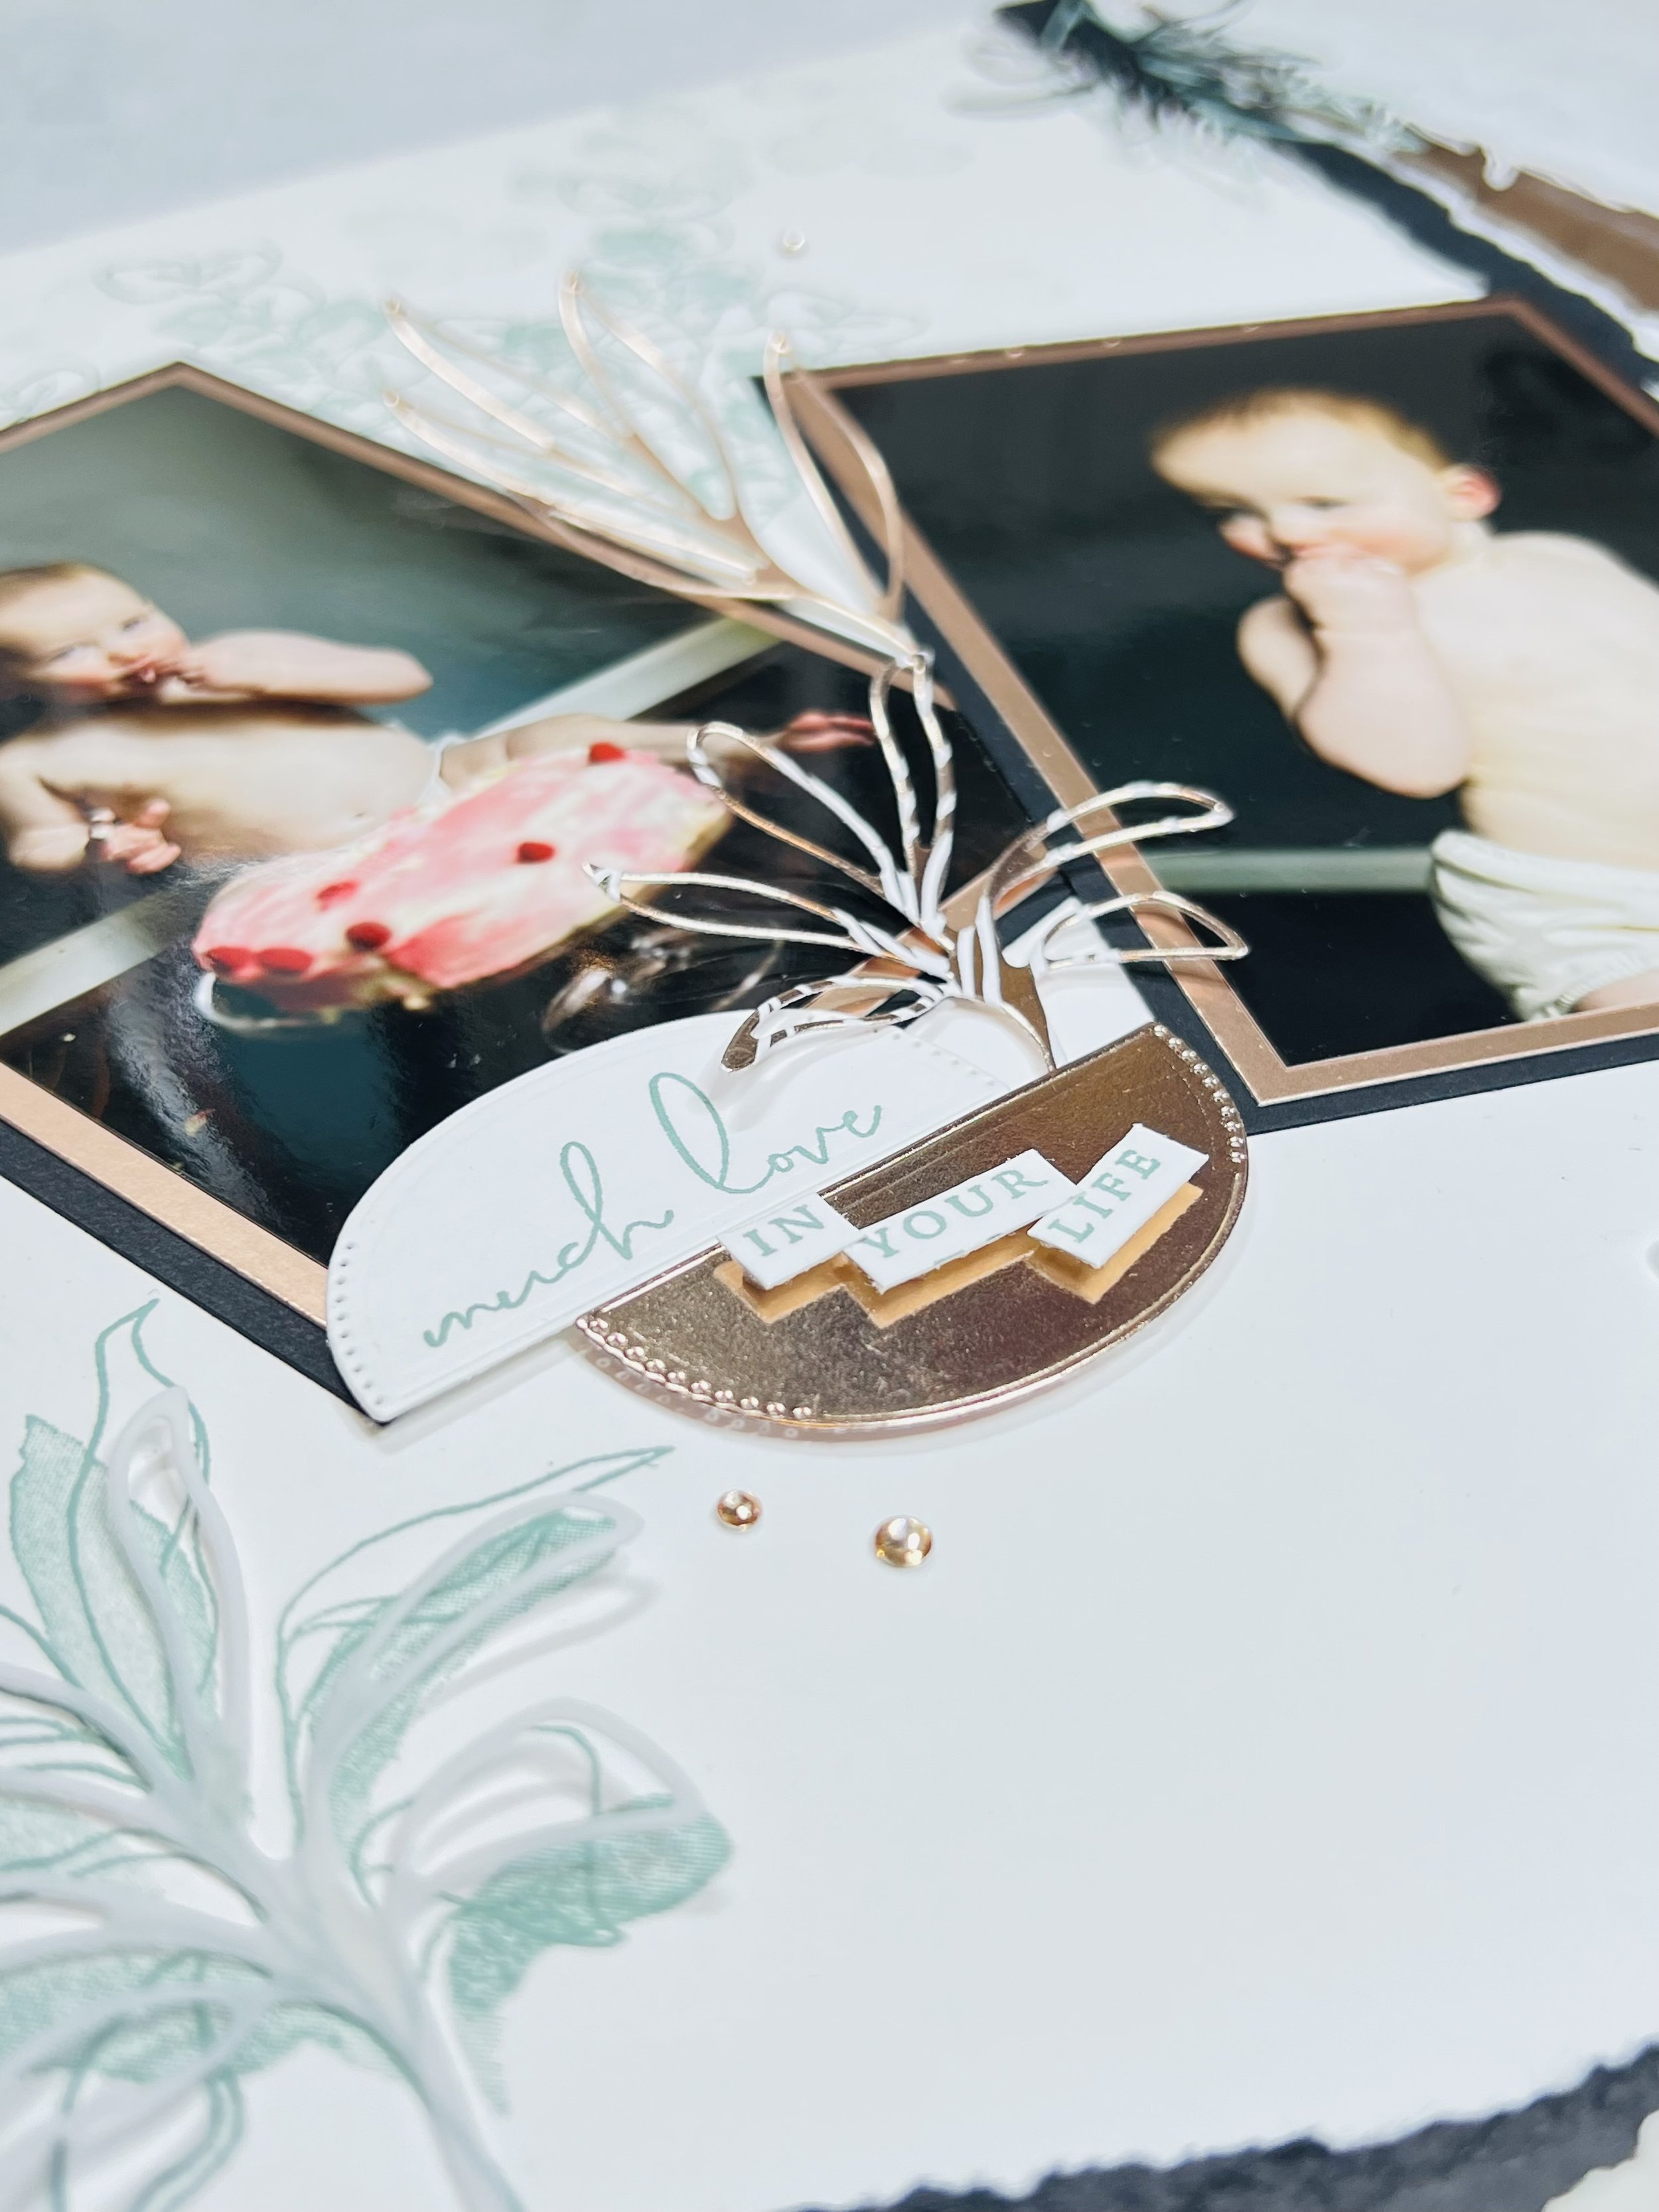
Once I was happy with the stamped imagery, I die cut out more foliage in Vellum CS, SDSP, Basic Black CS, and Rose Gold Foil SP and set them aside. I adhered my photo’s where I wanted them in the spread. I then stamped the verses from the Splendid Thoughts stamp set and die cut them out with the Splendid Stems dies or hand cut out the portion of the verses I wanted individually. I also used the Splendid Day SDSP and Rose Gold Foil scraps to cut out more of the 1/2 circles for accents.
Now that the photos are placed and stamping is done, I then started laying out my extra elements like the die cut foliage, verses and Champagne Basic Rhinestones. I popped up both the verses and some of the elements. After finishing these pages , I cannot believe how long it took me to get back into it, as it was so fun and turned out just lovely! Happy birthday baby girl!