Watercolored Framed Florets Bundle

Watercoloring is one of my favorite ways to color intricate images.
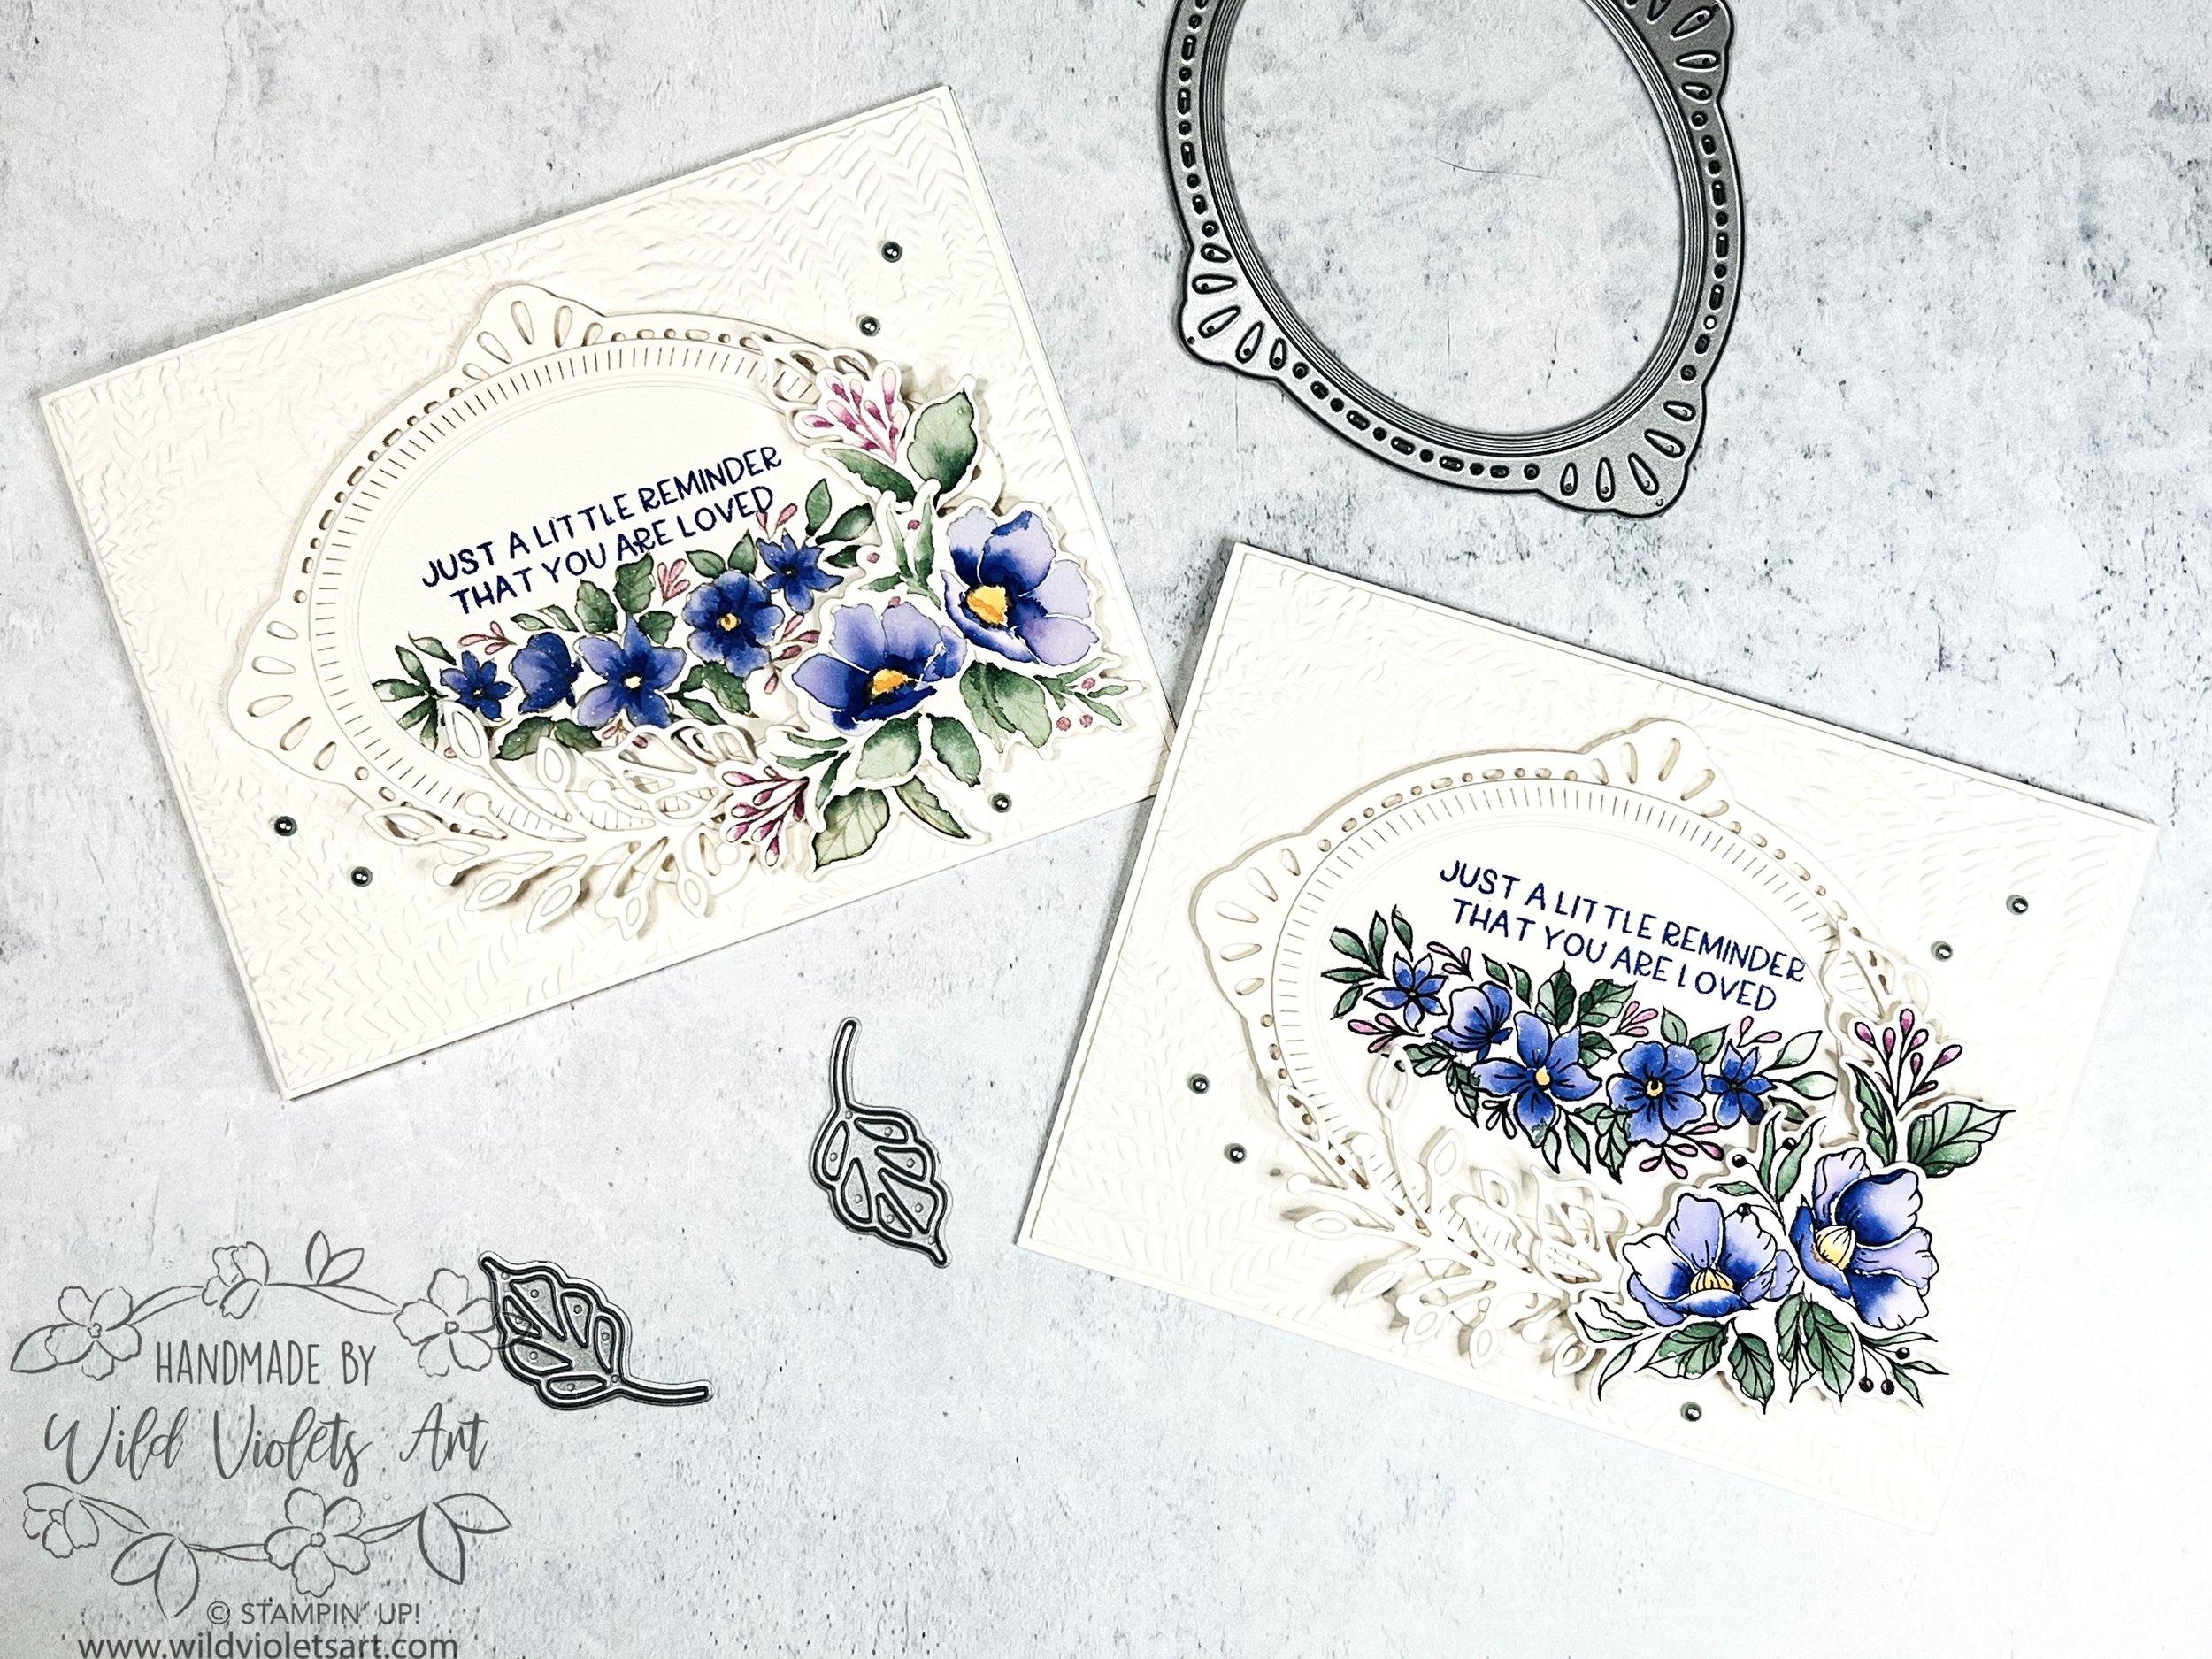
For these cards, I wanted to use both the darkly outlined image and the no-line image. Which is your favorite?
For both of these cards, I use the beautiful Framed Florets Bundle and my favorite Shimmery White CS for that subtle elegance it always adds to my cards. Once the Framed Florets Bundle is available in the January to April 2023 Mini Catalog, there will not longer be the beautiful Fitting Florets DSP, so I always like to create samples using only the bundle and no DSP.

Lined image
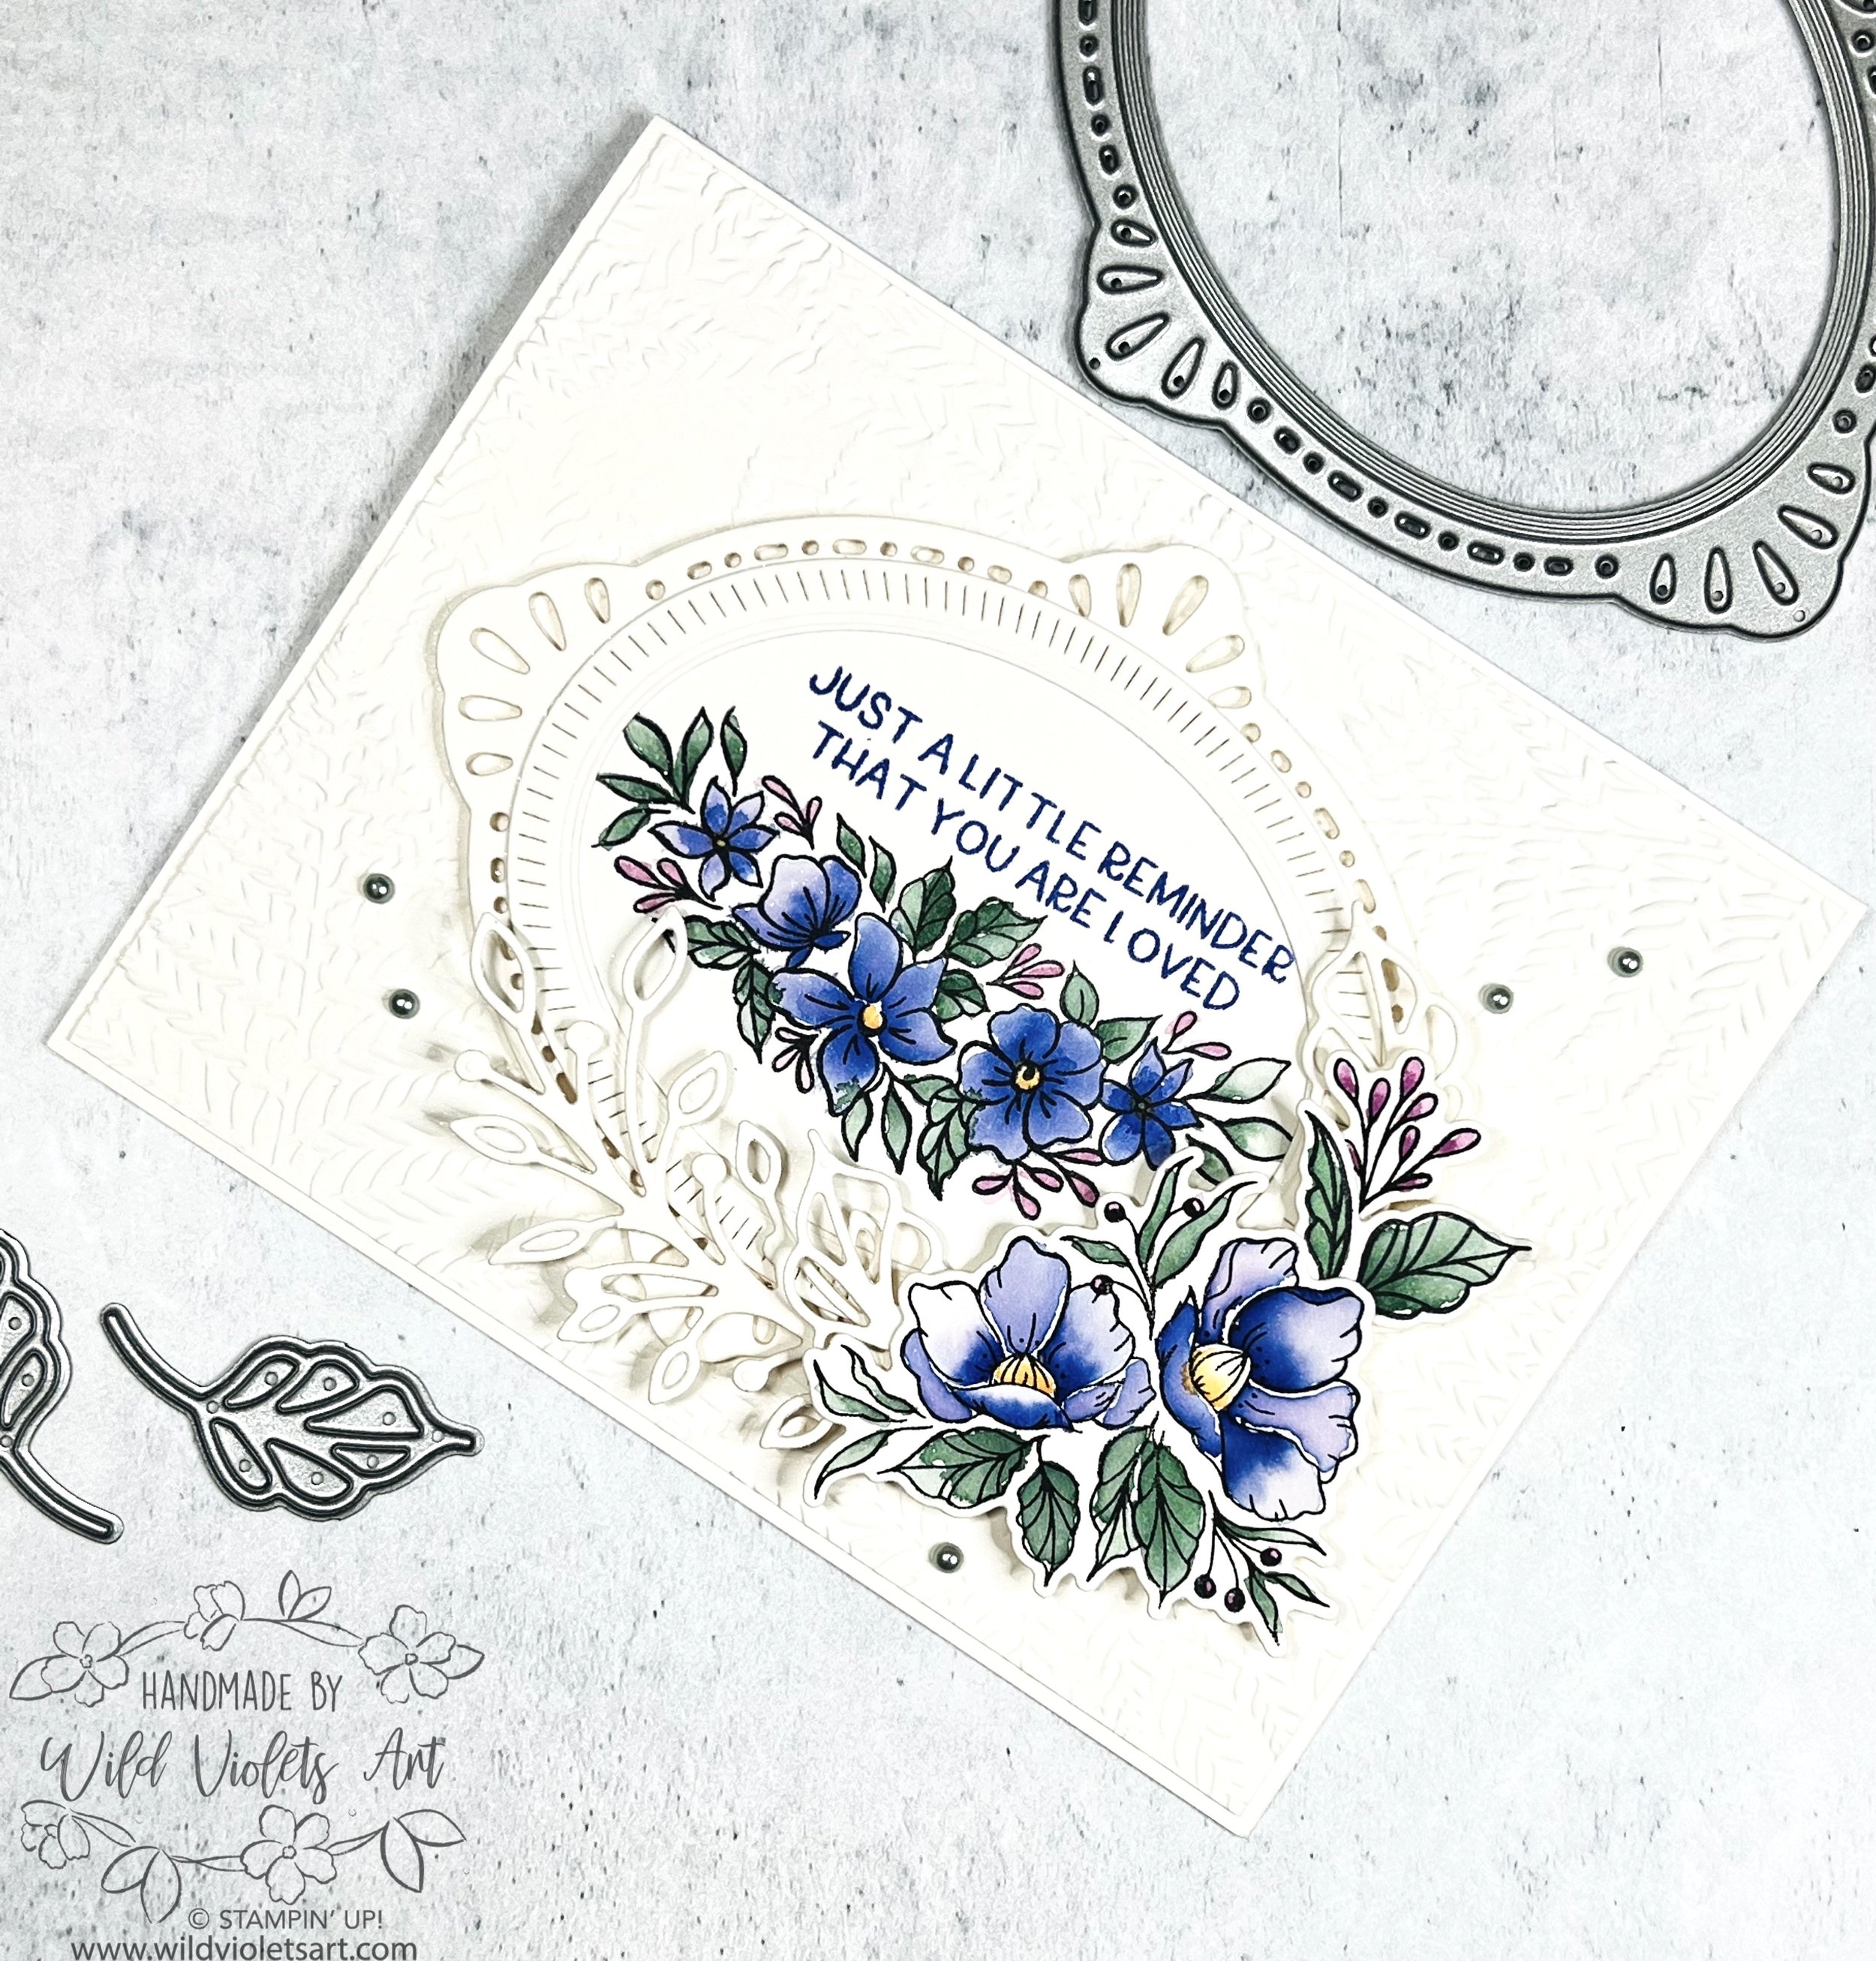
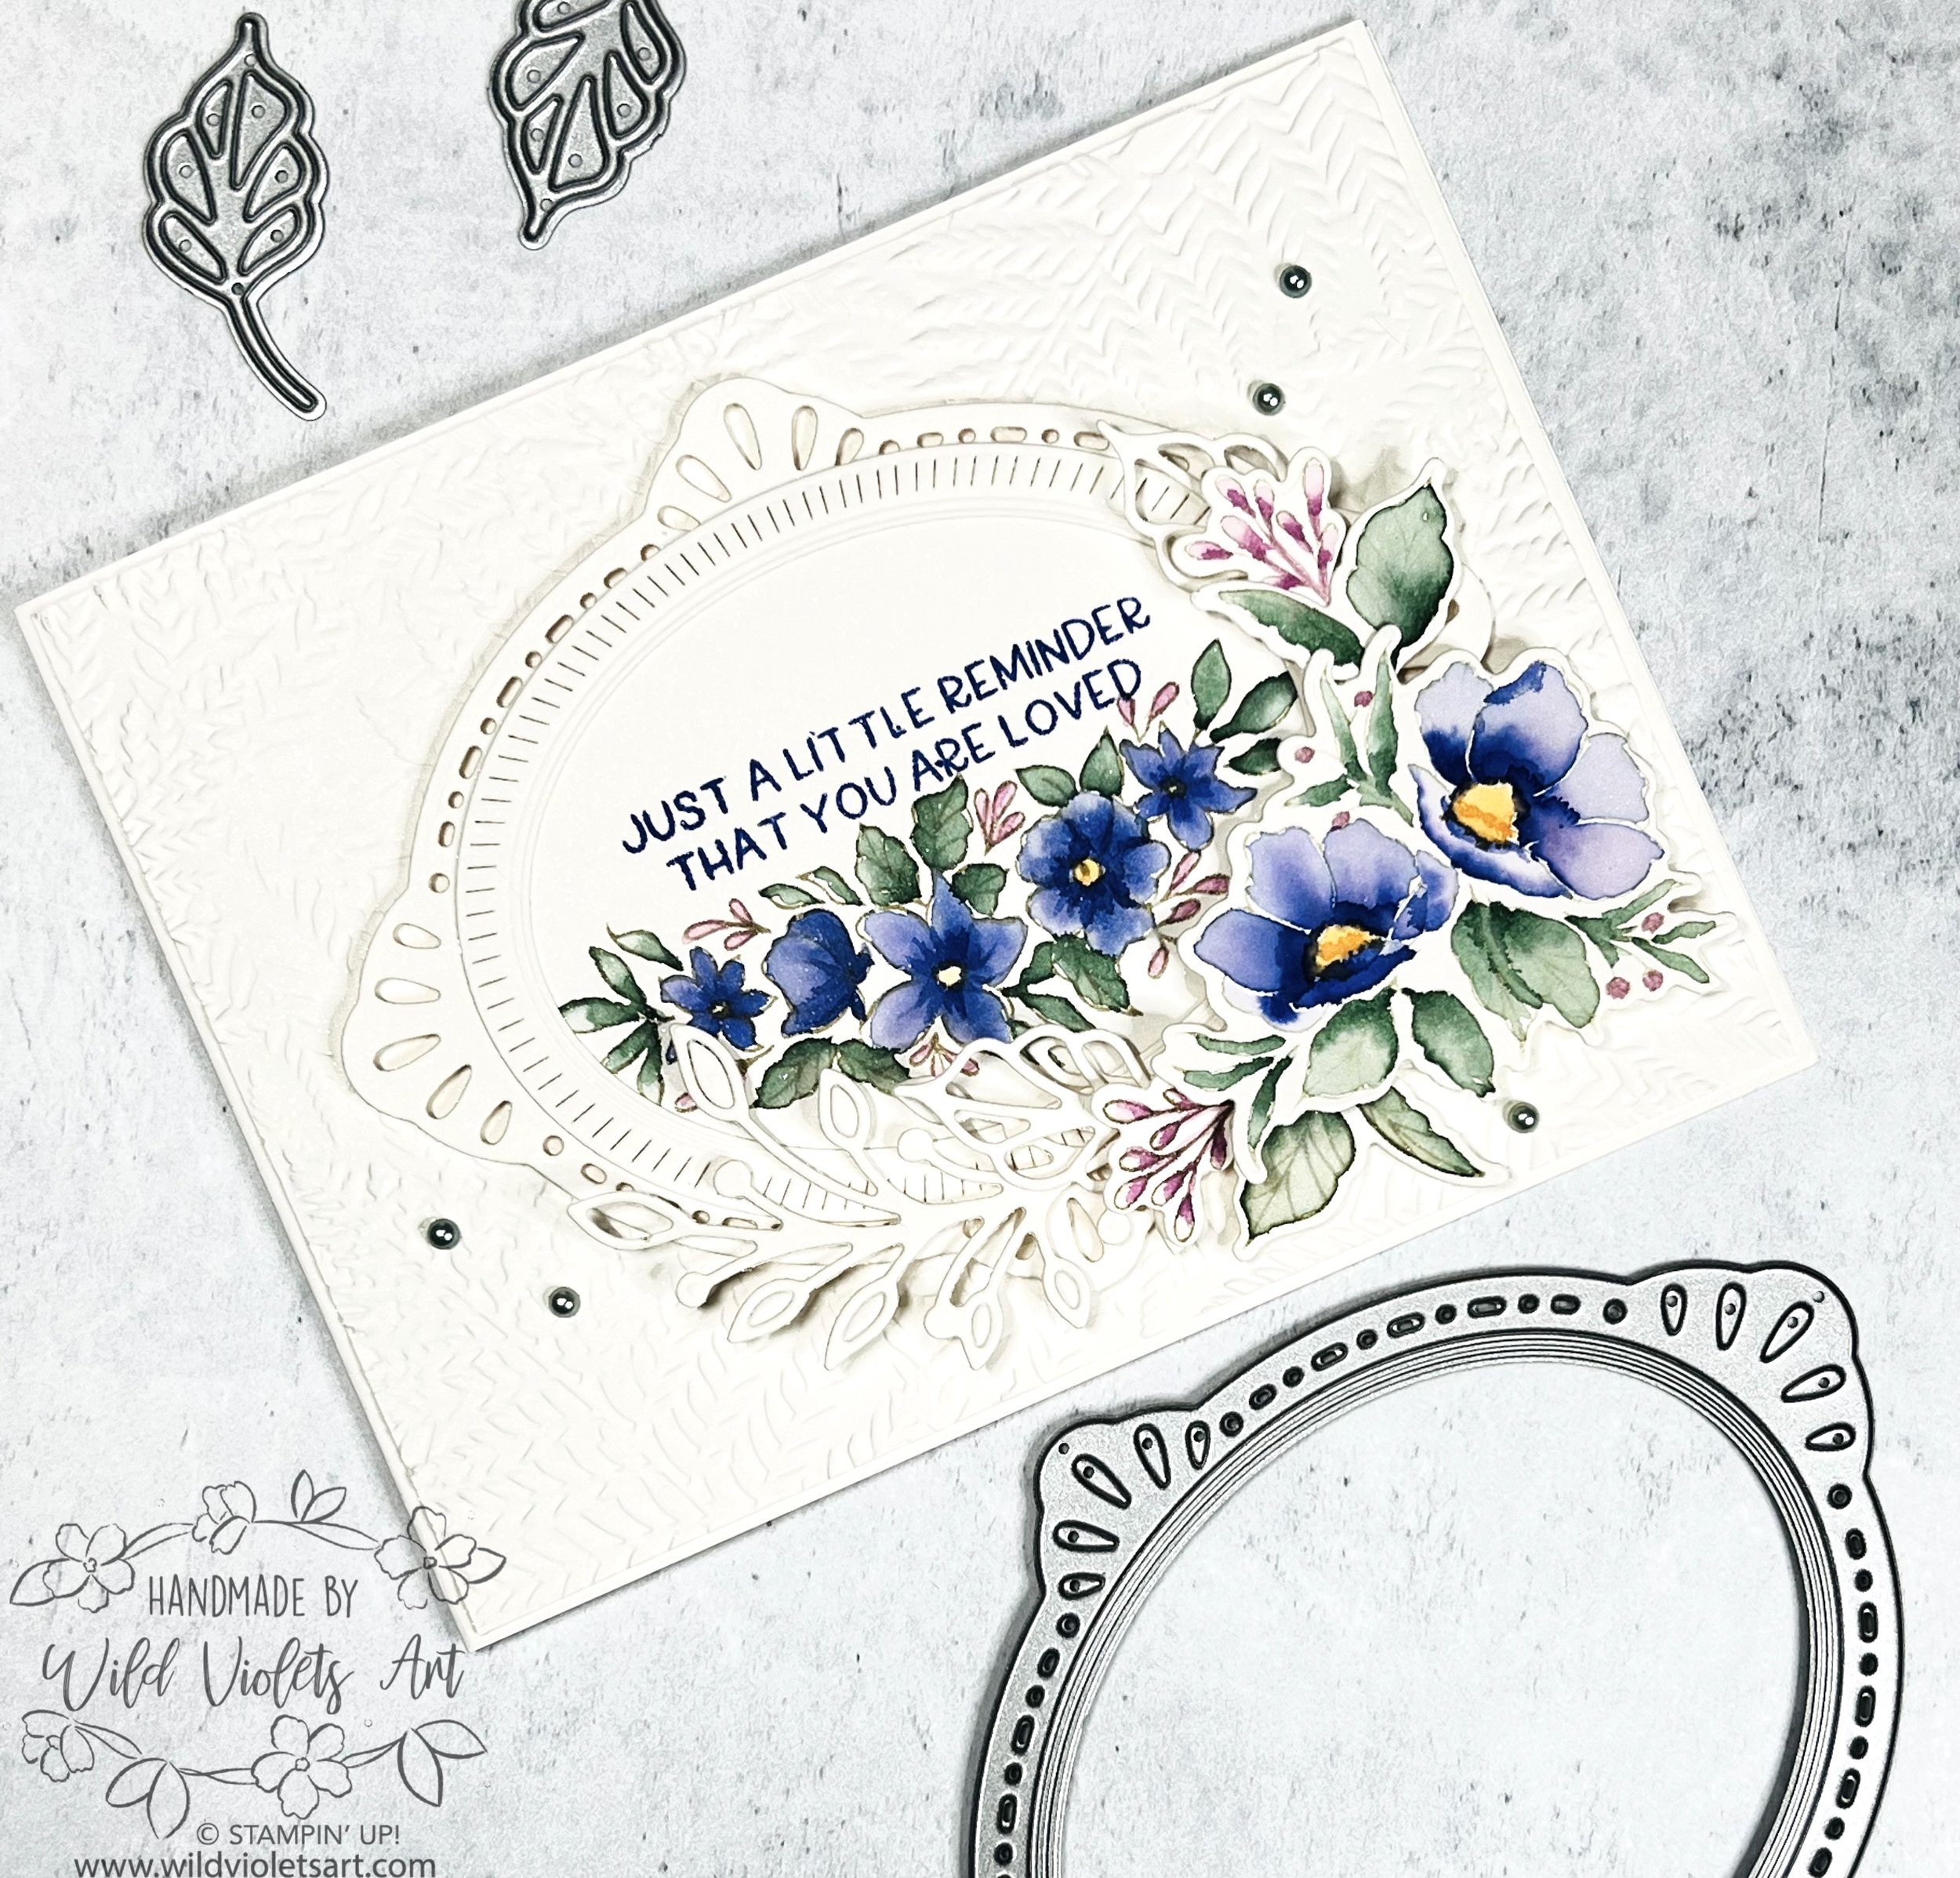
For this card, I used a piece of 4”x5” Shimmery White and die cut with the largest frame from the Framed Florets Dies. I then stamped the image using Jet Black Stazon ink for central image, as it is the best ink for watercoloring as the ink does not bleed and you do not loose your image outlines when you watercoloring. For the lower right images, I used a 2-3/4”x4-1/4” piece of Shimmery White CS and again used the Jet Black Stazon Ink.

When watercoloring, I use my Water Painters from Stampin’ Up! as I like how they add water as I need just by squeezing the brush body. Watercoloring on Shimmery White CS works wonderful, as long as you are not rubbing in the same place for long.
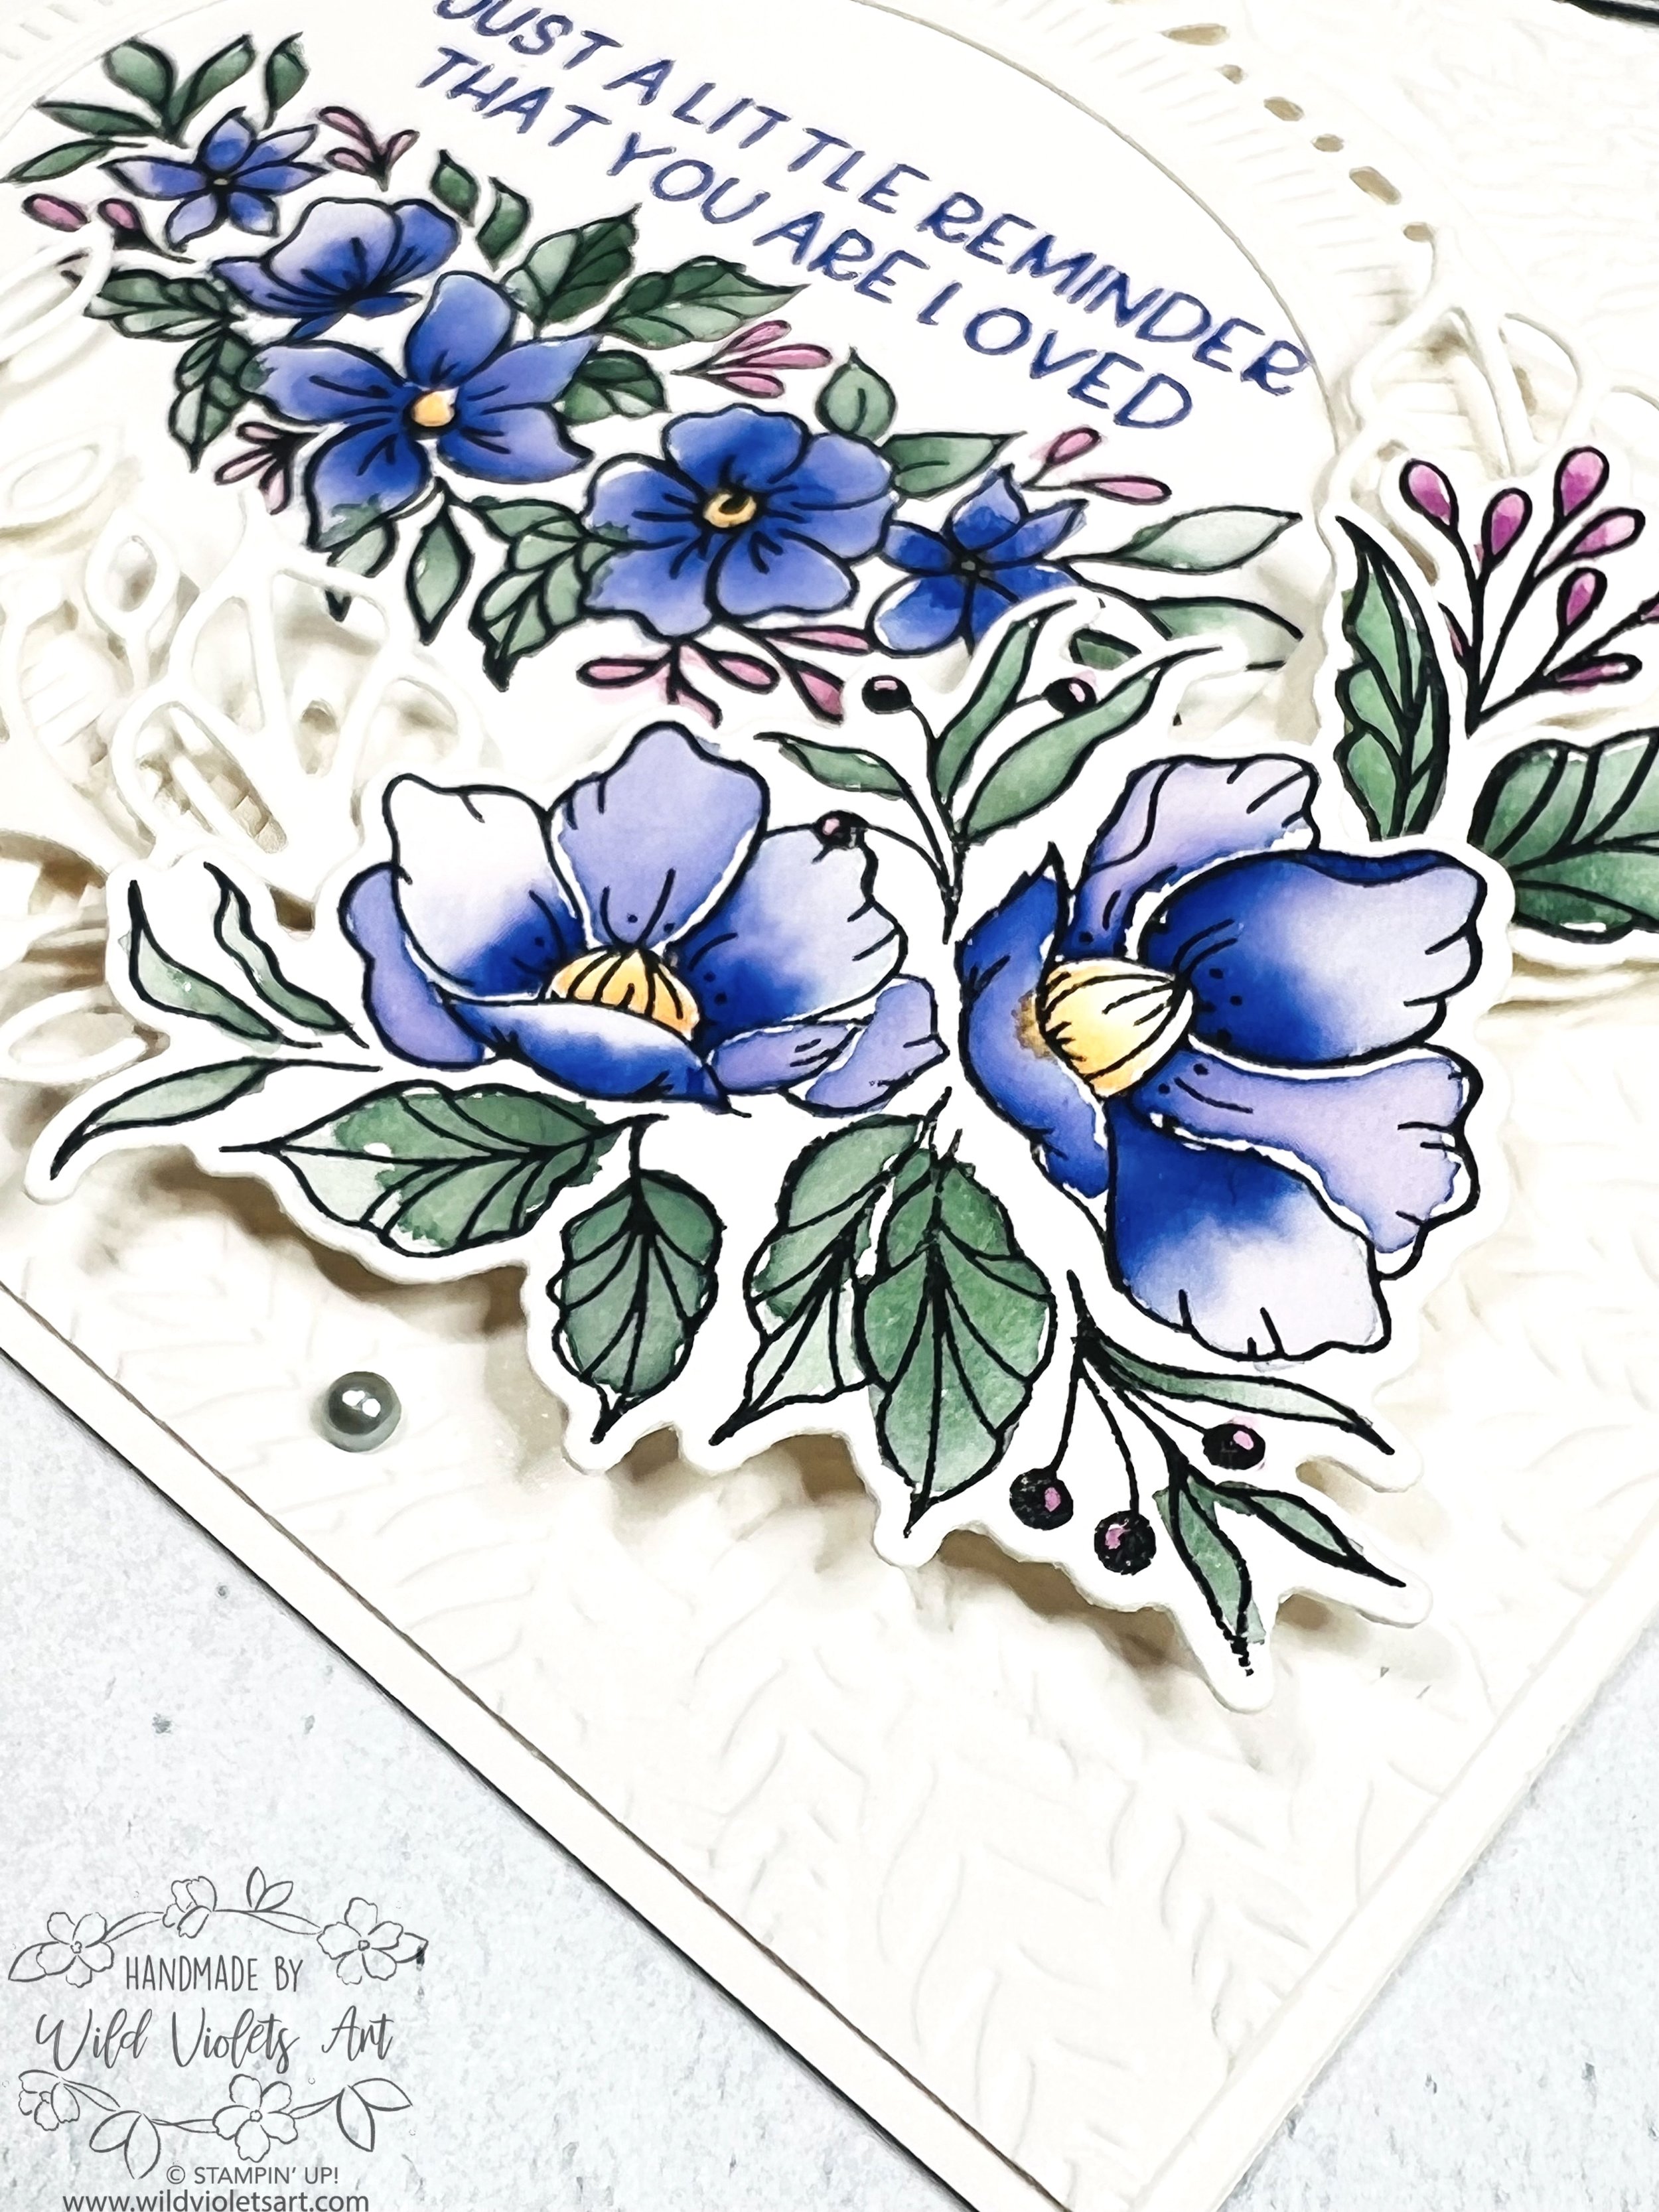
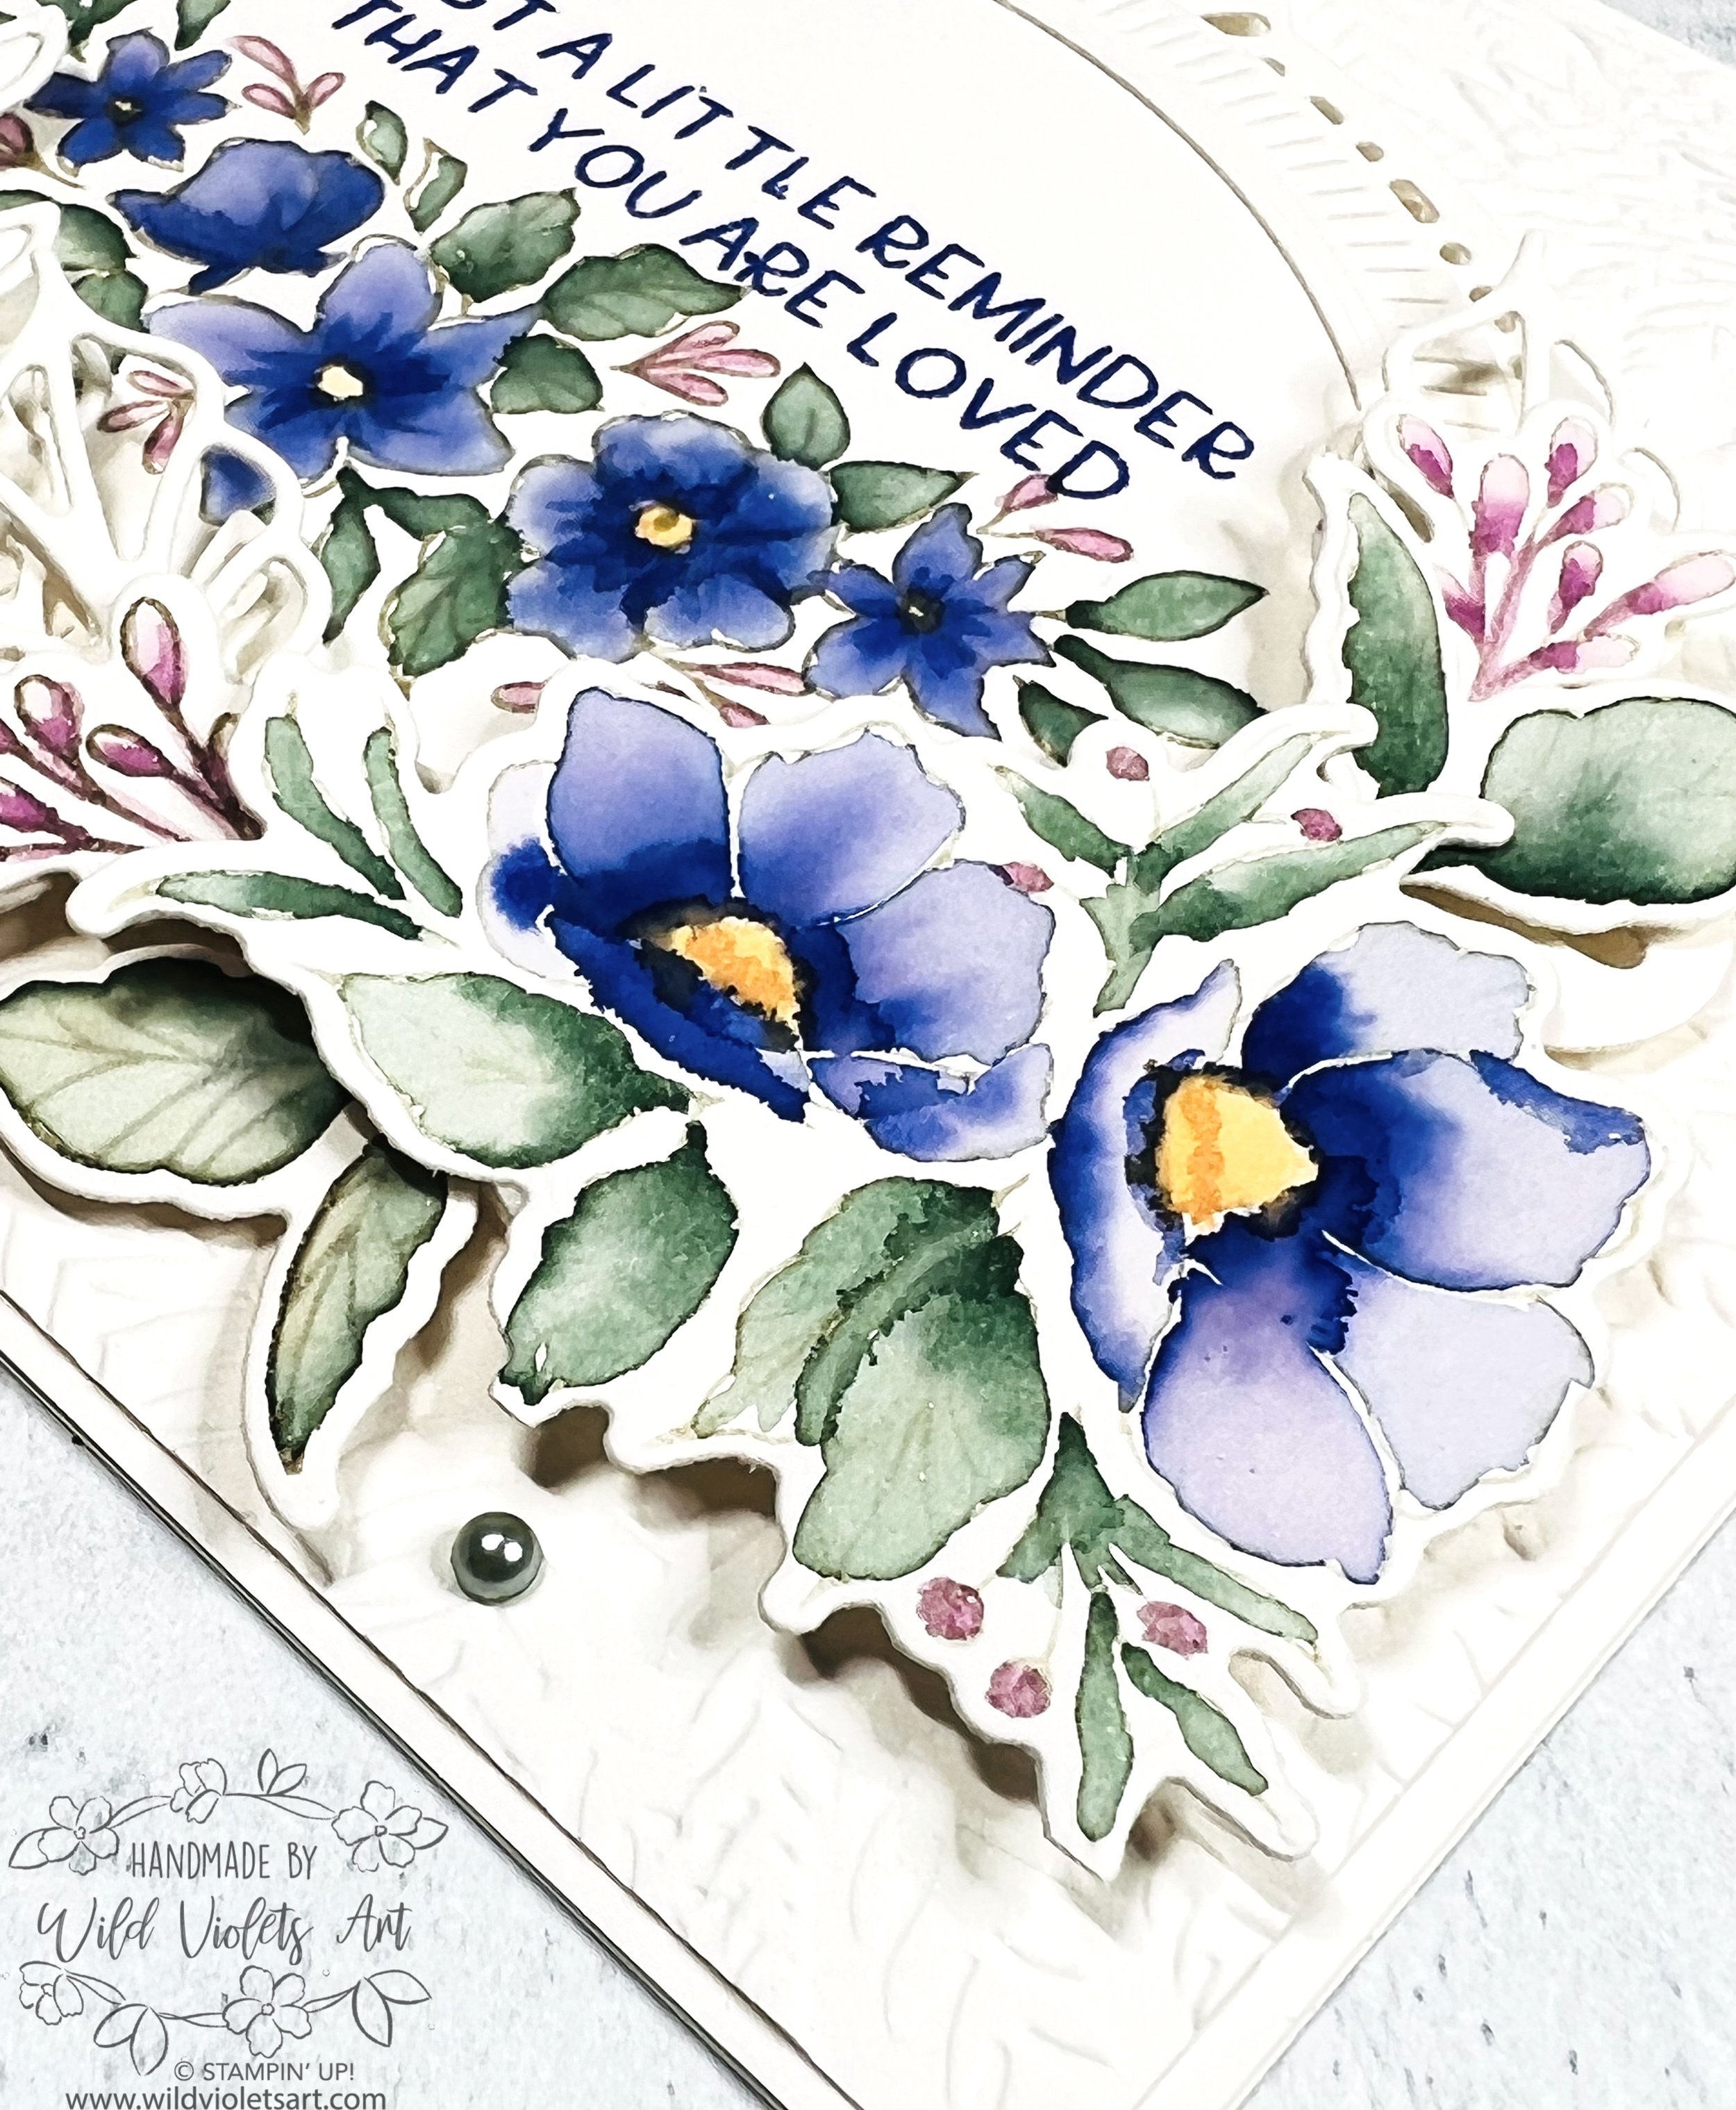
My watercoloring technique is to wet the space I plan to water color with a light wash of the color I am using, and with the petals on these flowers, I painted each one separately. After wetting the area down, I use as dark of ink as I can (directly from the refill bottle) at the base of the petal and keep adding more ink to get the color I want. It naturally bleads to the other end of the petals for a beautiful ombre’ effect I love. After watercoloring, I die cut the images on the lower right of the card and set aside.

I used Orchid Oasis ink for the flower petals and sentiment, Pale Papaya ink for the center, Soft Succulent ink for the leaves, and Fresh Freesia ink for the pink sprigs. The card base is 8-1/2”x5-1/2”, scored and folded at 4-1/4”. I used a 4-1/8”x5-3/8” piece of Shimmery White for the card front, embossed with the Fern 3D EF, then glued to the card base.
After stamping my sentiment above the flower garland on the large oval, I nest the frame and oval back together again and add Stampin’ Dimensionals on the back and add to the card front. I then glued the striped frame on top of the sentiment and garland, centered on the larger frame. Last I added the florals and foliage to the right lower corner using Stampin’ Dimensionals, using more sprigs die cut from the scraps of my Shimmery White CS. The final touch was adding the Festive Pearls in Soft Succulent.

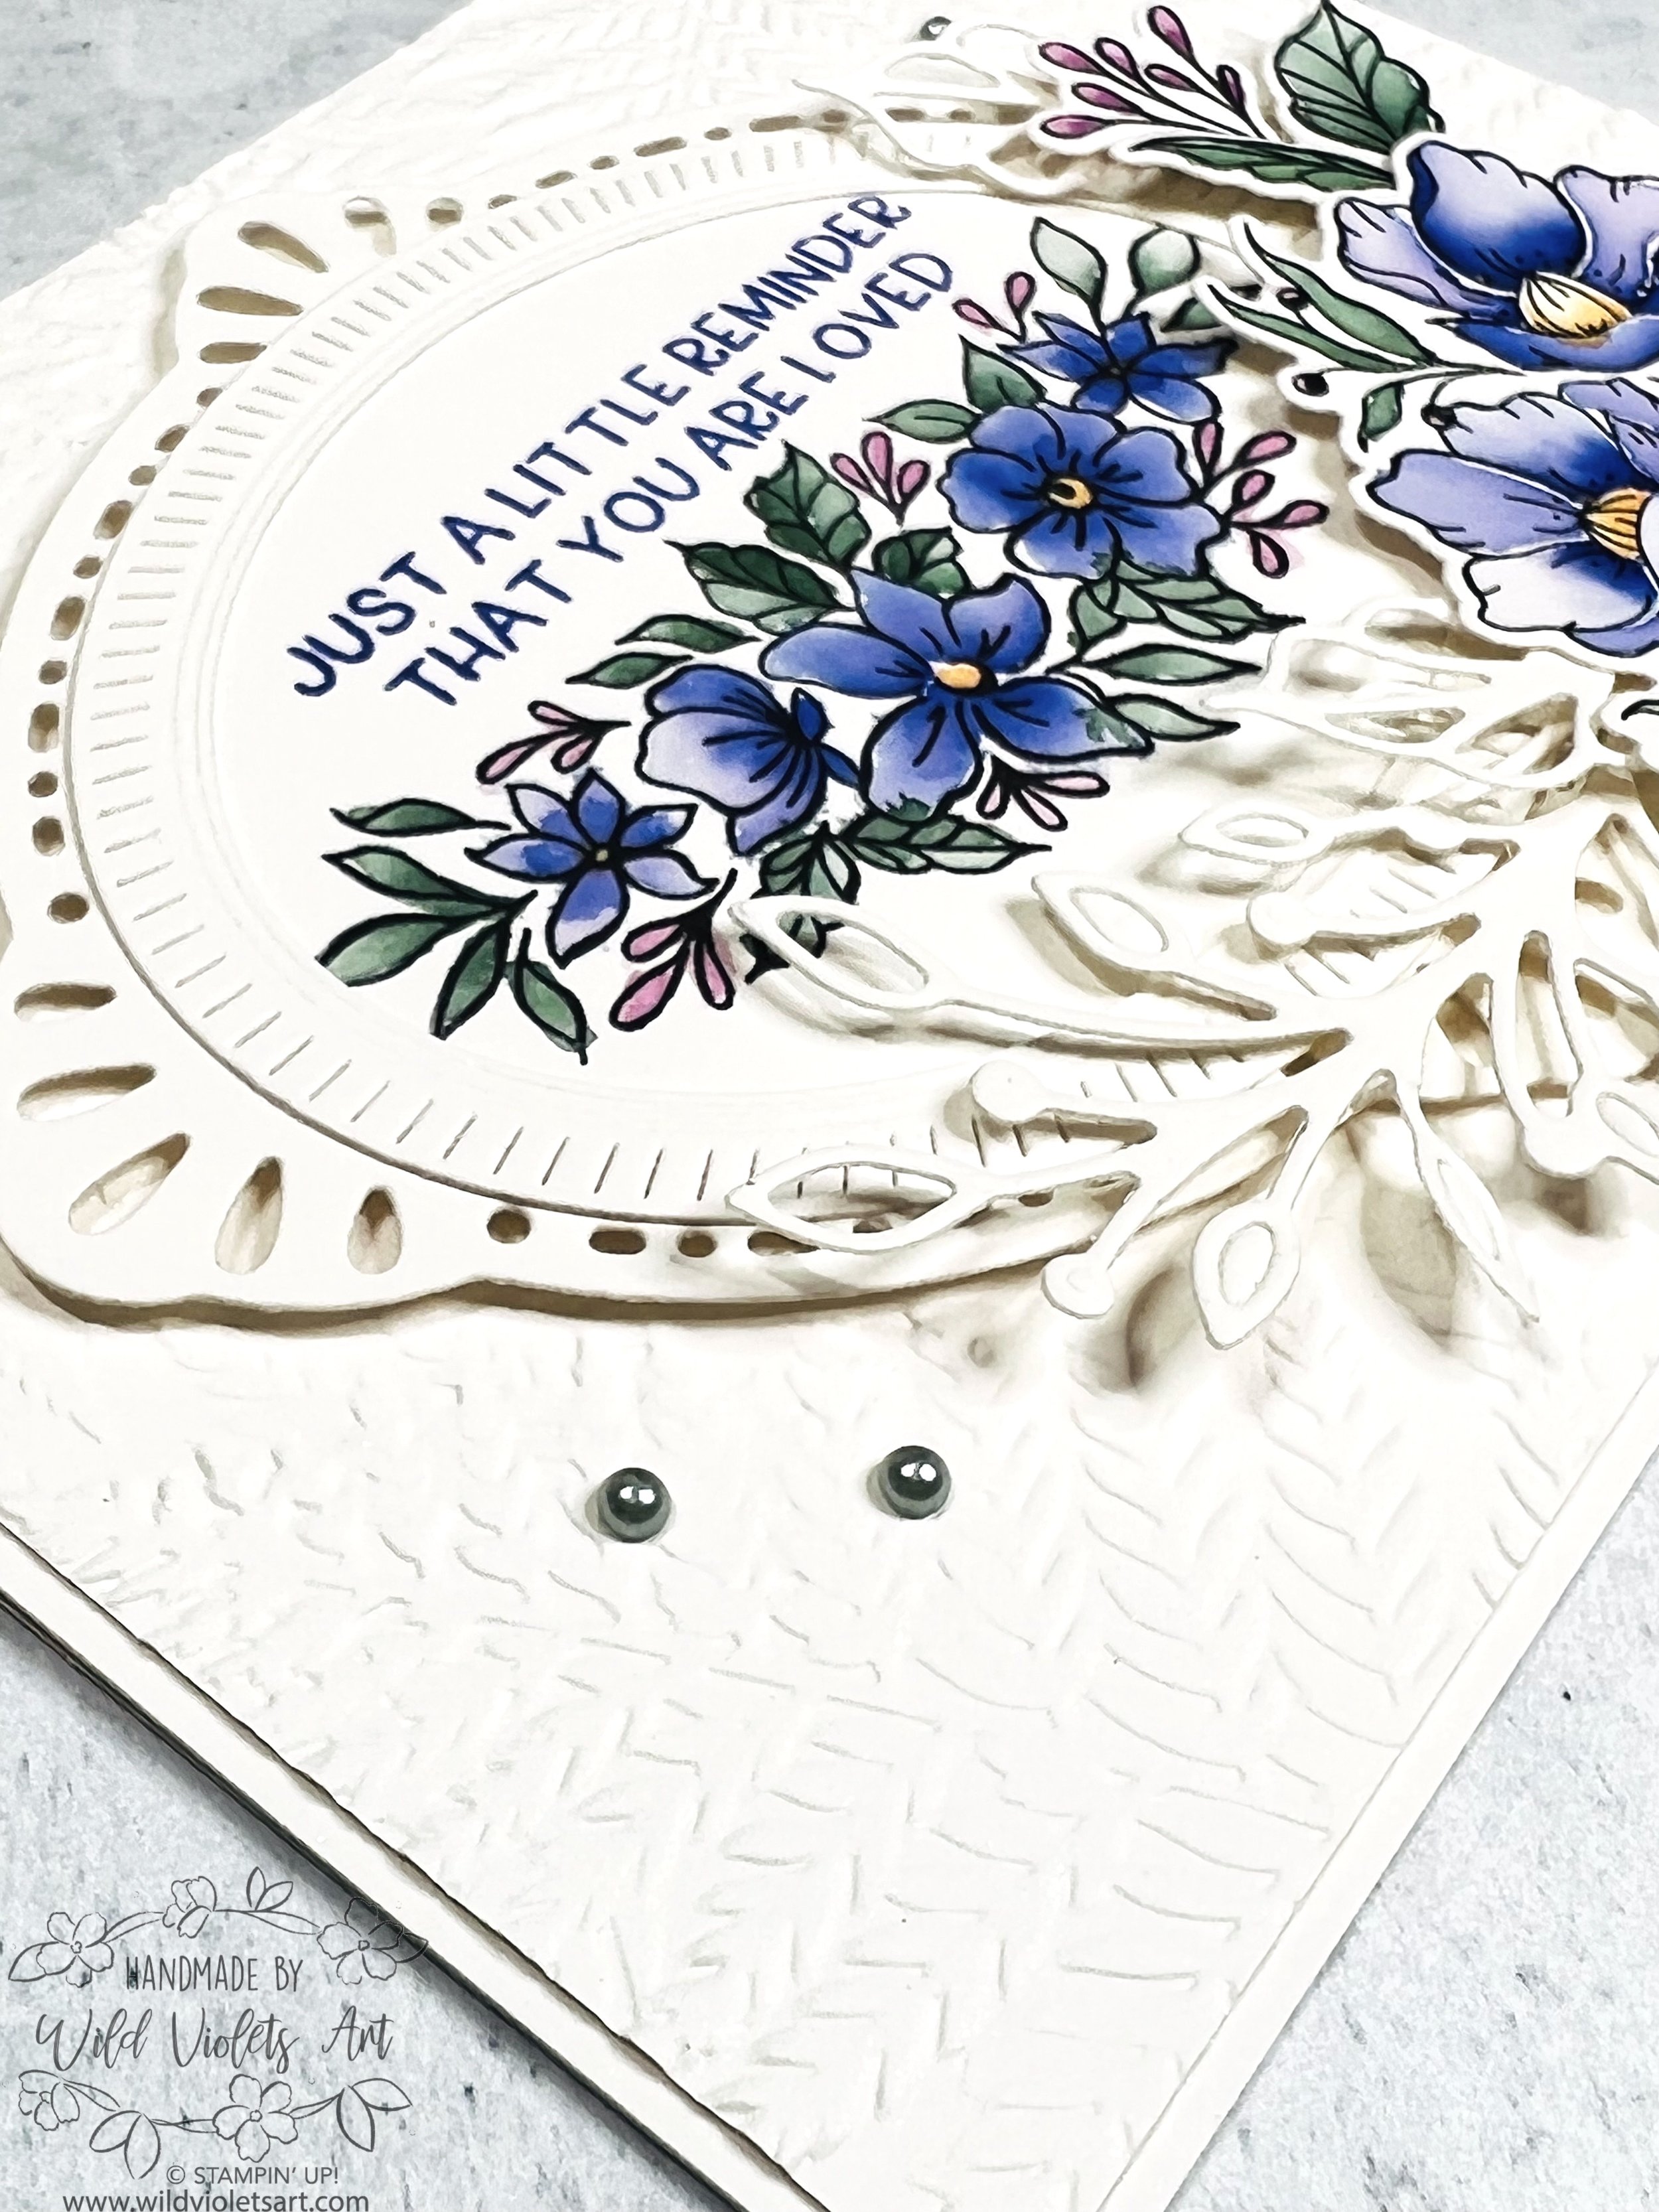
This card is a repeat of the above card, but using the “no-line” watercolor technique. Instead of the Jet Black Stazon Ink, I used Sahara Sand ink for my image. Once I was done watercoloring, you could barely see the lines.
I had a hard time deciding which technique was my favorite, as the dark outline looks so fresh and bold, but the no-line technique looks so soft and natural, which makes my heart happy… and really is my favorite.

With these smaller and detailed images, be sure to use your smallest Water Painter, and if you can be patient, carefully color each petal separately, leaving a little space between so they don’t all blead together.
One of my favorite things about painting like this is when the color dries and you notice it outlines each petal and leaf so you hardly notice the Sarah Sand ink that you stamped the image with. Sigh… I just love this card so much and hope you enjoyed it too! xoxo